Showing posts with label brake line. Show all posts

Monday, 25 November 2013

Finished?

So with templates in hand, it was off to Brake Pro in the morning and a 15 min meeting to go through the requirements (I think they understood everything ;-)

Done and picked-up by lunchtime...
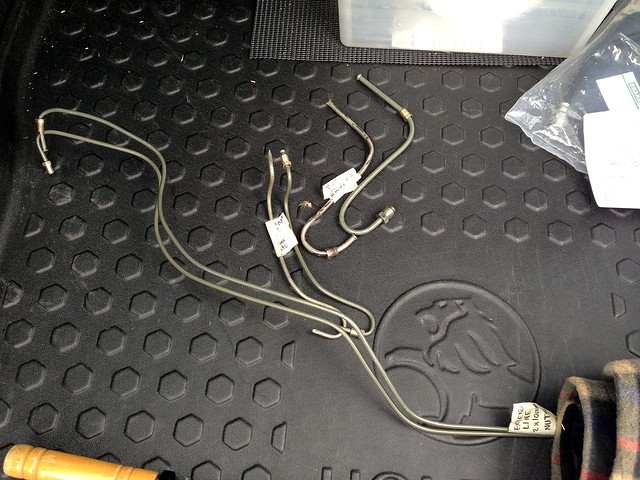
New Front Lines


Miscellaneous saddles and 2 x blanking plugs for the existing distribution block...
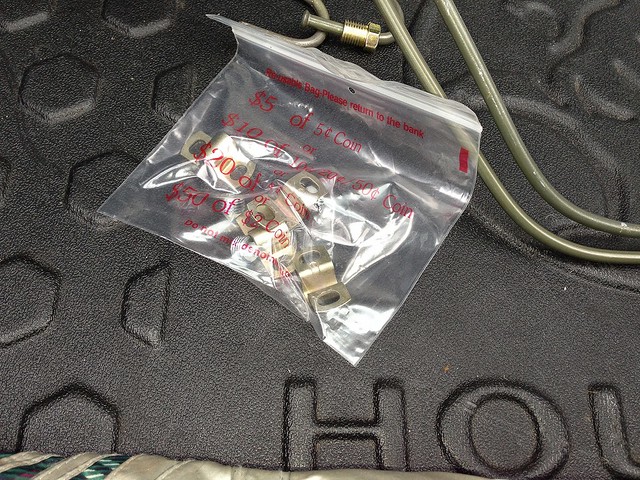
Saddles and Blanking Plugs


Fast forward to the evening. JtC came up and the new hard lines went in like a dream; it all looks pretty darn neat...
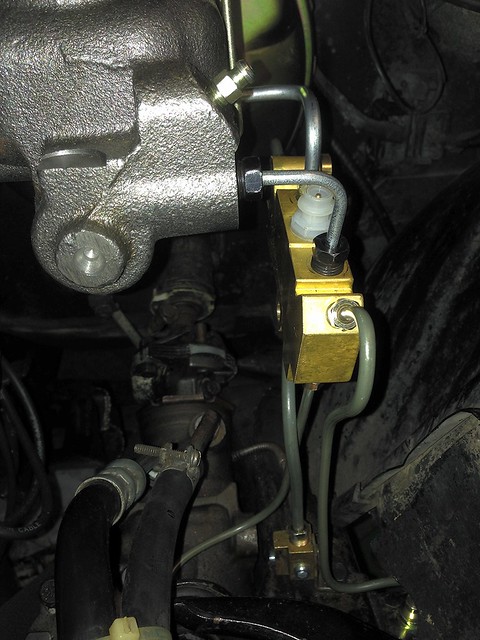
More Brake Lines


We retained the original distribution block for the existing front-to-rear line, then blanked off the old ports to the front brakes and fed the block from the rear master cylinder circuit.
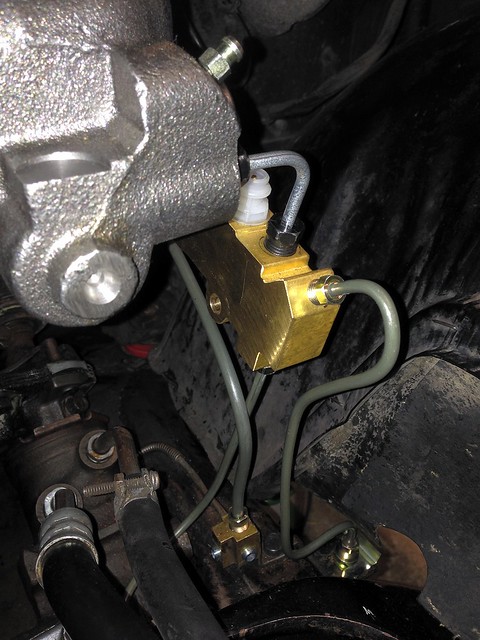
Brake Line Mounting Details


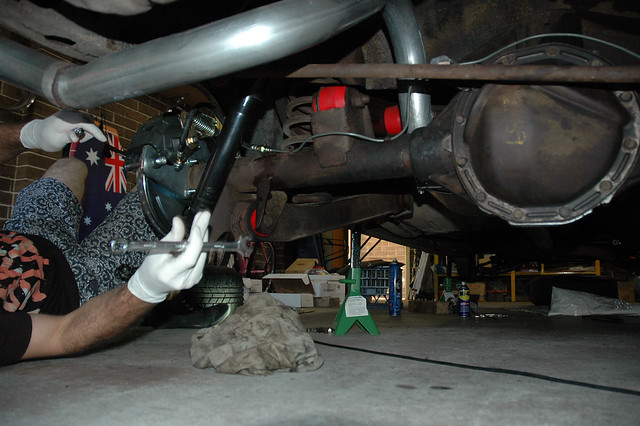
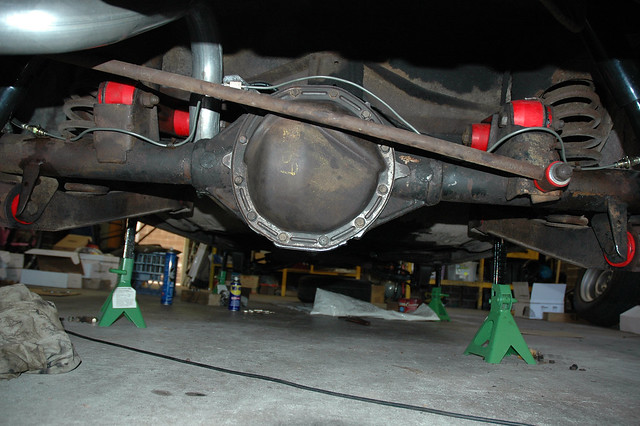
While JtC was bolting up hard lines, I set to work pumping 2.5L of diff oil into the 12 bolt.

A once over the car to check all nuts were torqued up and it was time to bleed!

Though it soon became apparent that no fluid was coming out of the master front circuit...
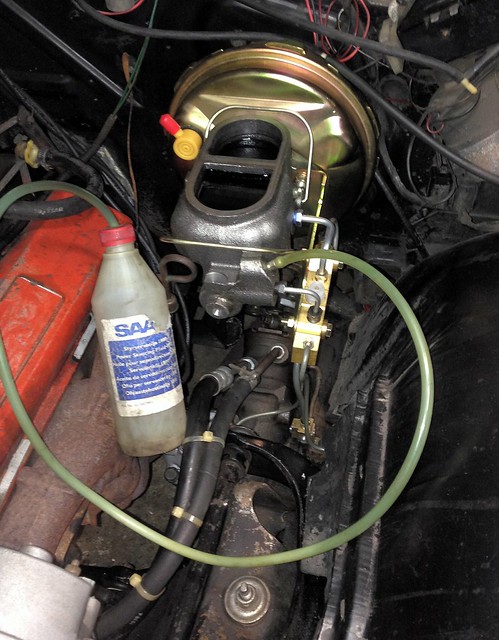
Bleeding Begins


After some choice words and head scratching for half an hour, it was time to hit technical assistance. We soon found this...
Right Stuff Detailing - Tech Centre - Trouble Getting Pressure To Brakes

Sounded like our problem - and answer 2 seemed the most likely culprit...
"The most common issue is the rod that comes out of the front of the brake booster and pushes the piston of the master cylinder. (NOT the booster rod that goes to the pedal, the opposite side.) This rod is often slightly too long and causes a pre load on the master cylinder. This pre load generally prevents fluid from flowing properly out of one of the master cylinder ports".

So we set to work and cracked the nuts holding the master to the booster. A couple of 3 mm thick spacers went in and the nuts re-torqued... success! Fluid exiting the master on the front circuit!

Note the master mounting nuts reversed and square spacers between the master and the booster...
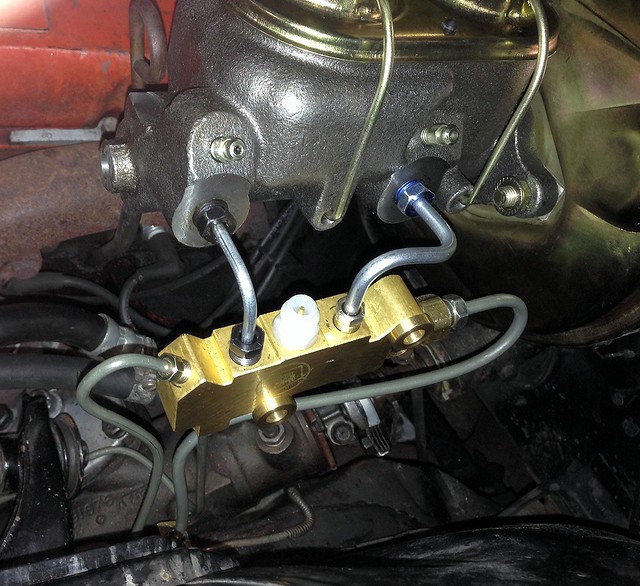
Shiny!


We gave the brakes a bleed to see if we could get brakes - and we can - the Chev has operating disc brakes!

Technically we could throw the wheels on and go for a drive, but it was almost 23:00 so the decision was made to up-stumps for the night. Removing the temporary spacers and shortening the booster-to-master push rod would have to wait till next time.

Sooo close!

John out

FW: Brake Lines

From: JtC
Sent: Monday, 25 November 2013 11:55 AM
To: John
Subject: RE: Brake Lines

OK this all sounds good – there will be no issue with us using 3/16” line for that rear circuit supply line from the dist block-to-dist block. Your old master was a single circuit: that one ¼” line supplied both front and rear circuits via the dist block.

I was more wondering if he would be able to provide the larger fittings we require on the smaller line though, but it sounds like he has that under control. Line diameter shouldn’t matter as far as I can make out.

Yes, get some of those small brake line saddles… any you don’t use will be happily used on my EK!

Oh and I don’t know about brake fluid any more – been a while for me. Have a look at what The Right Stuff recommend for the installation, or ask your man at BrakePro. Get it from them on your way home tonight.

Shall I head up after work then?

JtC


From: John
Sent: Monday, 25 November 2013 11:47 AM
To: JtC
Subject: Brake Lines

OK… so stopped-off this morning to drop the jig saw puzzle into Brake Pro. Spent a good 15-20 mins briefing them.

They were fine with it all. The fabricator mentioned that everything these days is made out of 3/16” line and that ¼” line is obsolete, though he saw that I had a new ¼” line ) the one with the blue/gold fittings) so he said he will see what I can do.

He has ¼” line, he was just unsure that he had the 7/16” and 9/16” fittings to suit that diameter.

Blanking plugs were no prob, they take an allen key. Retaining hardware, they simply had small saddles to take 3/16’ line. They didn’t have any separators.

I will take a wander through the workshop here and see what I can find.

Must remember to get brake fluid, we’ll need quite a bit. DOT4?

J

Saturday, 23 November 2013

Arts and Crafts

Saturday was another working bee; the goals being:
  • bolt up the master
  • connect the brake pedal and - perhaps most importantly -
  • form some templates for new hard lines, ready to take to Brake Pro on Mon for them to make up.
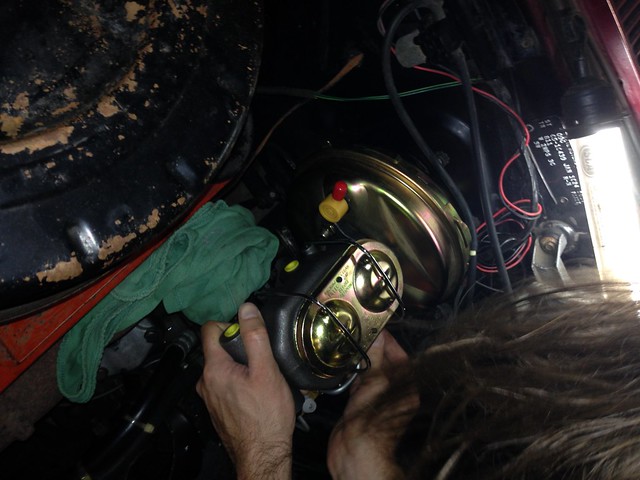
Some pics...

Delicate Operation


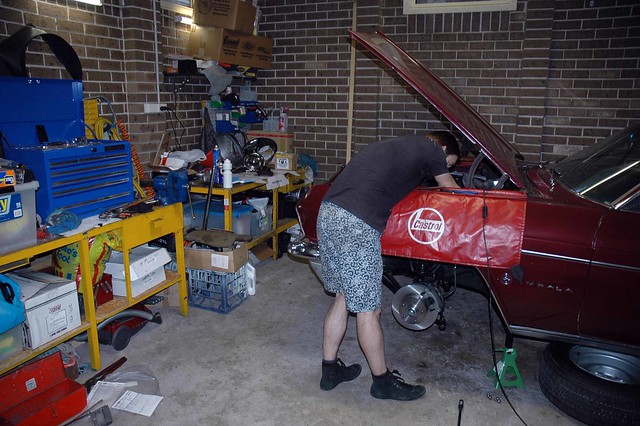
Organised chaos...

Organised Chaos


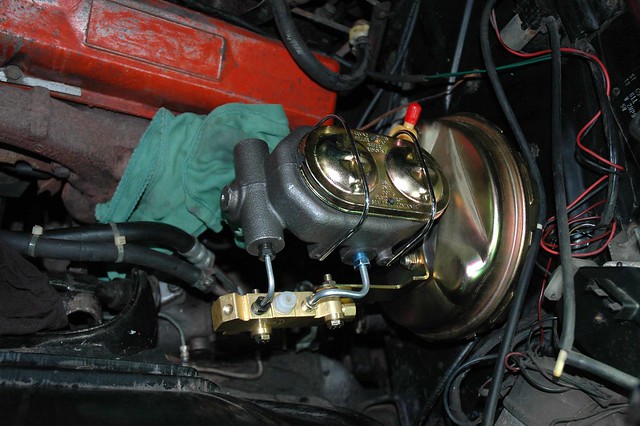
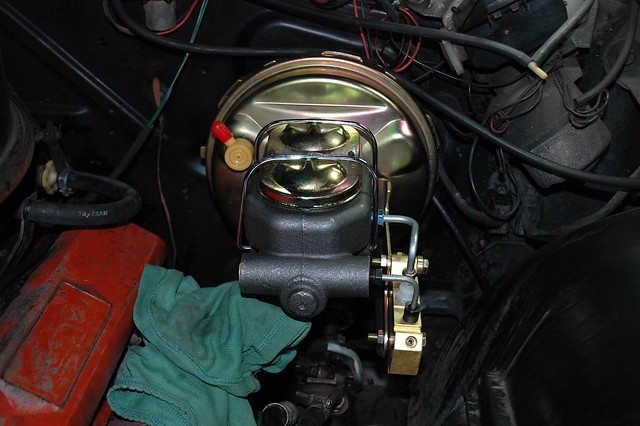
Booster/Master/Combination Valve assembly in place...

Master04

Master05


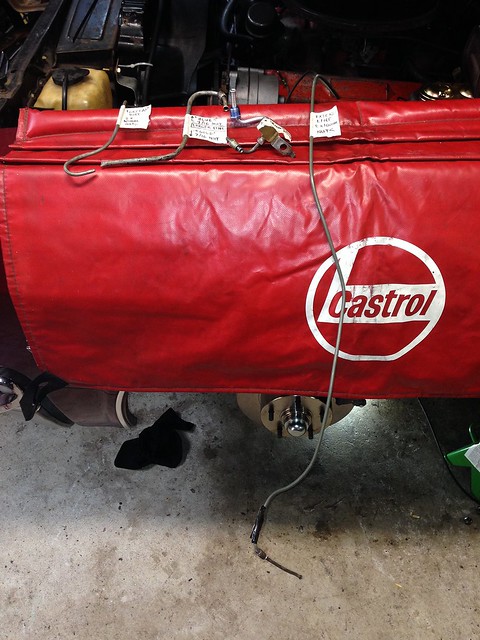
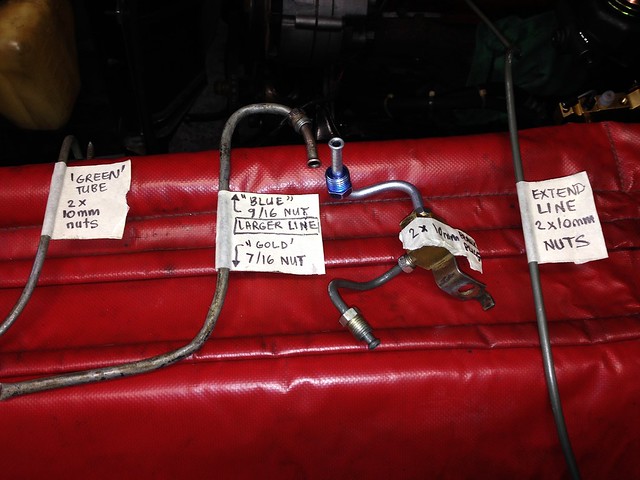
We salvaged old brake line that was lying around to bend into shape and use as templates...

A collection of templates


Detailed instructions...

Instructions

(and by 10 mm we mean 3/8").

Done! Next stop, the brake shop.

John out
Saturday, 9 November 2013

Finishing the rears and onto the front

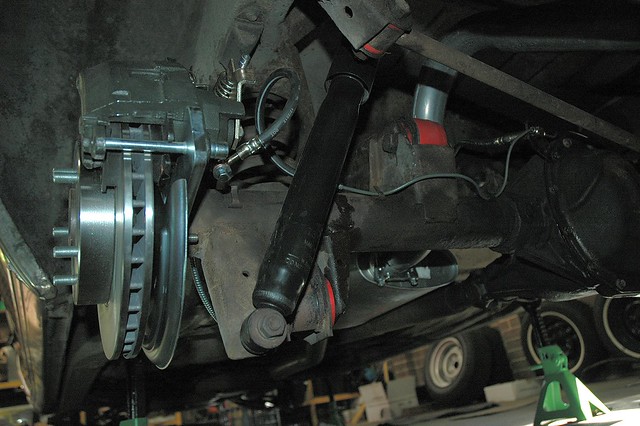
New rear brake lines made-up. Photo showing new vs. old...

New Rear Brake Lines


Let's get them in!

DSC_0006 006

DSC_0004 004

DSC_0002 002

DSC_0005 005

Sweet as a nut!

Handbrake was then hooked up. The supplied centre cable was the wrong part (too short), so we reused the existing one. Both rear handbrake cables finish slightly further toward the rear of the car than the originals, so we had to make-up a passenger side handbrake mounting hook extension to get it all to fit.

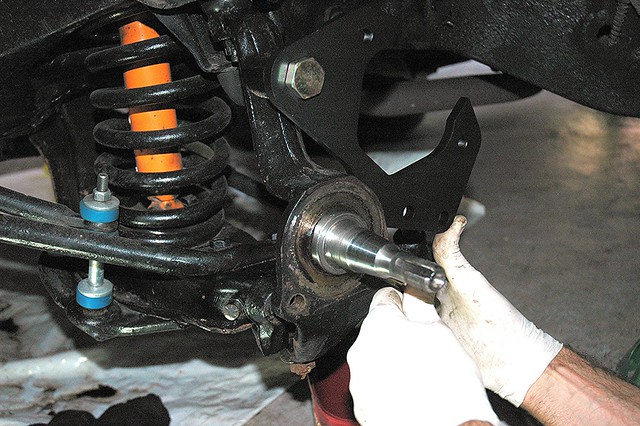
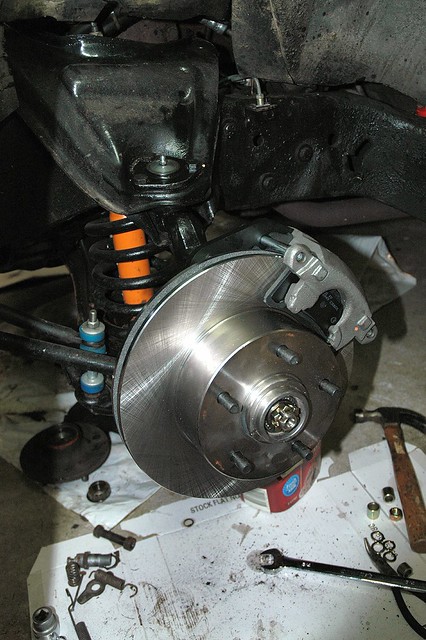
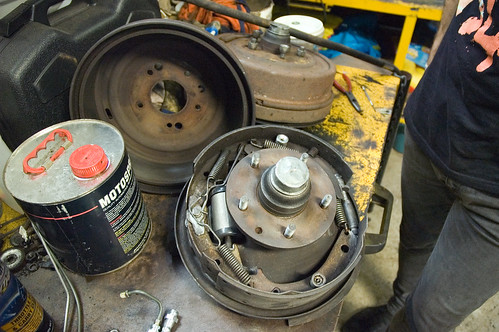
To the front of the car now. The drums came off easily enough and it was time to dummy-up the kit's brackets...

Trial Fitting the Caliper Mounts

DSC_0008 008


The bottom bracket picks up the steering arm connection bolts and the brackets as-supplied both need a bit of relieving to clear the steering arm. That will be a job for next time.

J

Thursday, 7 November 2013

Rear Discs (cont.)

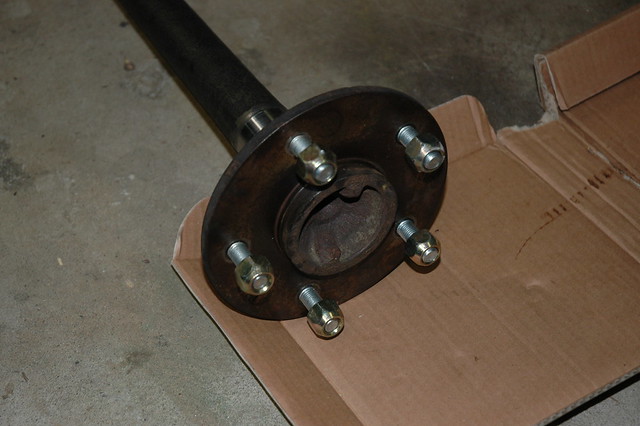
Bits and pieces acquired and old studs belted out of the flanges; time to fit it together...

Rear 005

Rear 003

Rear 001


Greasing the axle housing seals...

Rear 004


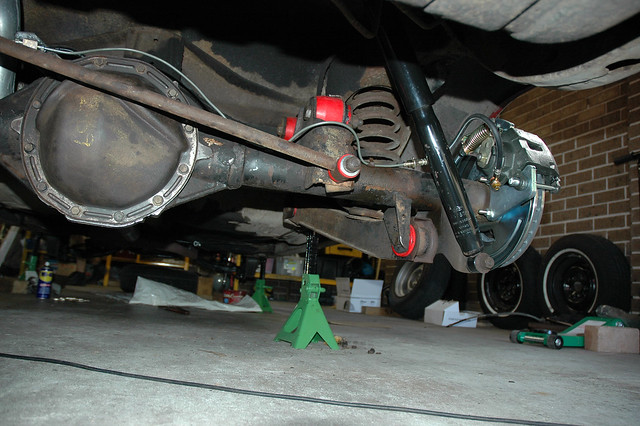
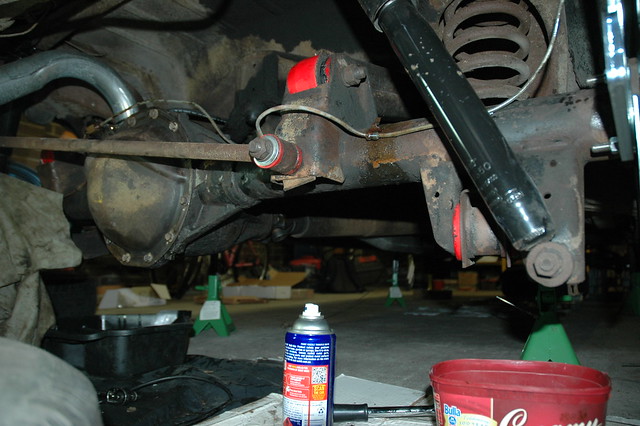
A couple of reference shots, showing the route of the existing hard lines...

Rear 007

Rear 006


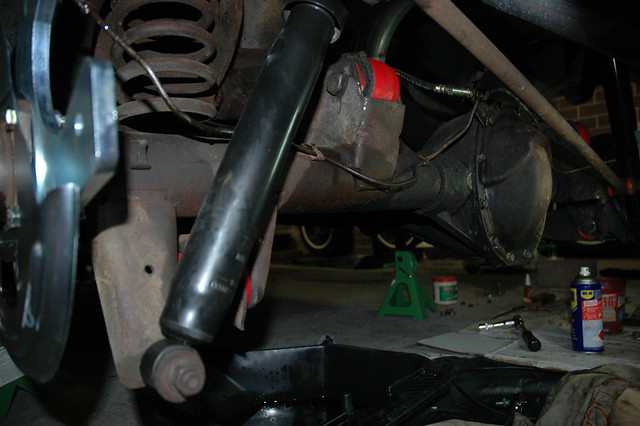
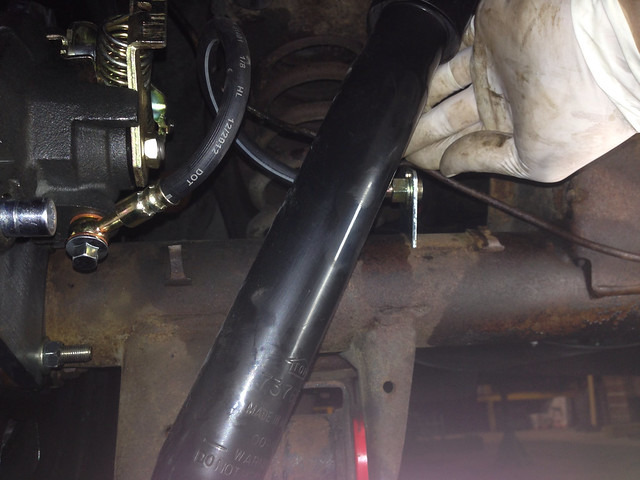
Finally, mocking-up the route of the flexible hose and the brake line/brake hose mounting tab...

Rear Brake Line Detail


You can see from the photo above that each hard line needed to be shortened, so time for some new lines to be made-up.

J

Monday, 7 November 2011

Getting close now...

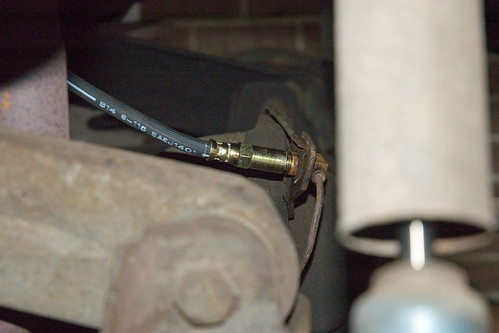
JtC made the trip out to see if he could crack the thread on the brake line at the rear of the car. Success!

It wasn't long before the new hose was in place.

RearBrakeHose01


A quick bleed of the brakes and job is done!

Now to order some tyres... something I have been putting off for too long, knowing the cost to come!

Saturday, 6 August 2011

HUGE Day of Progress

Where to start!

JtC had set aside all day and night to kill as much work as possible. Thankfully on Friday we were able to source all the rigid brake line, brake hoses and brake hardware required to get stuck into the brakes today (see previous post).

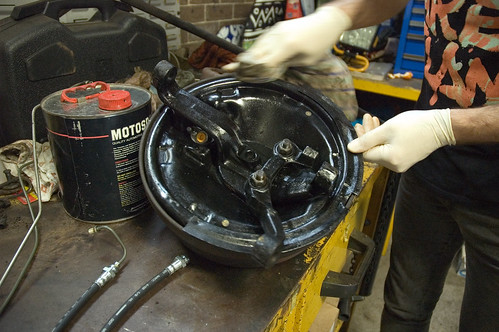
Joe cleaned the the front cross member and hit it with a bit of black acrylic. While that dried, the LHF stub axle assembly was assembled... so that means all front brake slave cylinders are in, all front wheel bearings are in and both front brake/stub axle assemblies are complete.

BrakesLines06

BrakesLines04


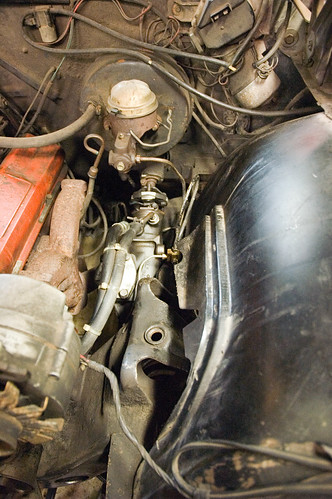
With the brake lines out of the way, a quick clean of the steering box was prudent. Now it looks a treat!

FrontAssy01


Next, the long rigid brake line was installed. A bit of fine adjusting in the bend department got it settled in the locating clips on the cross member and lined up with the distribution block on the LHF and brake hose on the RHF. With the RHF hose attached, the brakes look brilliant! Definitely starting to come together now.

Out came the compressor which was used to blow-out the brake distribution block.

The next part was the concern leading into today; installing the front springs and getting the base of the spring engaged with the lower control arm (LCA). At full sag, the bottom coil remains caught on a boss on the LCA with a bow in the coil (see previous post: "Spring Compressor"). We would need to compress the spring slightly and bend the base of the spring to engage the boss on the LCA.

Using the jack, we compressed the spring and retained it in a compressed state using the spring retainer we bodged up earlier. Drop the jack away, bolt up the LCA, then moment of truth... can we flex the base of the spring - while compressed - to mate up with the LCA?

Piece of cake! We were worried about nothing... bonus!

Managed to forget to install the ball joint into the LCA, so went to bolt it in and the holes wouldn't line up .

Out the LCA came and "massaging" of the LCA and ball joint mounts on the bench soon ensued. Levering and hammering did the trick and soon the ball joint was in. So... back under the car, bolt up LCA to the chassis, bend spring to LCA, marry LCA and spring, jack up the LCA until the drum assembly could be installed and the ball joints done up... nice!

But of course, one of the lower ball joints had a long bolt head to act as a steering bump stop - and the other didn't. Did we pay attention and get them around the right way? Nooo...

At this point I departed with Kath and the kids go out to leave Joe to keep at it.

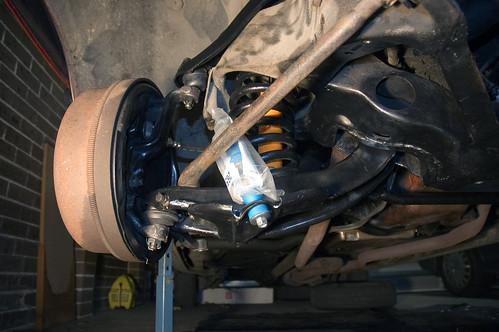
He swapped the bolts over, then stuck in a K-Mac shock absorber from his Monaro which means the RHF is done (aside from nipping up some bolts that need the car dropped on the ground)!

FrontSusp03

He even attached the restraining wire rope to catch the engine in the event that an engine mount breaks...

FrontAssy02


JtC continued to install the short LHF brake line, the brake line to the MC and the LHF brake hose. All that is needed now brake-wise is connect the LHF hose to the LHF slave cylinder (when the LHF stub axle is installed) and bleed away!

The last task of the evening was bolting in the centre link to the pitman arm and idler arm. Phew!

HUGE thanks to Joe once again for a massive effort and I was glad to pitch in a lot more than I have been.

Next:
- Shock absorber bolt (one has gone missing)
- Black paint (we are out)
- Tie rod end boots
- Paint LHF upper cntrl arm
- Fit LHF upper ball joint
- Paint sub frame RHS (mask spring/shocker)

Tuesday, 2 August 2011

Success!

Joe the Champion (JtC) came around for a short stint this morning. Within 15 mins he had the long front brake line out of the car... excellent and scum all rolled into one!

After a short phone-around, Brakepro Thornleigh had the best price for a replacement so I ran the old line up for them to duplicate. 45 minutes and $33.55 later... done!

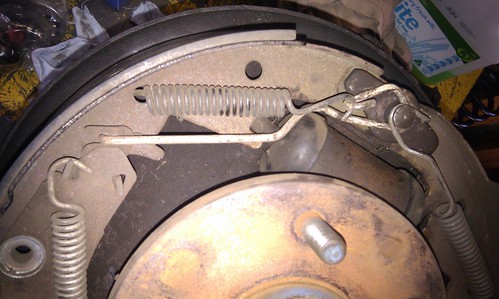
Meanwhile back at the ranch, Joe whipped the RHF drum assembly apart, drifted the old wheel bearings out, punched in the new ones and we then packed them with grease...

FrontBrakes04

FrontBrakes07


Voila!

FrontBrakes10


Some boring reference shots to help guide reassy...

RHFbrake01

RHFbrake02


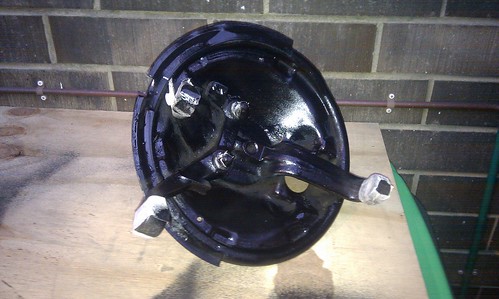
In the evening I hit the back of the drum backing plate with a wire brush, degreased it and hit it with a layer of black acrylic.

RHFbrake03


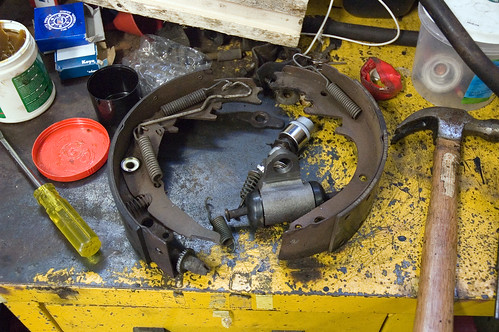
Brake hardware in bits c/w new slave cylinder, ready to go back together...

FrontBrakes09


More to follow!

Monday, 18 July 2011

More Brake & Steering Stuff

I would like to get some tie rod end boots as the current ones are looking pretty tired. I found this…

http://www.energysuspensionxd.com/catalog/tierodb.html

Thoughts?

You were spot on with what was worn and what wasn’t. One of the ball joints in the centre link is flogged out, where the tie rod ends are good.

I thought I would try a plan B for the brake line. I now have imperial flare end spanners, made up some penetrant using 50-50 acetone-brake fluid (using the out of date brake fluid I had) and tried the nut on line coming off the master cylinder. Success!

I wan’t to try the other nuts off the distribution block. If worse comes to worse, we can pull the dist block out of the car with the front brake line and try to get the stubborn nut off in the vice.

Monday, 11 July 2011

Stupid Brake Line...

I filed down two flats which enabled my to get a 9 mm spanner onto the brake line nut. Still no good.

Got myself a little butane blowtorch at lunch today, and gave it a try on the distribution block (that the brake line nut is screwed in to). Still no good. I held it on for ~ 15 seconds. Might try for longer as the distribution block is bigger than a nut. Urgh!

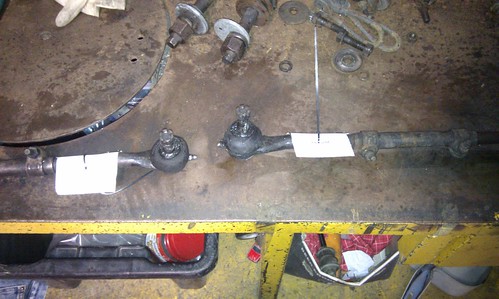
The good news is the tie rod ends are off the centre link. I attached labels with cable ties to ensure we don't get the ends mixed up. So the steering/suspension is all ready to bolt up now.

IMAG0038

We just need to get this brake line off .