"Interior Weekend" begins!
Before JtC's arrival, the sound deadener went down.
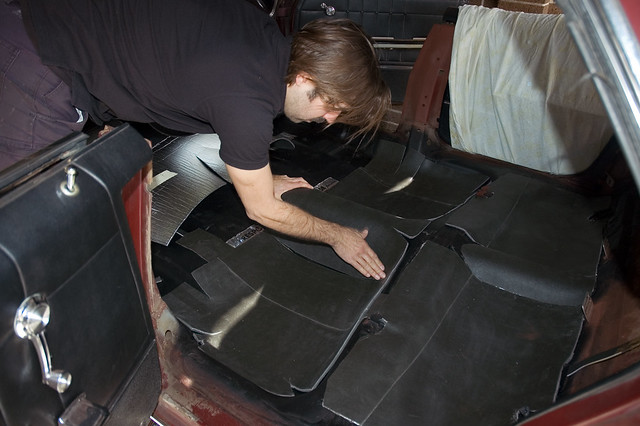
Drumming the floor pan with my knuckles, I found where the resonance was worst. I then cut out paper templates and placed them in situ...
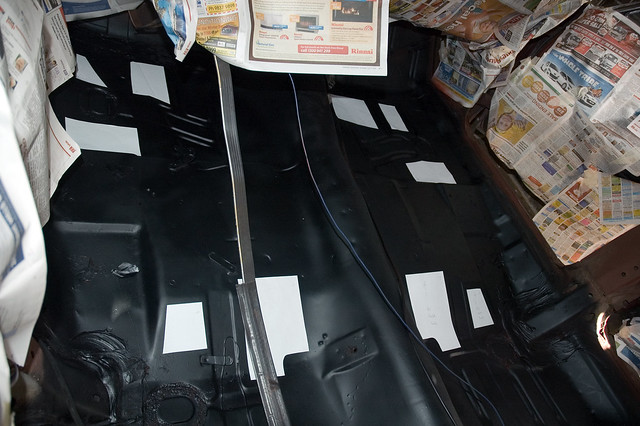
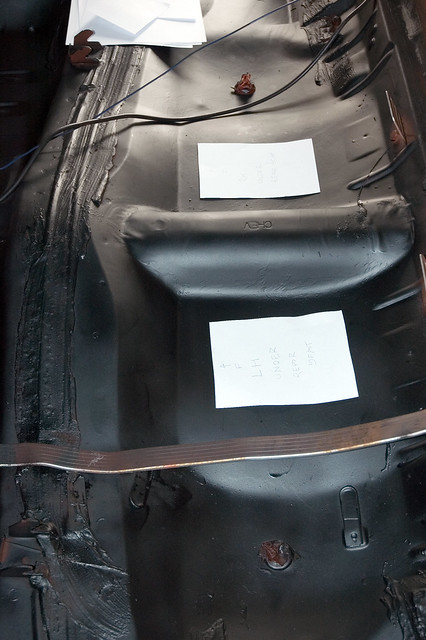
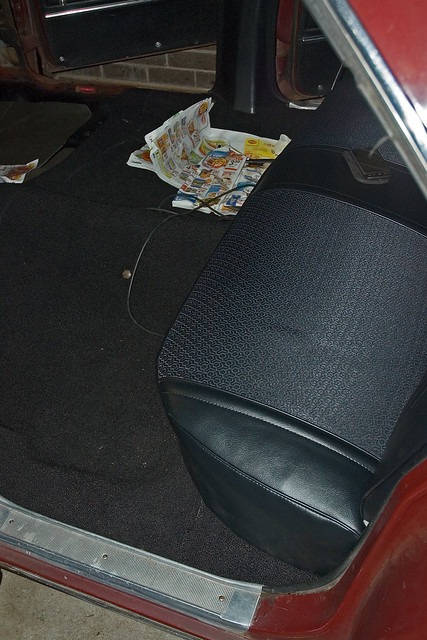
You can also see the flat black paint job and "CHEV" stamping on the floor pan under the rear seat.
The templates were then labelled and transferred onto the sheet of deadener, ready for cutting...

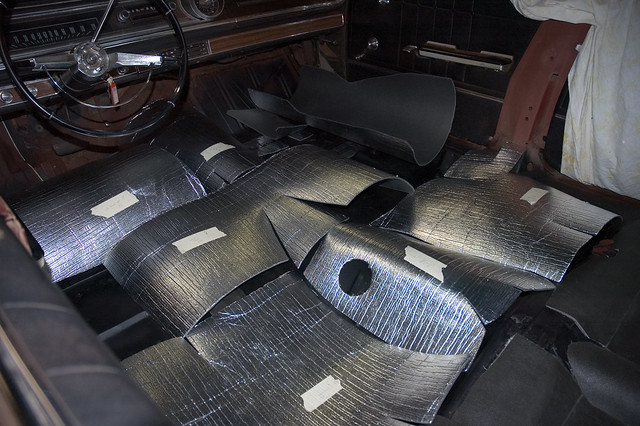
The sheet was then cut-up, floor pan cleaned with wax & grease remover, dried with the heat gun and the pieces stuck into position. The old skateboard that made an appearance previously in moulding the radiator fan shroud, was pressed into service again to press down each patch.
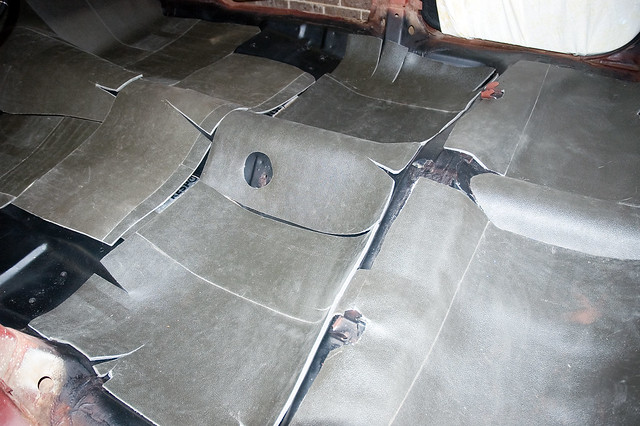
The result...
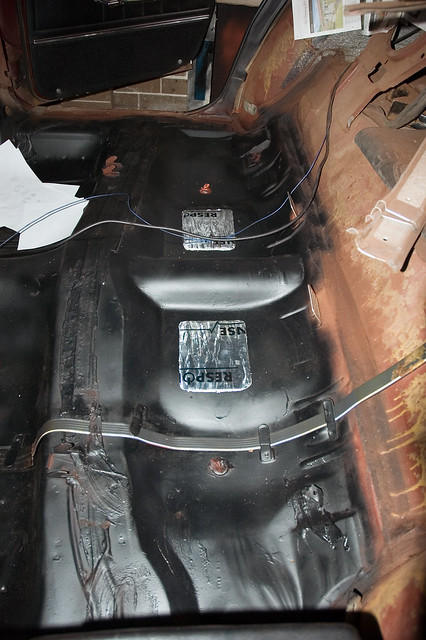
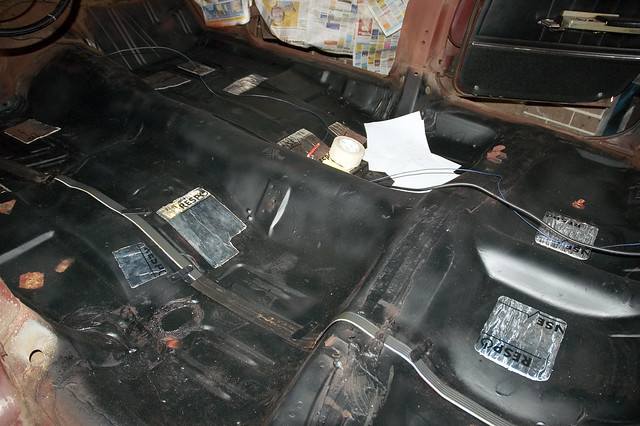
Voila!
JtC further masked off the dash and gauges. He then went to work respraying the column in satin black. It was scratched badly, so having an all-black steering column all freshly sprayed is excellent. The result is really good.
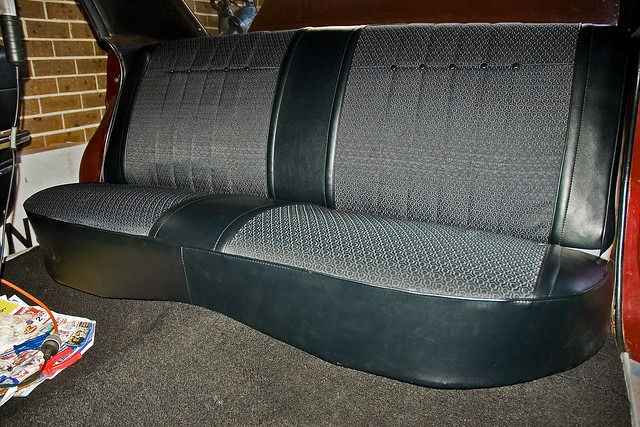
Amongst all this, Carl called and said the seats were ready! I hopped over and picked them up. Rats had eaten-out the rear DS back cushion, so Carl had to build it up with foam.
The result is stunning! Can't wait to get the interior finished now.
A strip of mass-loaded vinyl was placed over the body harness.
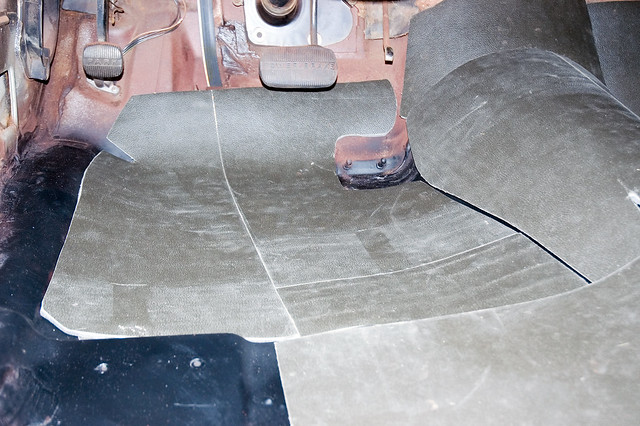
On my return, I cut the foam up into pieces, using the old sound deadener as templates. We stuck down the foam patches under the rear seat; then cut and glued patches of vinyl on top...
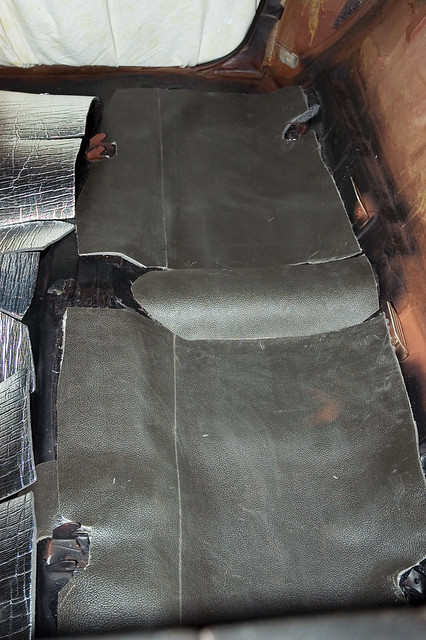
(the second photo shows the foam sections pre-cut and placed in situ)
This method was rubbish! Though the result was good, it was taking AGES. The decision was made to glue and trim the vinyl onto to foam out of the car... then fit the foam/vinyl laminate onto the floor.
Tomorrow's job!