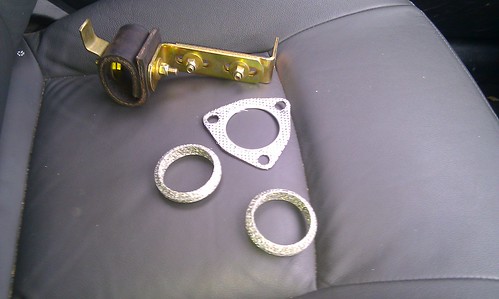
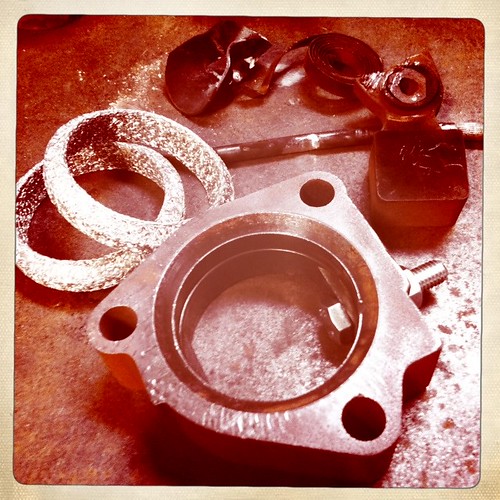
First, fitting the heat riser with freshly deleted valve (see previous) to the exhaust manifold...
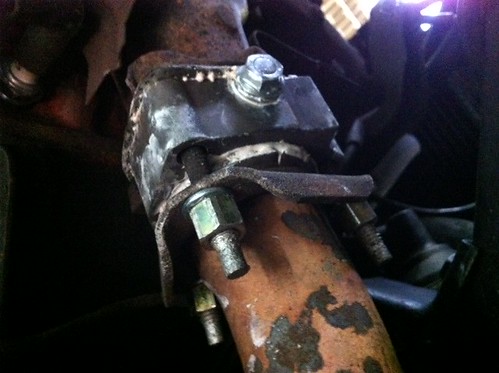
and bolting up the exhaust pipes with the new exhaust flange "donuts"...
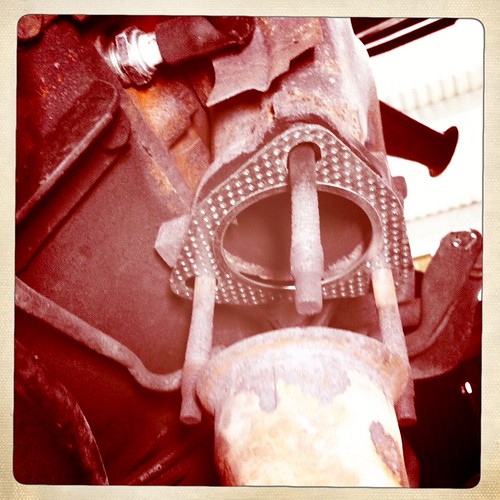
The removed heat riser tube from the exhaust manifold to the (now removed) choke mechanism left a hole in the top of the RH exhaust manifold, which caused an exhaust leak.
A quick rummage around sourced a self tapper which was screwed into the offending hole... complete with plenty of exhaust paste...
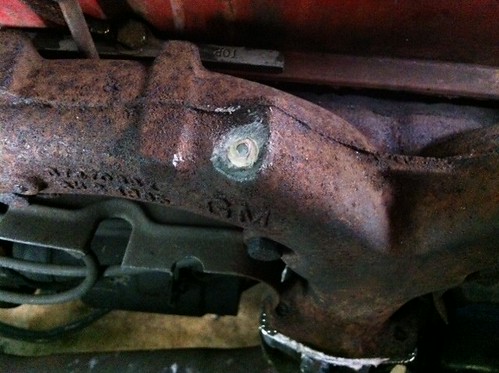
The job was finished with a couple of swipes of the angle grinder to take off the head of the screw to leave the repair flush with the top of the manifold.
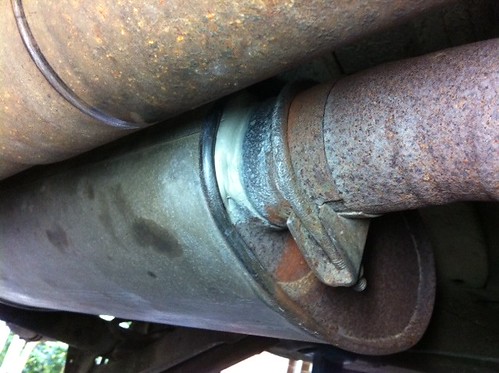
Next job, repairing a leak at the entrance to the centre muffler. Wire brush to clean and exhaust repair putty to finish...
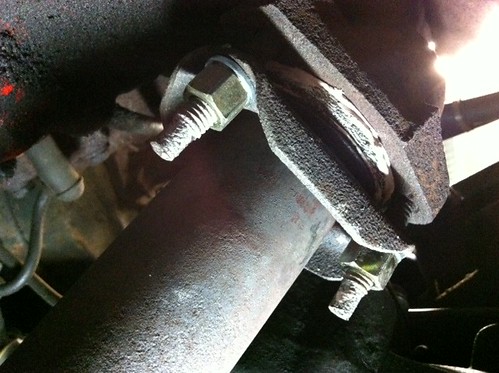
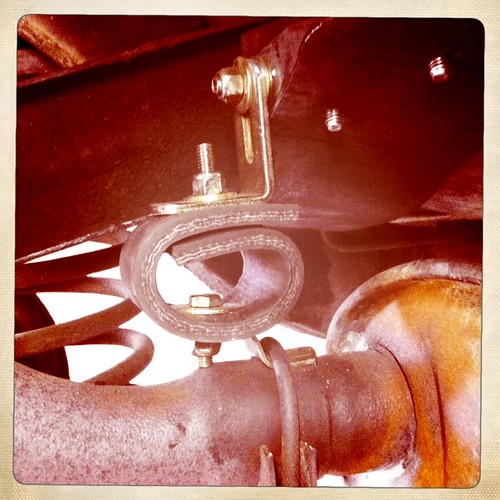
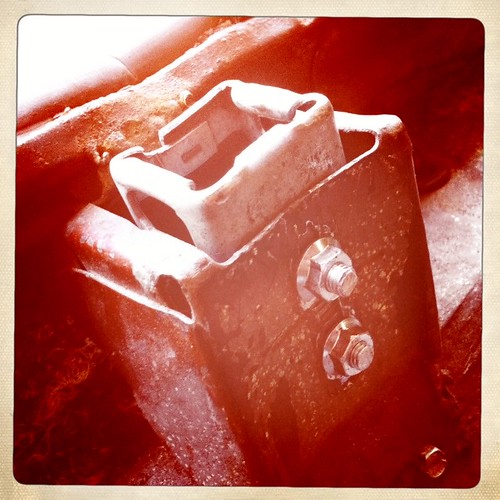
The last job of the day was to tidy up the exhaust mounts as JtC - the perfectionist he is - wasn't quite happy with where things were left previously. Here is the result...
Centre Hanger:
Rear Hanger:
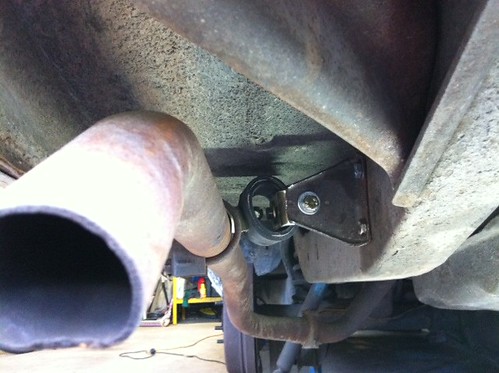
Beautiful!
Held firmly, but with enough compliance and mounted high off the ground, but with plenty of clearance to the floor/mechanicals.
The rear brake hose is swollen, so time to source a replacement.
Shopping list:
- rear brake hose
- boot lock
- boot lock retaining clip
- brake pedal pad
- 4 x tyres
Till the next installment. J


