Showing posts with label brake booster. Show all posts

Monday, 26 February 2018

Hydro-boost

Brakes always had a fair travel and needed a lot of force to haul the car up. The brake system couldn't lock the wheels and so the engineer wanted to see something better.

The disc brake conversion came with 1" bore master and 9" dia single diaphragm booster.

Swapped the booster for a dual diaphragm 8"... no dice.

Ended up going for a 1 1/8" bore master to reduce the stroke and a Hydro-boost brake booster to give the extra "oomph" required...

Hydroboost01


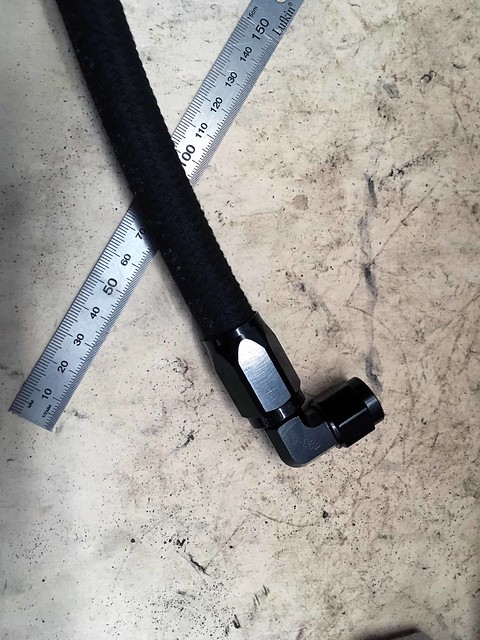
Made up high pressure hoses using Speedflow AN-6 fittings and Speedflow high pressure power steering hose...

Hydroboost03


Installed...

Hydroboost04


Wow! Chalk and cheese!

Standing on the brakes will lock all four tyres now. It has transformed the car and the engineer is well happy.

For anyone going to 4-wheel discs on an Amercian full-size, don't muck around with vacuum boosters... go with a Hydro-boost unit.

JRD

Monday, 25 November 2013

Finished?

So with templates in hand, it was off to Brake Pro in the morning and a 15 min meeting to go through the requirements (I think they understood everything ;-)

Done and picked-up by lunchtime...
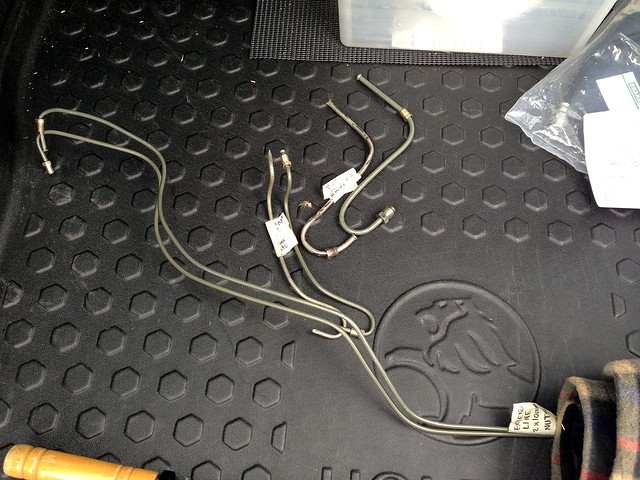
New Front Lines


Miscellaneous saddles and 2 x blanking plugs for the existing distribution block...
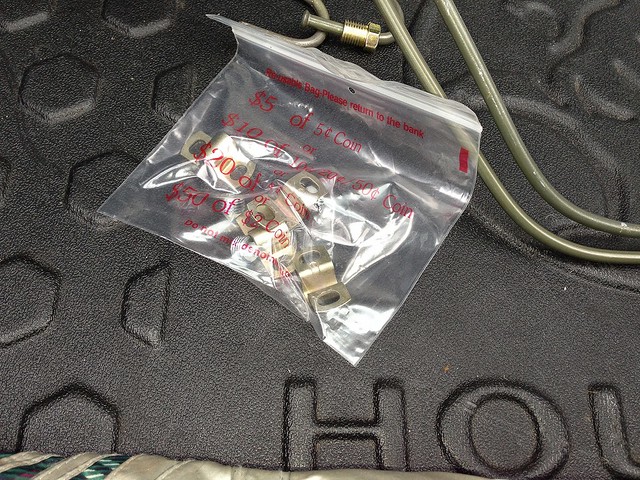
Saddles and Blanking Plugs


Fast forward to the evening. JtC came up and the new hard lines went in like a dream; it all looks pretty darn neat...
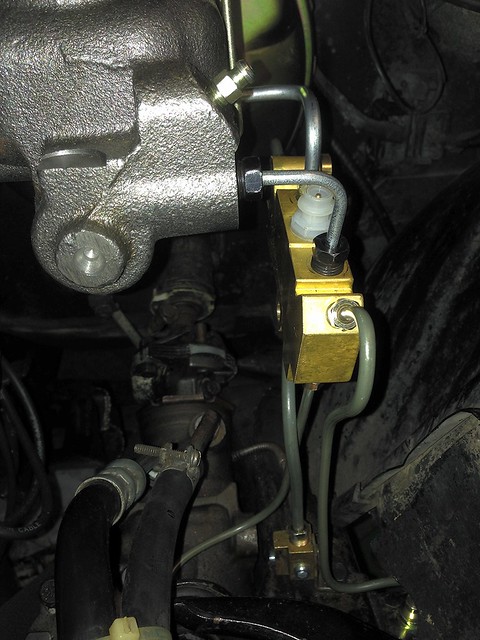
More Brake Lines


We retained the original distribution block for the existing front-to-rear line, then blanked off the old ports to the front brakes and fed the block from the rear master cylinder circuit.
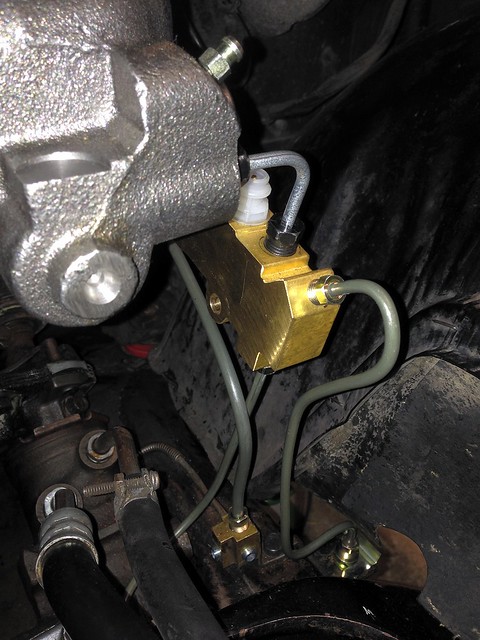
Brake Line Mounting Details


While JtC was bolting up hard lines, I set to work pumping 2.5L of diff oil into the 12 bolt.

A once over the car to check all nuts were torqued up and it was time to bleed!

Though it soon became apparent that no fluid was coming out of the master front circuit...
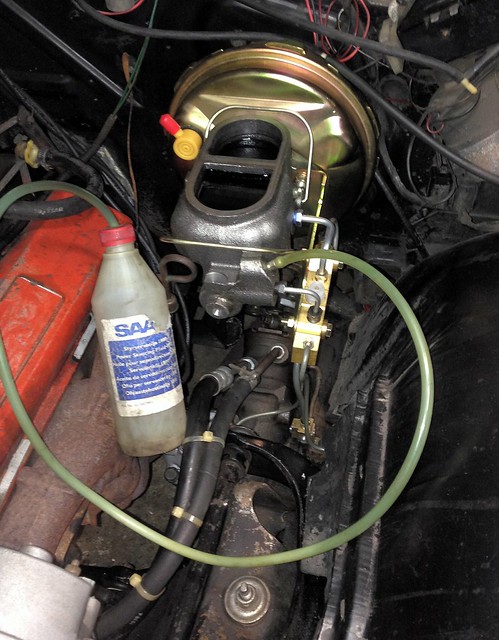
Bleeding Begins


After some choice words and head scratching for half an hour, it was time to hit technical assistance. We soon found this...
Right Stuff Detailing - Tech Centre - Trouble Getting Pressure To Brakes

Sounded like our problem - and answer 2 seemed the most likely culprit...
"The most common issue is the rod that comes out of the front of the brake booster and pushes the piston of the master cylinder. (NOT the booster rod that goes to the pedal, the opposite side.) This rod is often slightly too long and causes a pre load on the master cylinder. This pre load generally prevents fluid from flowing properly out of one of the master cylinder ports".

So we set to work and cracked the nuts holding the master to the booster. A couple of 3 mm thick spacers went in and the nuts re-torqued... success! Fluid exiting the master on the front circuit!

Note the master mounting nuts reversed and square spacers between the master and the booster...
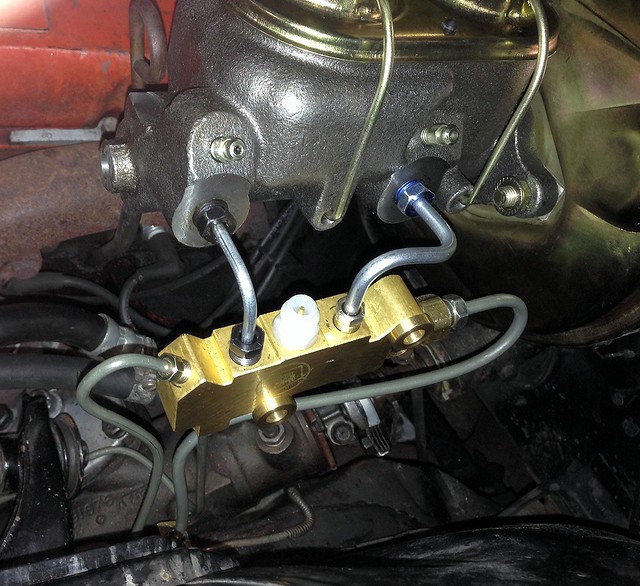
Shiny!


We gave the brakes a bleed to see if we could get brakes - and we can - the Chev has operating disc brakes!

Technically we could throw the wheels on and go for a drive, but it was almost 23:00 so the decision was made to up-stumps for the night. Removing the temporary spacers and shortening the booster-to-master push rod would have to wait till next time.

Sooo close!

John out

Saturday, 23 November 2013

Arts and Crafts

Saturday was another working bee; the goals being:
  • bolt up the master
  • connect the brake pedal and - perhaps most importantly -
  • form some templates for new hard lines, ready to take to Brake Pro on Mon for them to make up.
Some pics...

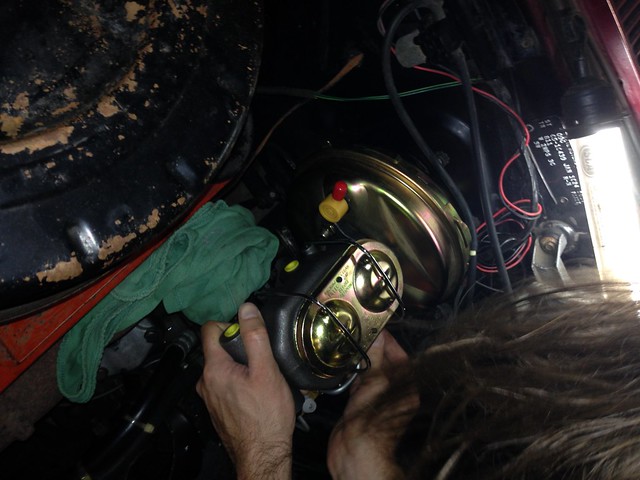
Delicate Operation


Organised chaos...

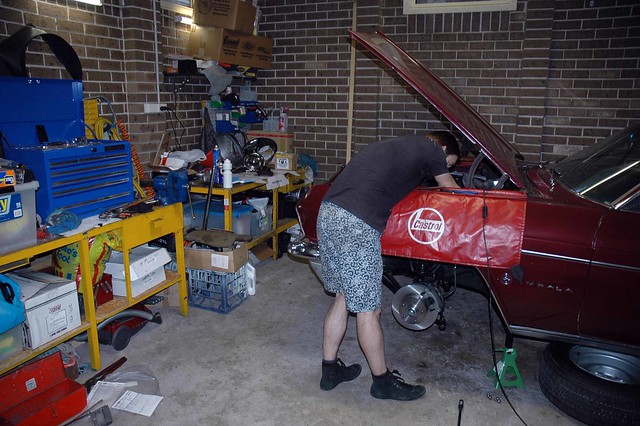
Organised Chaos


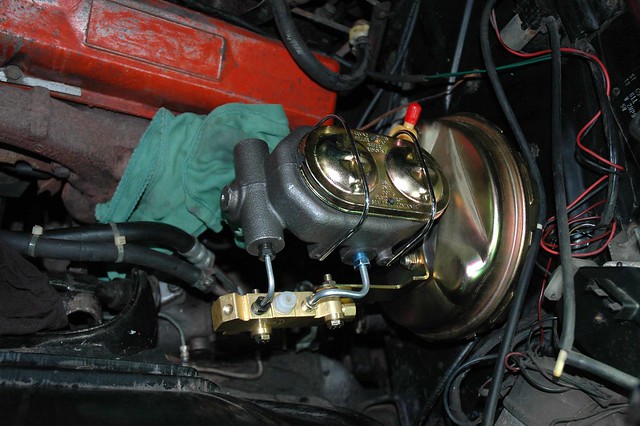
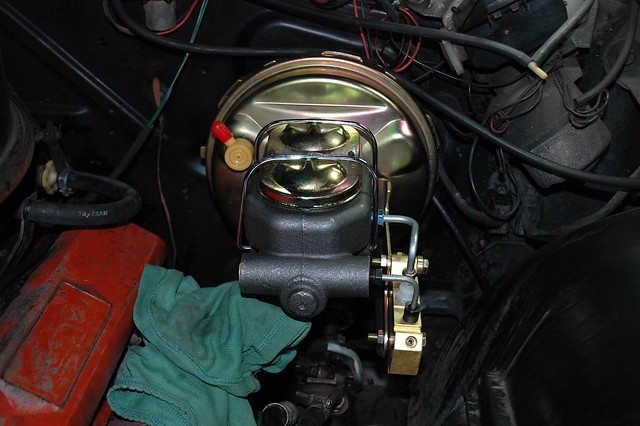
Booster/Master/Combination Valve assembly in place...

Master04

Master05


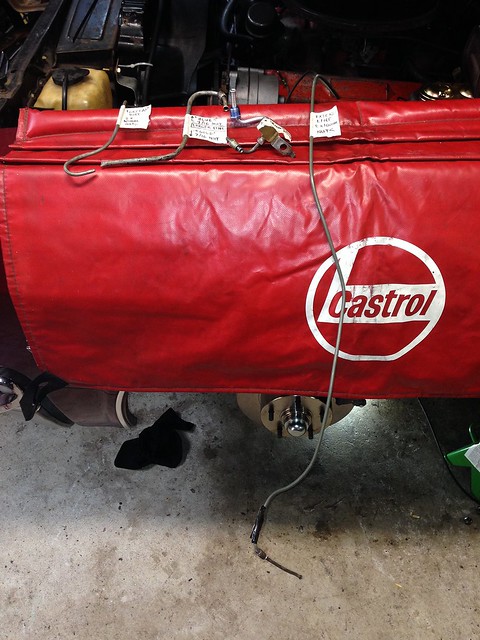
We salvaged old brake line that was lying around to bend into shape and use as templates...

A collection of templates


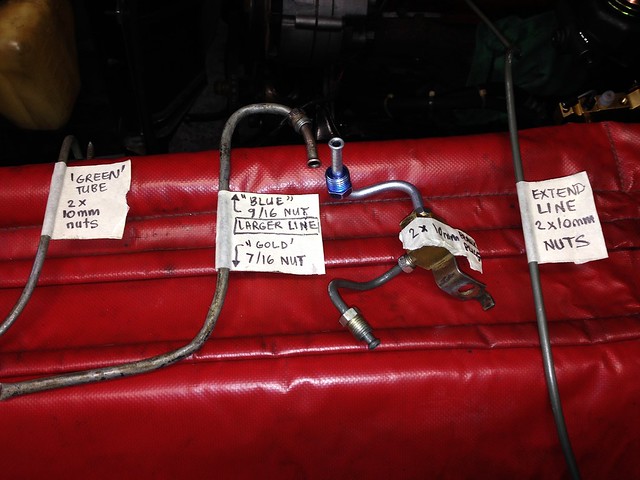
Detailed instructions...

Instructions

(and by 10 mm we mean 3/8").

Done! Next stop, the brake shop.

John out

Thursday, 21 November 2013

Booster + Master


Old booster and master off. Cleaned up nicely...


New brackets from the two kits... different!
Ones on right are from replacement kit, ones on left are damaged booster kit...


Ooo... instructions say "Bolt booster to four studs on firewall"...


...but there ain't no studs!

Ok, so we buy bolts... but the bolt pattern of the brackets is different!
Maybe centres are diff for manual brake car?


Plan B: slot lower holes with a rat's tail file to fit 87 mm centres and voila!


Bed time.

J

Booster Bolt Centres

Old
Across base 95 mm
Across top 87 mm
Verticals 87 mm

New
Across base 87 mm
Across top 87 mm
Verticals 87 mm

J

Tuesday, 19 November 2013

Starting under the bonnet

Moved the Chev over and the Honda is back in. Gave the garage a good clean too.

P.S. Discovered something interesting about tyre overall diameters and clearances to the guard ;-)

The simplest new-to-old interface...


...new master bolted-up to old booster.

JtC:
What about the 15° angle business?

J:
Yeah, not sure how vital that is as it also says if booster bolt pattern matches firewall, then you can bolt it straight up without brackets. It is the brackets that give the 15 deg.

JtC:
Have you tried bolting up the new booster? Why wouldn't you try that?

J:
I measured bolt spacing first and they no match. The next test is to try the kit's bracket bolt spacing. They look slotted, so can cope with some variation.

John out

Tuesday, 29 October 2013

Boosters

The cleanest interface (if it works) would be to retain my booster and bolt-up the new master.
 
The way this read, all Chevs have common master mounting centres…
 
View of front of booster- All have this 2 stud spread which came on original GM muscle cars
 
Measurement applies to PB7537 (7" dual gold), PB7537C (7" dual chrome), PB8531 (8" dual gold) , PB8531C (8" dual chrome), PB9021 (9" single gold), PB9021C (9" single chrome) , PB1002 (11" Gold), PB1002C (11" Single Chrome)
 
3.375" center to center on the two front bolts
 
J