Saturday 30 April 2016

Finally In!

With the pedestals complete, it was time to try dropping the LS in for a second time.

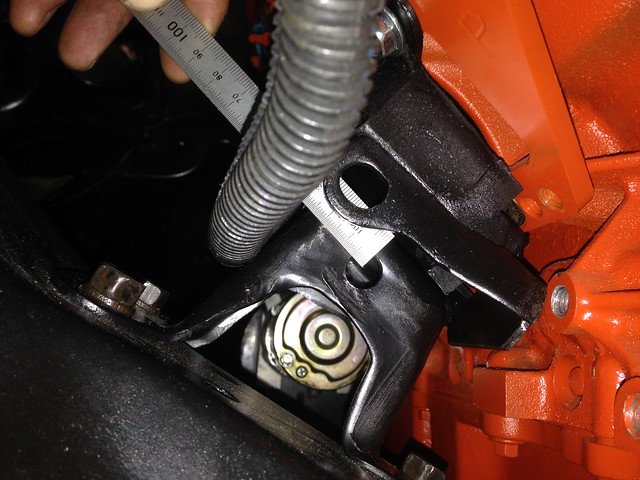
We are old hands at the process and soon had the engine bolted up on one side... but no joy on the other with the mount holes out of alignment to the pedestal holes by 10 mm.

Soul-searching insued trying to figure out a) what went wrong and - more to the point - b) how to fix it.

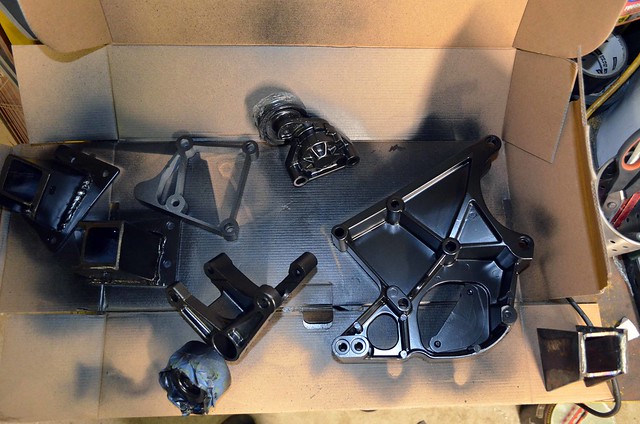
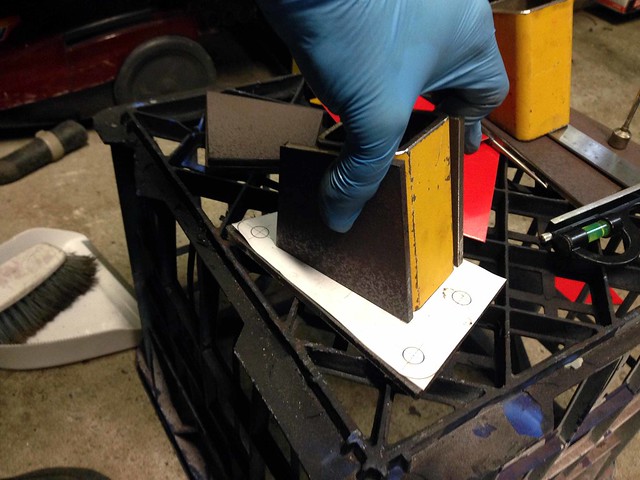
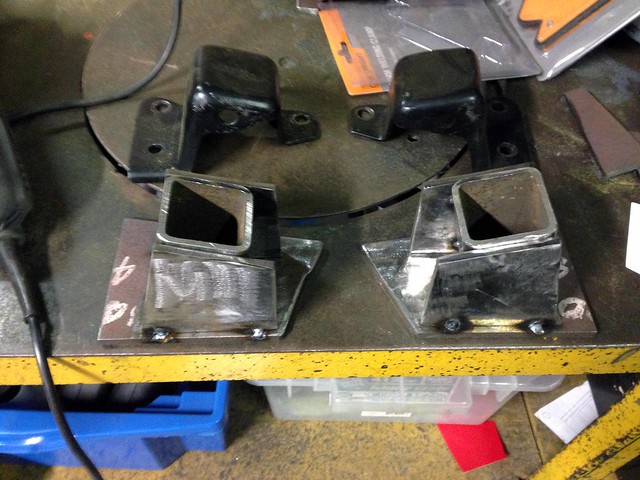
The original Chev engine mounts had long slots in the mounting holes, so the decision was to lift the engine clear of the pedestals just enough to swap the mounts out.

Before we did, JtC opened up the slots a bit more to give us every opportunity of getting this sucker home to its final resting spot, while I ground down the pedestals (in situ) to ensure the mounts could sit low enough to get the holes to line-up.

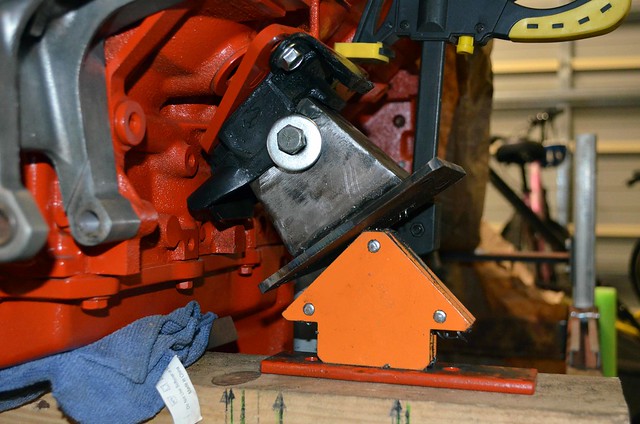
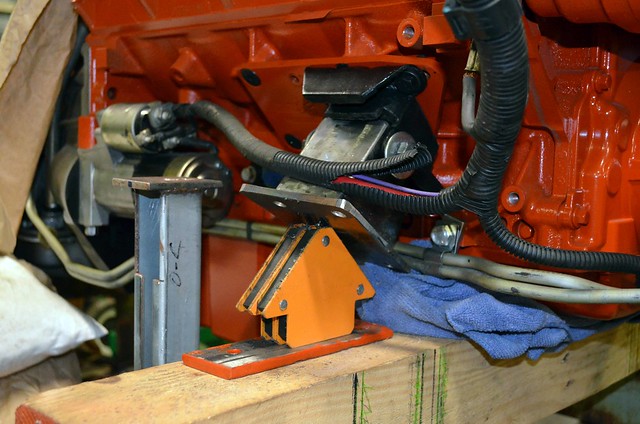
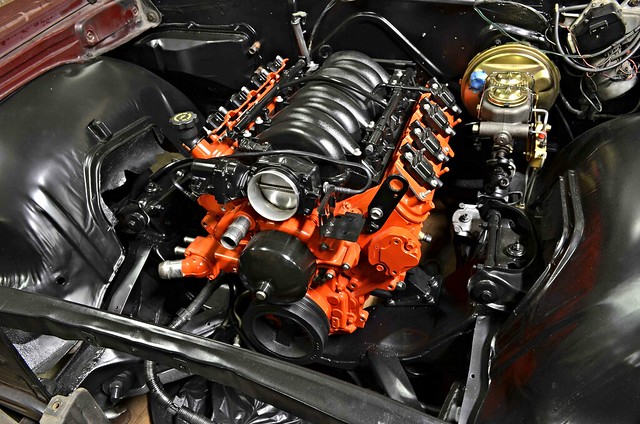
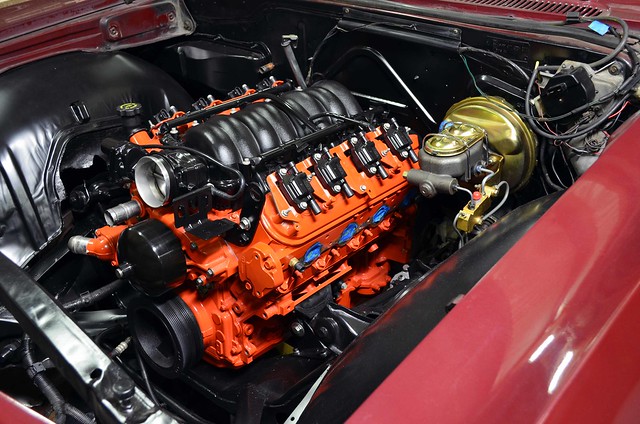
Drill/file/grind/paint and - with the new modified arrangement - the 6.0L dropped in like Chev designed it!

EngineIn03

EngineIn06


It turned out we didn't need to open the slots any further as the original mounts lined-up better than the reproduction items!

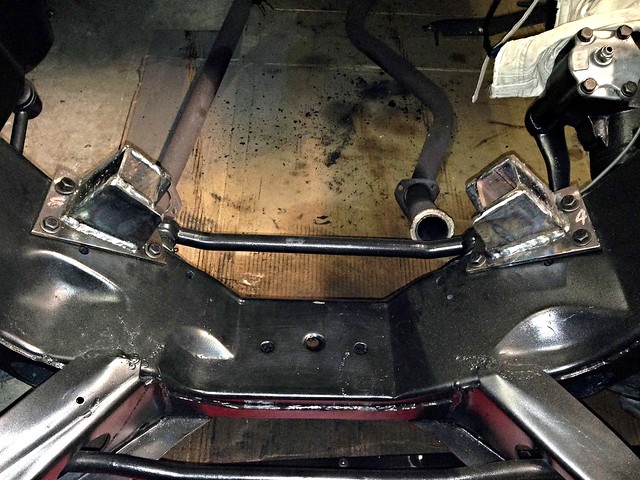
My dents in the trans tunnel were enough to clear the transmission servo.

Bolting the engine mounts in the next location forward on the adapter plates has set the engine back enough in the engine bay to ensure the exhaust now dumps behind the steering linkages.

This is a massive moment in the project and HUGE thanks to JtC for making the trip up and making the magic happen!

Next: gearbox crossmember.

J

Saturday 23 April 2016

Done!

Welds relieved where required to clear the washers and cleaned-up.

Engine mount holes drilled after mocking-up the pedestals to the LS...

Driver's Side Mocked-up

Passenger's Side Mocked-up

J

Thursday 21 April 2016

Sitting in their new home...

Located in place


Just need to:
- relieve the welds in 2 x spots to clear the washers,
- drill the engine mount bolt holes to suit the final location of the engine,
- final clean up of the welds and...
- hit with a coat of satin black.

Gettin' close to engine test fit #2!

J

Fwd: Ramblings

From: John
Date: Thu, Apr 21, 2016 at 11:00 AM
Subject: Ramblings
To: JtC

Yeah, so straight away I could tell the old gas bottle was empty... the new one weighs a ton!

Got it home and cracked the valve for 0.01 seconds... I don't think I have any hearing left ;-)

Welding went ok. Won't win any beauty contests, but doesn't look too bad. It is beyond rock-solid and is all sealed up...

Seam Welded


This morning, before work, I spent less than 10 mins seeing how the welds would clean up on the grinder. Not bad! See below...


I will need to touch the weld across the front of the SHS in one spot with the grinder to make sure the washer clears.

Immediate list:
- final clean-up of the welds with a grinder
- drill base holes
- paint pedestals + Holley ancillary brackets black
- locate pedestals on cross member
- make up a jig to pick-up the location of engine mounts
- drill engine mount holes in pedestals
- bolt pedestals to cross member
- drop engine in!

J

Saturday 16 April 2016

Fabricating New Engine Mount Pedestals

The engine test-fit on 29.03.2016 showed that the engine mounts didn't quite meet the pedestals that are bolted to the cross member...

Untitled


The original plan was to make packer plates between the mounts and adapter plates, to move the engine mounts closer to the pedestals.

That idea was ditched as I wasn't confident the holes would line-up across the car.

Plan B: fabricate new pedestals!

I drafted a few designs before JtC tweaked my penultimate design for this - final - concept...

Sketch


Back to AutoCAD to tweak the design. It wasn't long before some 1:1 templates were printed and cut out of card...

Templates

Templates


Plate was cut and the final design mocked-up in steel...

Mock-up


New vs. old. Tacked ready for seam welding...

Tacked

Material:
50 x 50 x 4.0 SHS
6 PL

J