Wednesday 28 December 2011

Spit & Polish 2

On the way north, Joe picked up some Auto Glym Paint Restorer...

...and set to work (solo today as I was doing the work thing).

MUCH better on all counts than the old Kitten stuff. JtC used Paint Renovator for starters and finished with Super Resin Polish to give this...

After Final Polish

...nice reflection in the bonnet and side panels.


After Final Polish

The last shot shows how the paint on the boot and roof isn't as good as the vertical panels; nor the bonnet in the first shot.

Lookin' good... thanks again Joe!

Tuesday 27 December 2011

Spit & Polish

Time to set minds and elbow grease towards getting the exterior looking nice. How good will the paint come up after a bit of a polish? Good question!

Masked up and ready to go...

DSC_0016 016


JtC brought up a bottle of Auto Glym Super Resin Polish...

ImpalaPolish07

...and I had an old can of some über-abrasive Kitten polish. It didn't take long to realise the old Kitten polish was rubbish, leaving swirls everywhere, so it was ditched.

The boot lid and roof have - by far - the worst paint out of all the panels on the car. All vertical surfaces came up a treat, some very nice reflection off the doors...

ImpalaPolish05

...and the fenders...


ImpalaPolish06

After hitting the roof and boot with Kitten, then multiple goes of Super Resin Polish, the decision was made to acquire some heavy-duty Auto Glym Paint Renovator and try again tomorrow.

Stay tuned!

Thursday 15 December 2011

Legal!

It is done.

A trip down to SMS Performance in the morning to pick-up the Blue Slip, then a short trip to Padstow RTA soon saw the Impala registered... phew!

BIG thanks to JtC; none of this could have happened - especially in the time frame it was - without his help.

Rego

Wednesday 30 November 2011

Here we go...

On the tilt-tray and off to SMS Performance in Padstow in the search for a Blue Slip... fingers crossed!

Tilt Tray

John

Friday 25 November 2011

This time for sure

The replacement tyre arrived yesterday so this morning meant a trip back to Billy's to finish the tyre renewal process.

Billy mentioned previously that the front end suspension was fairly devoid of grease and subsequently there was a smidge of play in a couple of the ball joints. He gave the whole front end it a hit with the pressure grease gun and all is good. All up the Chev drank a lot of grease apparently.

One of the front wheel bearings had a bit too much play, so Billy also nipped it up.

I got them to lock it away undercover overnight and I'll pick it up tomorrow.

Tuesday 22 November 2011

Weighty Matters

An early start saw the Chev back on the roads, this time for the furthest trip it has done... to Epping to Tuffy's Muffler weighbridge.

Result... 1,707 kg with a quarter tank of petrol and void of people.

Weighbridge

Drive home straight after.

Monday 21 November 2011

Urgh!

Drove the Chev up to Billy's first thing in the morning. It started well and seemed to warm-up pretty quickly.

The instructions were for the four new tyres to go on the four best rims, the best old tyre go on the spare and the other good tyre to go in the boot loose.

Arrived at a bit after 5PM to find the all tyres on the car still with the blue protecting paint on the side walls.... except one.

Turns out they butchered the bead of one of the new tyres putting in on the rim! <sigh>

They were very apologetic and ordered a replacement to be shipped up from Melbourne to be fitted when it arrives; maybe Wed?

Overall, they were impressed with the standard of the car.

Saturday 19 November 2011

Tidy-up

JtC came around to finish off a few items and to give the Chev an overall check-over/clean before a big week of heading out onto the streets for work/inspections.
First job was to nip up the sump plug and get it to seal... done! Ended up deciding to change the oil; also done.

We painted the bespoke battery clamp to make it look less... agricultural - and it came up a treat!
DSC_0031 002


All the window winders were dry and sticky and a door trim or two sticking out. JtC went to work and a couple of hours later had all winders working a treat and the trims fastened.

Joe finished up degreasing the engine bay, particularly the firewall...

Tidy-up02


...and giving the car a wash.

DSC_0034 005


Loaded up and ready for Monday!

DSC_0036 007

Friday 18 November 2011

Black Round Things

The tyres arrived!

Booked with Billy's Automotive on Mon 21/11 to fit and balance the new tyres and do a wheel alignment.

More discussion around Blue Slips and whether and engineer's certificate was required... ended up booking with Mobility Engineering for an engineer's inspection on Fri 25/11 just in case.

Also booked with SMS Performance, Padstow on Thu 24/11 for a blue slip. Chris there assures me I don't need an engineer's cert... let's see.

Saturday 12 November 2011

...I want to paint it black...

In readiness for new tyres, I thought I would hit the rims with a coat of black so at least they were vaguely presentable (even if the retro hubcaps will hide the rims).

The work procedure was power wire brush, sand with wet and dry, blow with compressed air, wash with suds, rinse, another hit of compressed air, air dry, mask and paint.

Two fifths of the way through...
PaintingWheels02


The "paint booth"...

PaintingWheels01


They came up a bit of awright for the quick job that it was...

PaintingWheels04


J

Tuesday 8 November 2011

Indicator Cam

Look what turned up...

IndicatorCam


Time to install; here it is mated to the indicator switch body...

Indicator01


A quick check to see that it does what it is supposed to...

Indicator02

...and it does.


Finally, the wheel is lightly sat in place w/o the horn mechanism, ready for final alignment...

Indicator03


Tyres are ordered, so on their arrival it is off to get them fitted and aligned.

Till next time, John

Tyres

Ordered four of these...
Mastercraft WSW 215/75R14

Monday 7 November 2011

Getting close now...

JtC made the trip out to see if he could crack the thread on the brake line at the rear of the car. Success!

It wasn't long before the new hose was in place.

RearBrakeHose01


A quick bleed of the brakes and job is done!

Now to order some tyres... something I have been putting off for too long, knowing the cost to come!

Saturday 5 November 2011

Small Update

Picked up...
- boot lock
- rear brake hose
- brake pedal pad
...through the week.

Brake pedal pad new vs. old
DSC_0001 001


Today's tasks were to slip on the new brake pedal pad and fit the boot lock which are all done.

Finished off by removing (and ditching) the old seat cover off the rear seat base and giving both the rear seat base and back a good scrub with a brush, before cleaning multiple times with interior cleaner.

Came up a treat!

Chased the indicator switch cam as I haven't see it yet. Apparently Aus customs/quarantine industrial disputes have caused delays. Lets hope I see it soon.

Sunday 30 October 2011

Exhaust is done

JtC returned to fit the newly acquired exhaust bits and, so, finish up the exhaust side of things.

First, fitting the heat riser with freshly deleted valve (see previous) to the exhaust manifold...

image2


and bolting up the exhaust pipes with the new exhaust flange "donuts"...

image3


The removed heat riser tube from the exhaust manifold to the (now removed) choke mechanism left a hole in the top of the RH exhaust manifold, which caused an exhaust leak.

A quick rummage around sourced a self tapper which was screwed into the offending hole... complete with plenty of exhaust paste...

image1


The job was finished with a couple of swipes of the angle grinder to take off the head of the screw to leave the repair flush with the top of the manifold.


Next job, repairing a leak at the entrance to the centre muffler. Wire brush to clean and exhaust repair putty to finish...

image4


The last job of the day was to tidy up the exhaust mounts as JtC - the perfectionist he is - wasn't quite happy with where things were left previously. Here is the result...

Centre Hanger:

image5


Rear Hanger:

image6


Beautiful!

Held firmly, but with enough compliance and mounted high off the ground, but with plenty of clearance to the floor/mechanicals.

The rear brake hose is swollen, so time to source a replacement.

Shopping list:
- rear brake hose
- boot lock
- boot lock retaining clip
- brake pedal pad
- 4 x tyres

Till the next installment. J

Thursday 27 October 2011

Exhausting!

Based on Joe's findings from his disassembly work on Thu 20/10, I went shopping...

IMAG0099

I grabbed 2 x exhaust flange gaskets ("donuts") and a heat riser flange gasket. Plus I took to opportunity to acquire another generic exhaust hanger to finalise the hanging of the exhaust in a neat and tidy fashion.


The heat riser gasket mount holes were ever so slightly different to what the Chev had, so a quick massage with a hole cutter and voila!...

image1

A perfect fit.


Finally, Joe made a mod to the heat riser valve...

image2


He cut off the shaft and extracted the butterfly, then drilled out the hole for the shaft and inserted a bolt/nut assembly to blank it off (see photo above).

This shot shows the complete bolt. The final install had the bold head ground down and exhaust cement to help seal.

Till next time,

John out.

Thursday 20 October 2011

An Open Door Policy

Joe is back and today's mission was to open the LHR door...
image3

Easy!

The latch return spring was stuck, so a quick spray of WD40 did the trick.


Next, boot latch adjustment. One of the bolts was stripped so time to find a replacement...

image4

The result? A much better boot fit...

image6


Last task for the day, start hunting down the source of the exhaust leak (leaks?). Off  came the exhaust manifold to exhaust pipe connection and out came the heat riser valve...

image2


Time to source a heat riser gasket and a couple of exhaust flange donuts.

The list is getting shorter!

Sunday 9 October 2011

Electrics #2

Joe is back today to continue part 2 of the electrics saga. Today's installment... the rear of the car, namely reverse lights and number plate light.

The Chev came with a blown reverse light fuse. Replacement of said fuse and re-testing simply blew the fuse again, so there is a short.

Breaking out the test light and tracing the wires back from the reverse switch showed we had power all the way to the back of the car.

Once at the back, we could tell the car had been in a minor bingle in a previous life as the LHR brake light bulb sockets were non-original (and badly fitting, incorrect replacements!) c/w splices in the wiring.

It wasn't long before the trouble shooting super powers of JtC came to the fore when we found a short in the RHR indicator bulb socket...
ImpalaElectrical04

The good one (LHR) is shown here, but the photo shows the live centre contact (live) that was bent in the dodgy one and was touching the bulb socket (earth) itself - which was depressed into the plastic housing - and, hence, creating a short.

After removing this short - and a quick test - we (thankfully) found that this was the only short. Nice!

So the decision was to run up to Auto One and see if we could source some generic replacement bulb sockets that would fit for both the dodgy LHR stop lights and both rear indicators.

A quick search found these:
Narva 49828 (Single Contact Bulb Housing)
Narva 49838 (Double Contact Bulb Housing)

Both were a perfect fit for the indicator and tail lights respectively. A HUGE win! We grabbed some spare stop light bulbs, spare indicator bulbs and spare fuses.

We also grabbed a replacement number plate bulb as a quick test at home showed it was only a replacement bulb that was needed. Simple fix.

Once home, soldering ensued...
ImpalaElectrical08


Finally a picture (or two) tells a thousand words...

ImpalaElectrical06

ImpalaElectrical05

A HUGE day in the hunt for a Blue Slip! not much left on the list now.

Saturday 8 October 2011

Seats

Time to bite the bullet... the 60's car seat covers are coming off!

The rear seat base and back rest have been out of the car for ages (to enable access to the boot without a key) so it was there that we made a start.

As you can see, the frame is in great condition for a 40+ year old car...


ImpalaSeats01

...and the covers are held on by C-clips.

(if I clip on a new cover, I must remember to dig out by C-clip pliers used during the garage build for constructing the sediment fence).

Under the seat cover, the cover's foam backing has completely deteriorated leaving a fluffy foam residue that can (mostly) be brushed off, but will need some sort of cleaner to get rid of the remnants.

ImpalaSeats04


Besides the very top of the back rest - which is perished from exposure to the sun - the seat is in darn good nick.

ImpalaSeats06

More tomorrow!

Friday 7 October 2011

Electrics #1

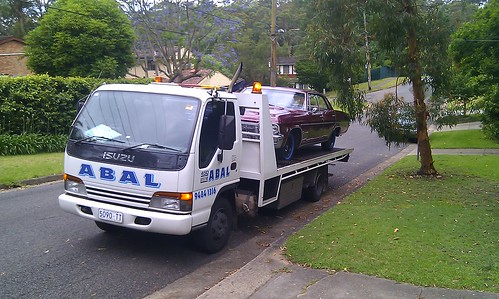
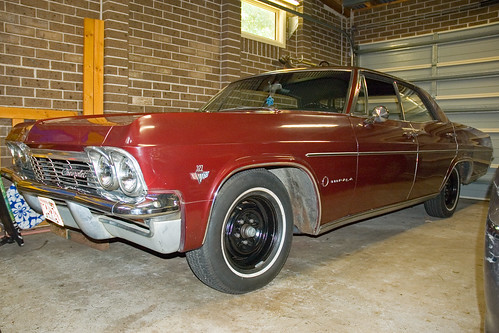
JtC is back! And I had the day off as annual leave, so it was a perfect day to Chev.

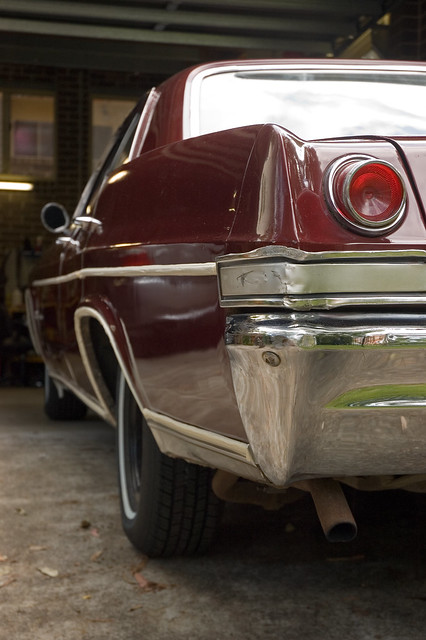
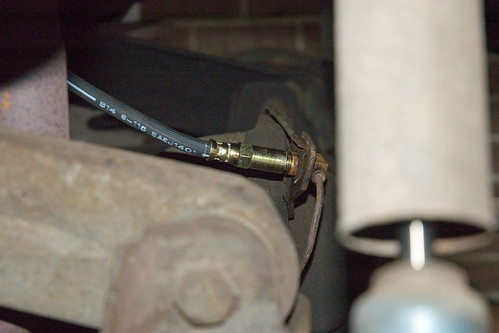
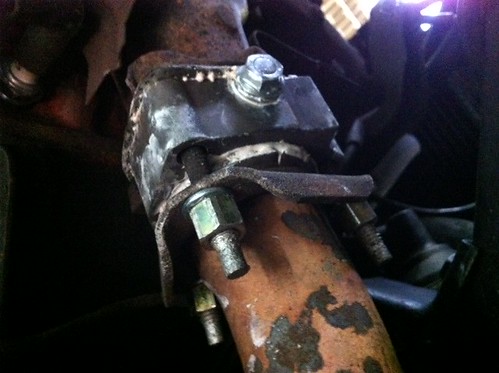
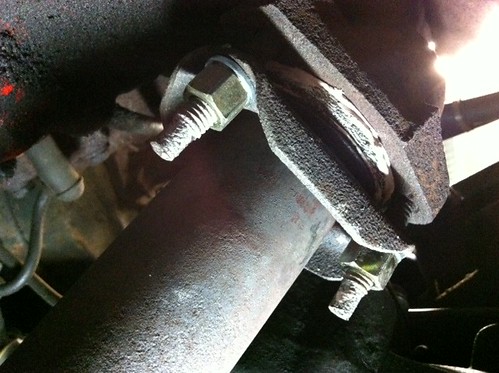
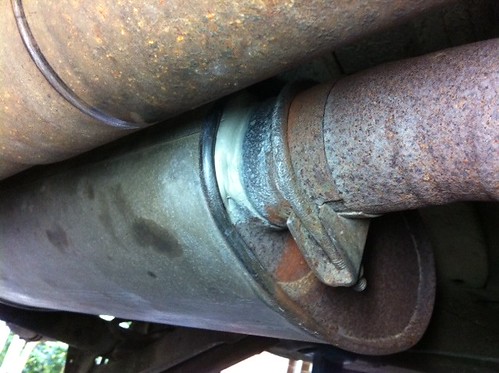
With the Chev on stands, it would make an awful noise if dropped into drive. JtC suggested it was tailshaft brushing the exhaust with the rear axle and gosh darn wasn't he 100% right... phew! I had images running through my head of some exy repair.

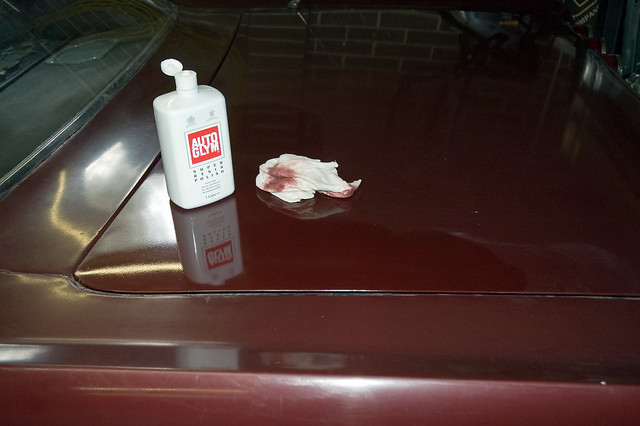
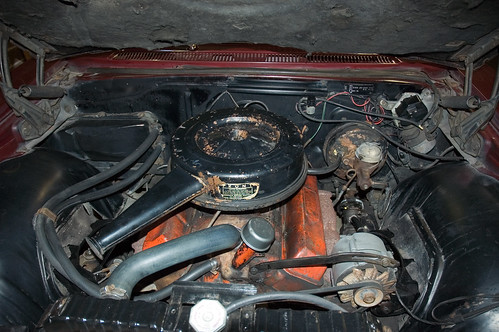
Next, idle mixture adjustment...

IdleMix01


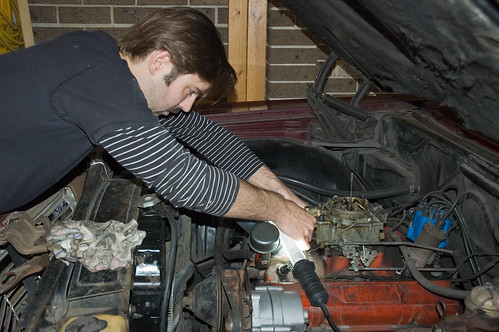
Both idle mixture needles were 1.5 turns out of the seated position, so Joe set them both to 2 turn out to give a slightly higher idle speed.

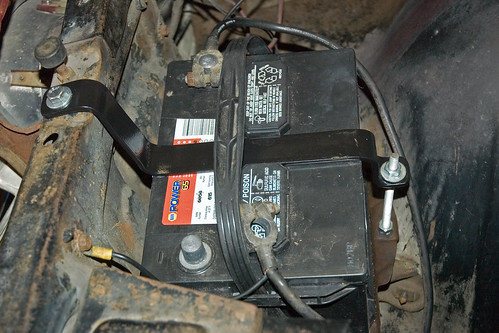
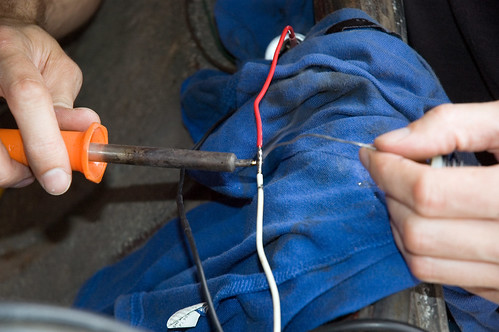
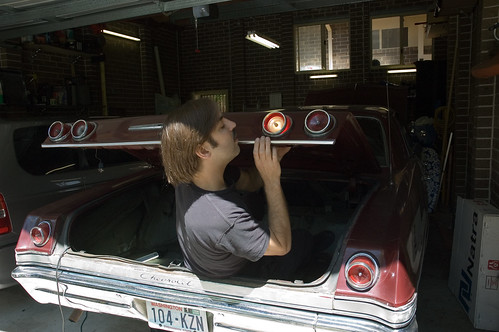
Then it was electrical time. First project, LHF indicator.

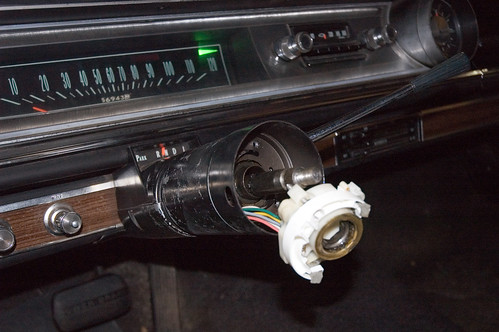
The test lamp showed no power at the bulb, so we traced the prob back to (most likely) the indicator switch... and that meant steering wheel removal.

Banging and pulling with hands didn't do anything so we had fabricate our own Driver-patented* steering wheel puller...

SteeringWheel02

SteeringWheel01

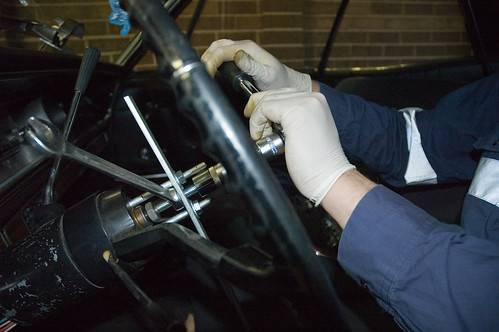
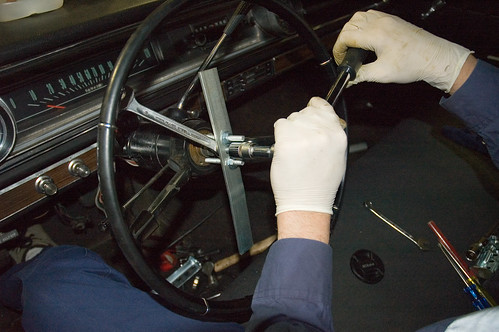
A few twists of the socket and voila! Steering wheel off.

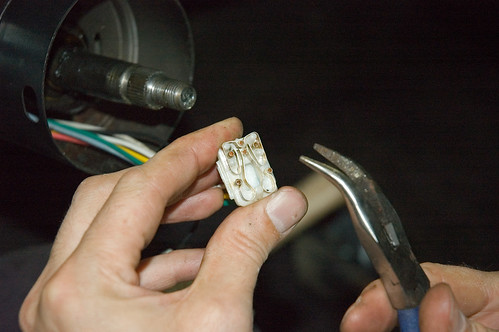
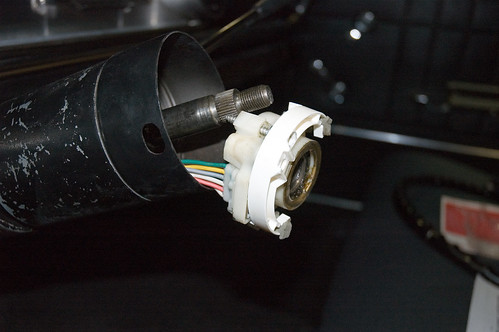
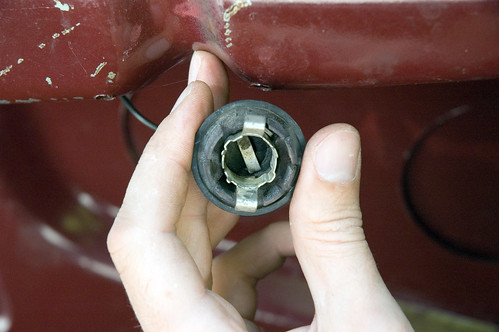
Digging into the bowels of the steering column soon revealed the indicator switch where we discovered a weird arrangement where a plastic spigot would push a strip of metal onto another to make contact... ok, so not so weird. The weird part was the strip would make contact and complete the rear indicator circuit first, then continue its travel and make further contact to complete the front indicator circuit. Weird.

It was at this point we found the strip could not quite travel enough to make the second contact (i.e. active the front indicator circuit) on the LH side.

IndicatorSwitch02


A quick adjustment with needle nose pliers...

IndicatorSwitch01


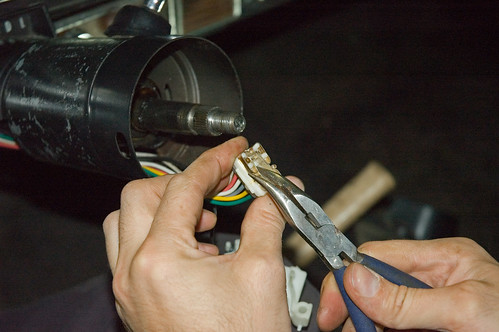
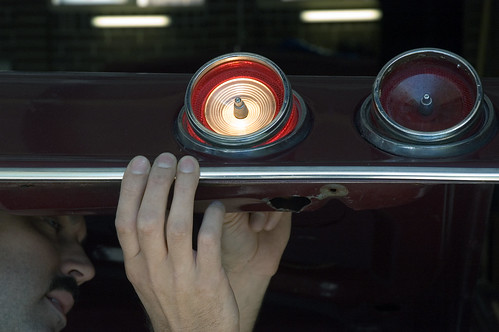
...and double voila! We had the LHF indicator!

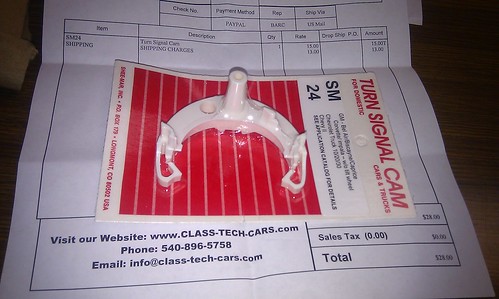
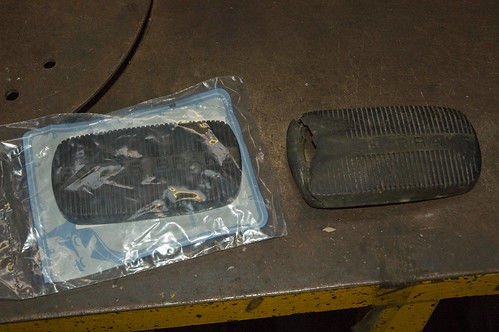
We noticed the outer component of the indicator switch had a crack through it, so time to source a new one and replace it before we return the steering wheel to its rightful home.


*may or may not be patented.