Showing posts with label automatic transmission. Show all posts

Monday, 18 July 2016

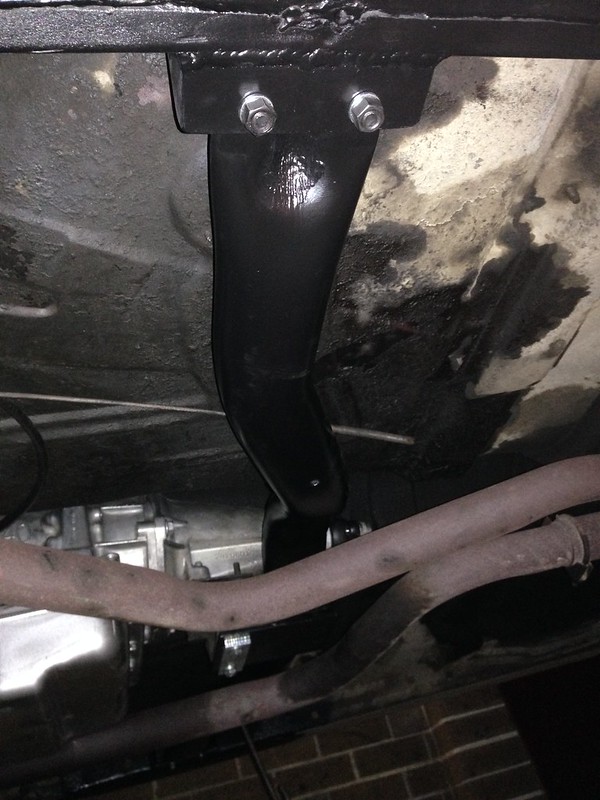
Transmission Crossmember - Part 6 FINAL!

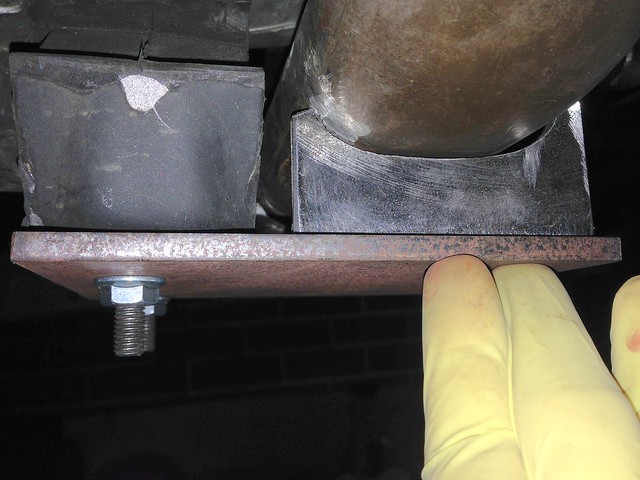
Aaaand bolted in place...

Untitled

Next: sorting the handbrake.

Now that we have moved the trans x-member towards the rear ~ 200 mm, all the geometry of the handbrake middle cable has changed as it hangs said cross-member.

J
Saturday, 25 June 2016

Transmission Crossmember - Part 5

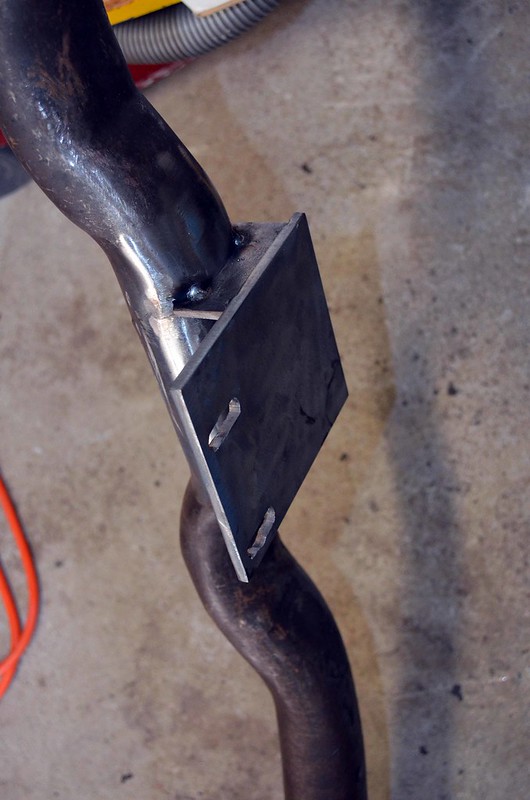
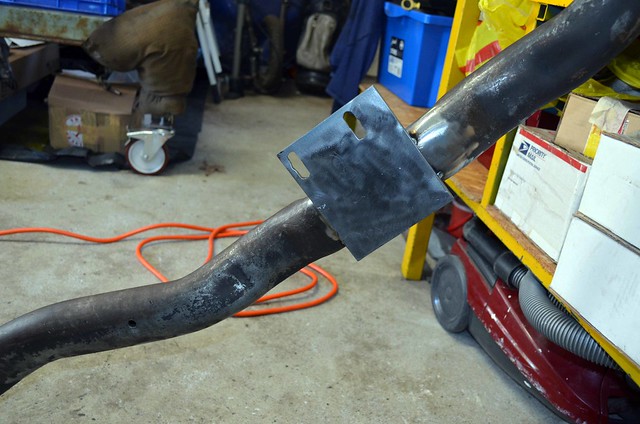
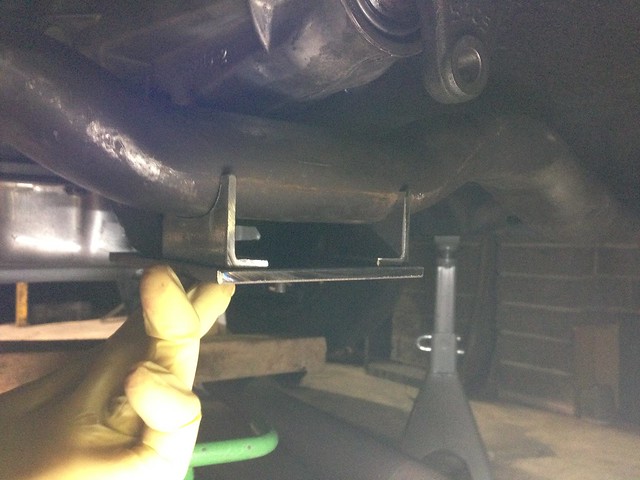
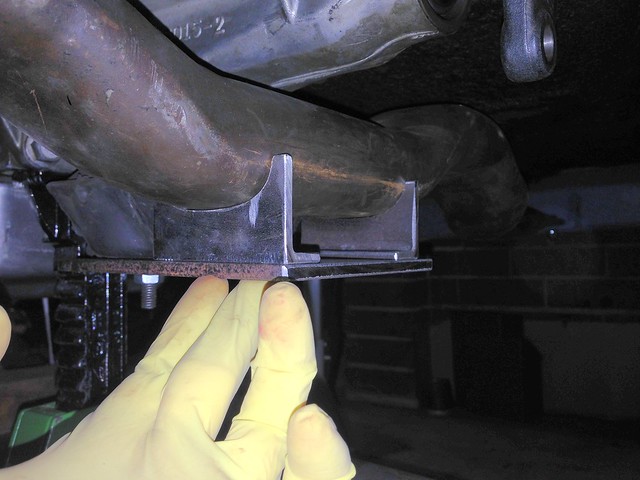
With the bracket tacked together on the bench (in part four of our transmission cross-member mini-series) it was time to tack-weld the bracket to the cross member.

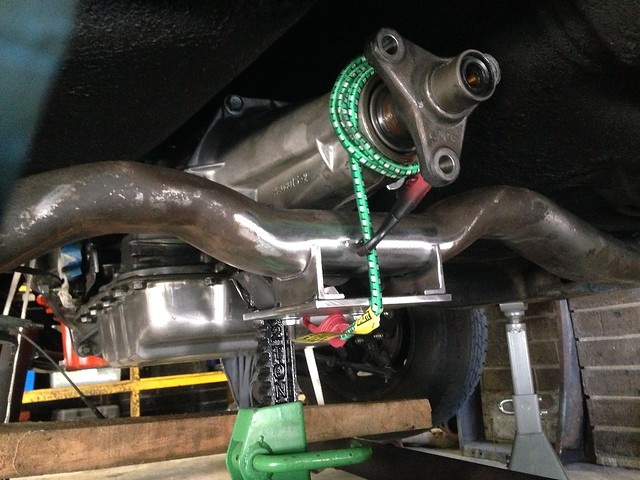
Bolted to the trans and held in place against the curved pipe of the cross-member with a trusty occy strap...

IMG_2823


A few spot welds and the bracket was located.

Removing the cross member - with the bracket attached - became problematic... much pushing and shoving and cutting-down the mounting studs didn't help. The go is to unbolt the mount from the trans and bingo! Job done.

Out of the car...

FabXmember03

FabXmember04


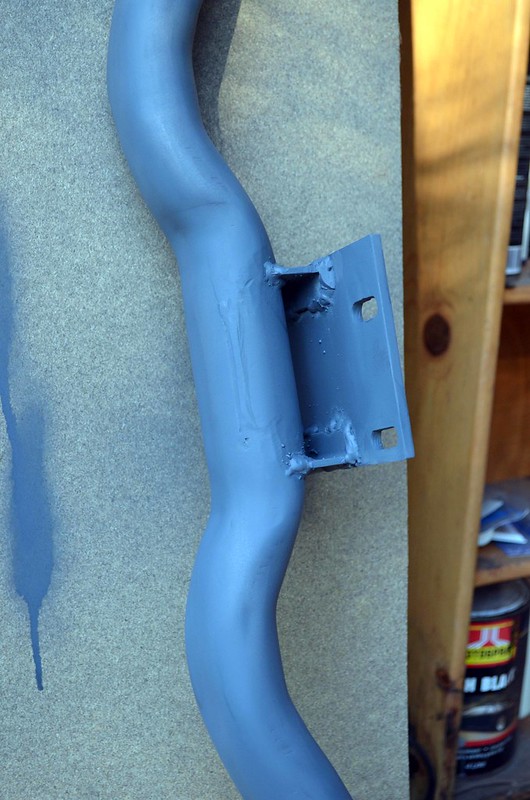
Welds were run (no fashion awards, but it ain't going anywhere) and hit with primer...

FabXmember06

FabXmember05


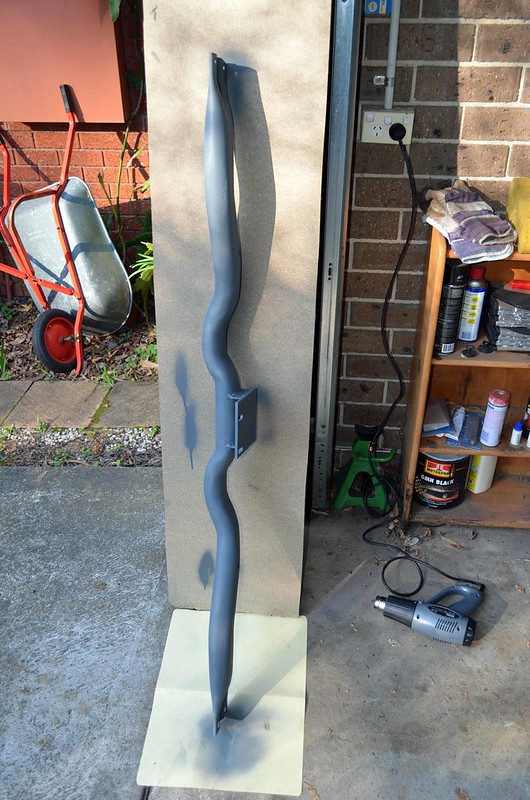
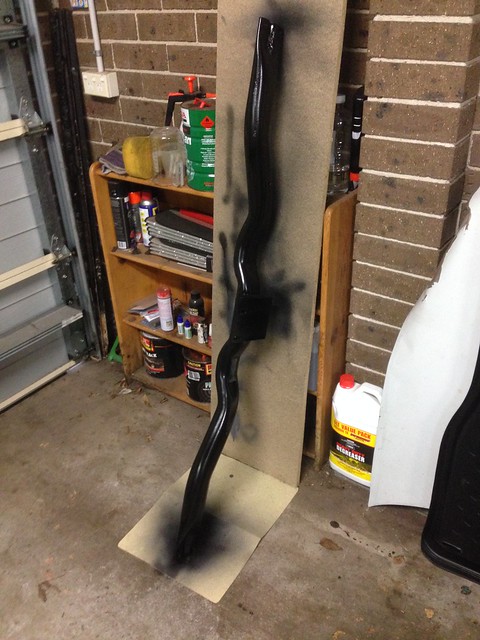
Then a couple of coats of satin black...

IMG_2828

J

Sunday, 19 June 2016

Transmission Crossmember - Part 4

More arts n' crafts this weekend as the mocking-up of the modified transmission cross member continues.

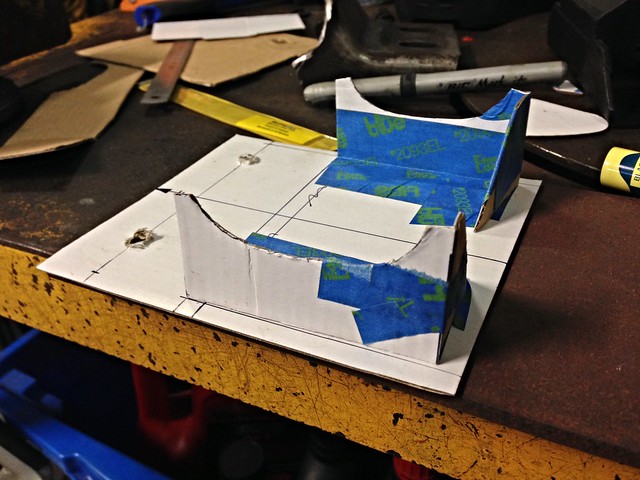
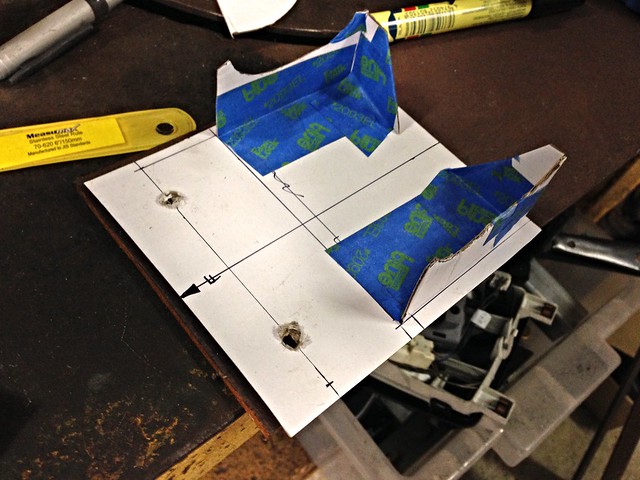
Template complete...

Template_01

Template_02


I soon discovered (after the photos above) that the transmission mount studs are offset across the car... a couple of punches with a scribe and new holes in the correct location were added.

Cardboard was substituted for steel, with the template profiles traced onto 5 mm thick plate for the base and UA 40 x 20 for the uprights.

Then it was cut, grind, test-fit, rinse and repeat.

The curves in the uprights were offset by a few mm, spotted with a punch ever 5 mm or so and drilled out like Swiss cheese to the point were vice clamps could bend the scrap off, leaving behind a rough curve to be smoothed out by grinder/file.

Test fitting the curved sections:

Not quite there...

Dummy-up_01


Much better...

Dummy-up_03

Dummy-up_02


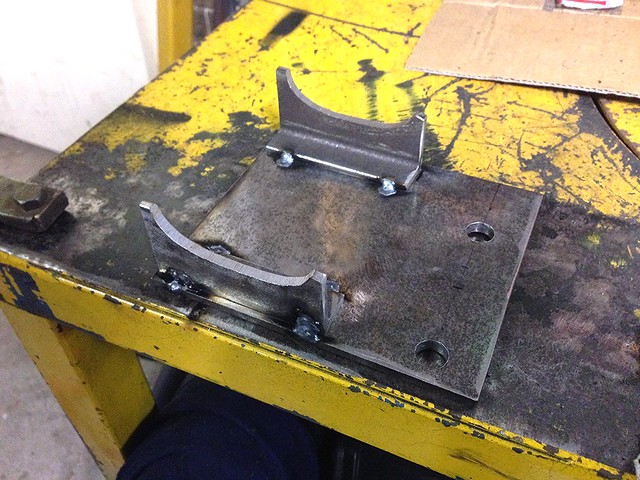
Each upright was vice clamped to the base in its final position and brought out from under the car for tacking on the bench.

Result (note the offset mount holes)...

Tacked


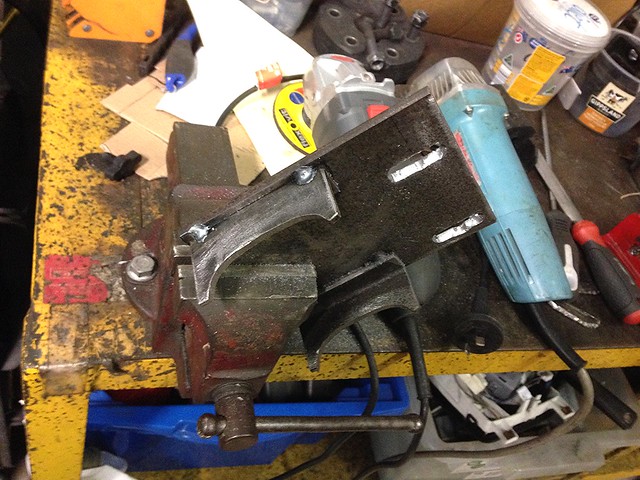
Finally, the mount holes were slotted to allow the cross member to be removed from the car without the holes fouling the studs...

Slotted


Next: tack the mount into position onto the cross member.

J

Wednesday, 25 May 2016

Transmission Crossmember - Part 2

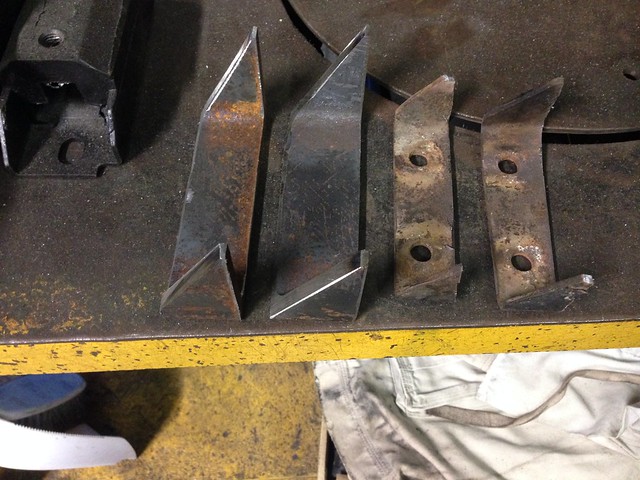
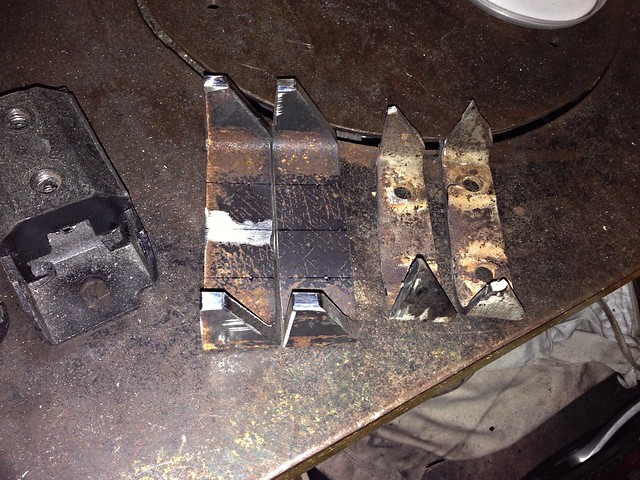
So, new on the left, old on the right...

Saddles 01

Saddles 02

The material is some scrap 125 PFC (parallel flange channel), pretty much perfect for my application!

The only downside is the PFC has very thick flanges (7.5 mm thick in this case). The nice part is that the web is 4.7 mm thick which is gold...


Welding to the chassis rail will be a bit interesting. I'll grind a bevel weld prep into the flange and do some test welds first to get the current setting right.

J

Thursday, 19 May 2016

Transmission Crossmember - Part 1

Buzzed the trans mount tongue off the tubular cross member last night at 9:30 PM (sorry neighbours).

Unbolted the weird 90 degree bracket from the transmission mount, so now we have clear access behind the trans mount (attached is a photo).

The cross member can sit up under the snout of the trans, right where the axle stand is in the photo...


This would mean relocating the chassis saddles rearward to the tune of 200 mm.

We will need to lift the end of the trans 13 mm to get the tubular cross member under the snout. If my calcs are correct, it means reducing the angle of the engine/trans by one degree.

Should be fine. Now it is a case of checking the trans and diff angles, plus whether raising the end 13 mm fouls the transmission tunnel anywhere.

J

We may be able to reuse the existing crossmember, but would need to remove the black bracket off the trans engine mount.

It would be close re. exhaust.

What I might do is trim off the existing Powerglide mounting bracket on the crossmember because we need to change/relocate that anyway. Then I can lift the tube into place to see how it looks.

J

On Wed, May 18, 2016 at 10:51 AM, JtC wrote:
I am very keen to retain the x-member as-is, no mods if possible. Factory is always best & it's a nice looking thing.
Will the new gearbox mount drop into the old crossmember without any of it fouling on the curves of the xmember?
Will the dips for the exhaust still provide clearance in the correct places also?
Can we get the driveline angle right with the old Commodore mount arrangement? I think it's in two parts, we may just need to remove one part.
Sort out new handbrake cable situation. We actually needed to do that anyway.
I honestly think we will be able to simply relocate the old xmember forward/rearward as needed and then fiddle around with the mount height as needed with a little chopping and maybe a spacer or whatever.
From: John


The easiest method will be to relocate the existing chassis rail mounting saddles.

J

Wednesday, 23 December 2015

In the clear

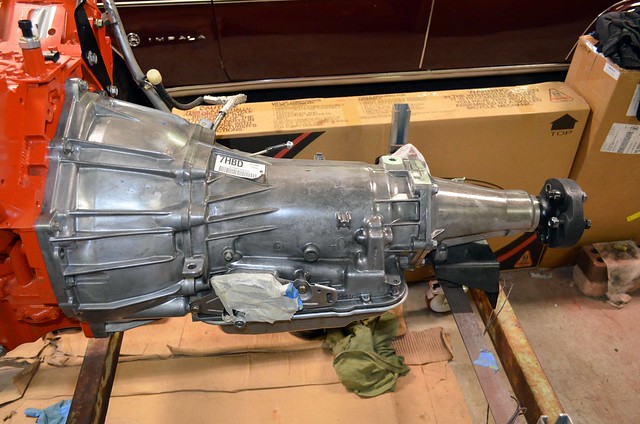
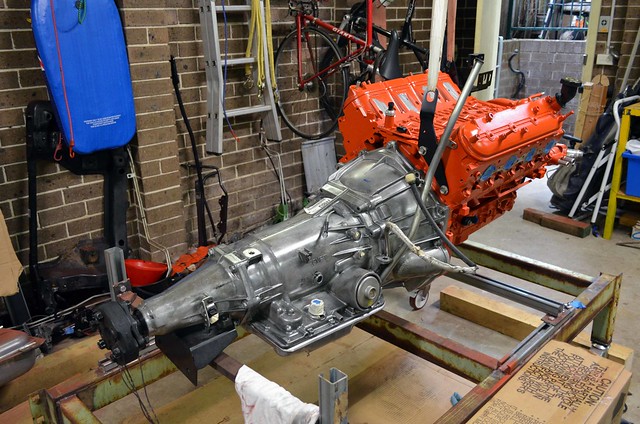
A few days after the engine, it was the transmission's turn...

4L65Eclear10

4L65Eclear01


A good clean (...a VERY good clean...) and simply coating the trans in several coats of clear-coat did the trick.

J

Tuesday, 6 September 2011

AT Cooler Hose

The Impala went back up onto stands, ready to cop a new automatic transmission (AT) cooler hose.

You might remember the first fix done on the Impala was tightening a clamp on one of the AT cooler hoses. Closer inspection showed that hose was a mish-mash of solid line clamped to rubber hose in various places... so now it was time to finally tidy it up!

Before...

AT Hose Before


After...

New AT Cooler Hose


Noice!