Showing posts with label engine bay. Show all posts

Saturday, 30 April 2016

Finally In!

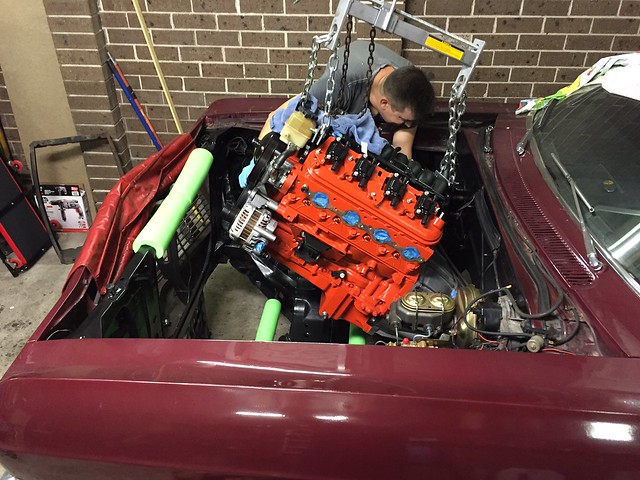
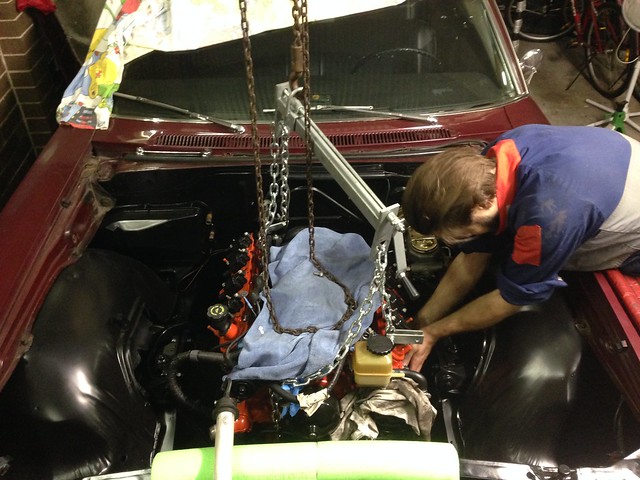
With the pedestals complete, it was time to try dropping the LS in for a second time.

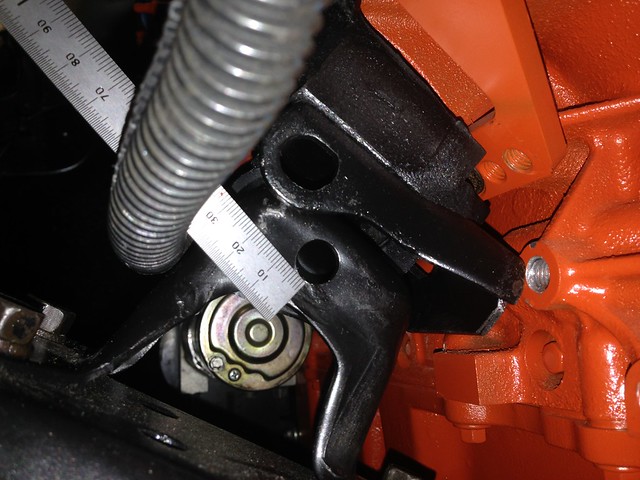
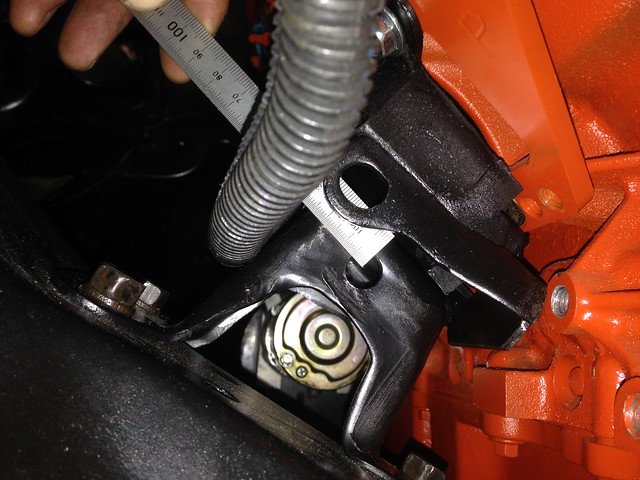
We are old hands at the process and soon had the engine bolted up on one side... but no joy on the other with the mount holes out of alignment to the pedestal holes by 10 mm.

Soul-searching insued trying to figure out a) what went wrong and - more to the point - b) how to fix it.

The original Chev engine mounts had long slots in the mounting holes, so the decision was to lift the engine clear of the pedestals just enough to swap the mounts out.

Before we did, JtC opened up the slots a bit more to give us every opportunity of getting this sucker home to its final resting spot, while I ground down the pedestals (in situ) to ensure the mounts could sit low enough to get the holes to line-up.

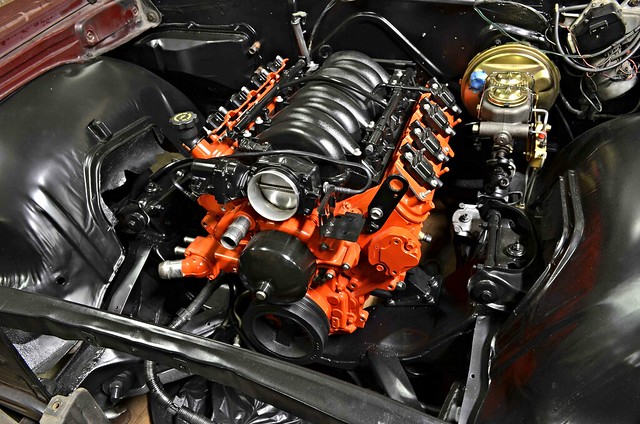
Drill/file/grind/paint and - with the new modified arrangement - the 6.0L dropped in like Chev designed it!
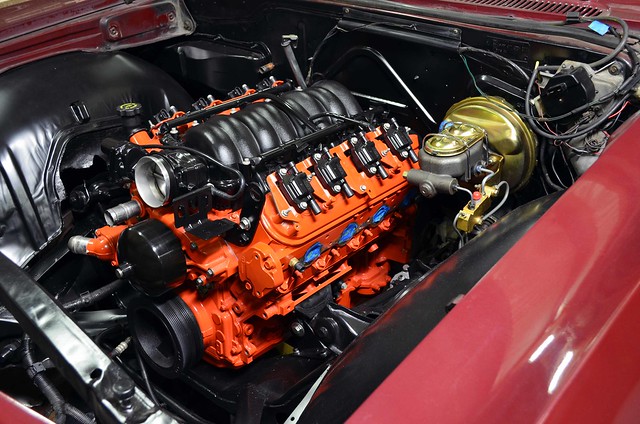
EngineIn03

EngineIn06


It turned out we didn't need to open the slots any further as the original mounts lined-up better than the reproduction items!

My dents in the trans tunnel were enough to clear the transmission servo.

Bolting the engine mounts in the next location forward on the adapter plates has set the engine back enough in the engine bay to ensure the exhaust now dumps behind the steering linkages.

This is a massive moment in the project and HUGE thanks to JtC for making the trip up and making the magic happen!

Next: gearbox crossmember.

J

Tuesday, 29 March 2016

Test-fit #1

FINALLY we got a chance to try fitting the LS into the Chev!

With the trans connected to the engine, an engine leveller is a must... you need to wind some big angles into the assembly to feed it in and the ability to tweak the angle whilst suspended is a God-send!

Quick tip, cut-up pool noodles do a great job at protecting against any bumps and scratches...

IMG_4435

Untitled


Firstly, the stock Holden alternator location is too low and the alternator fouls on the engine cross member. I was expecting this to be the case and moved the engine as far forward on the adapter plates to see if I could get the alternator to sit in front of it, but to no avail.

Time to order an ancillary drive relocation kit. I have gone with Holley's version...
Holley 20-135 (Accessory Drive Bracket)
Holley 21-2 (Spacer)
Holley 198-200 (PS Reservoir)


Secondly, the engine mount adapter plates are not thick enough to lift the sump above the engine cross member.

This shows the engine mount misalignment with the driver's side engine mount bolt in place (so the engine is tilted)...

Untitled

Untitled


I'll source some steel to shim the engine mount closer to the pedestal.


Thirdly, the servo on the 4L65E juuust touches the trans tunnel...

Untitled

Some massaging with a "gentle persuader" is required to ensure there is a nice amount of clearance.


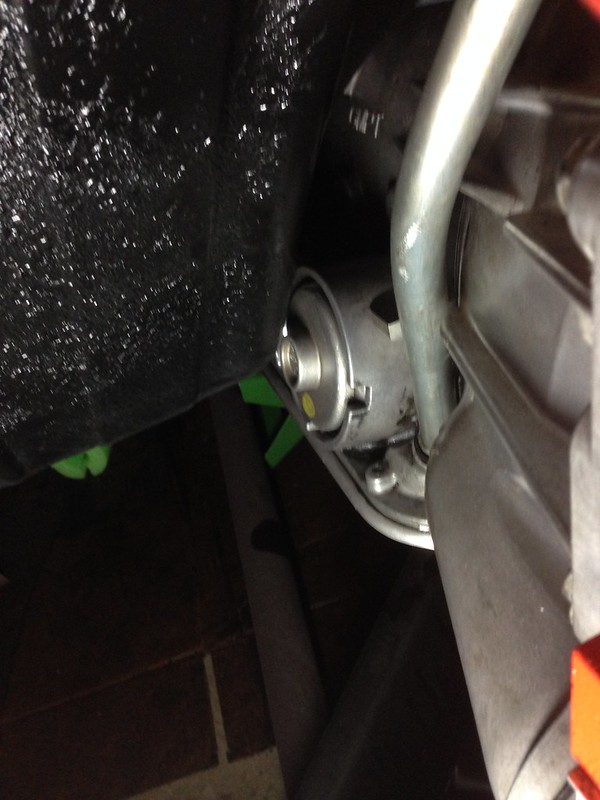
Fourthly, the driver's side header heat shield juuust touches the steering box and the exhaust dumps onto the pitman arm. We will need to move the engine back on the engine mount adapter plates to clear this.

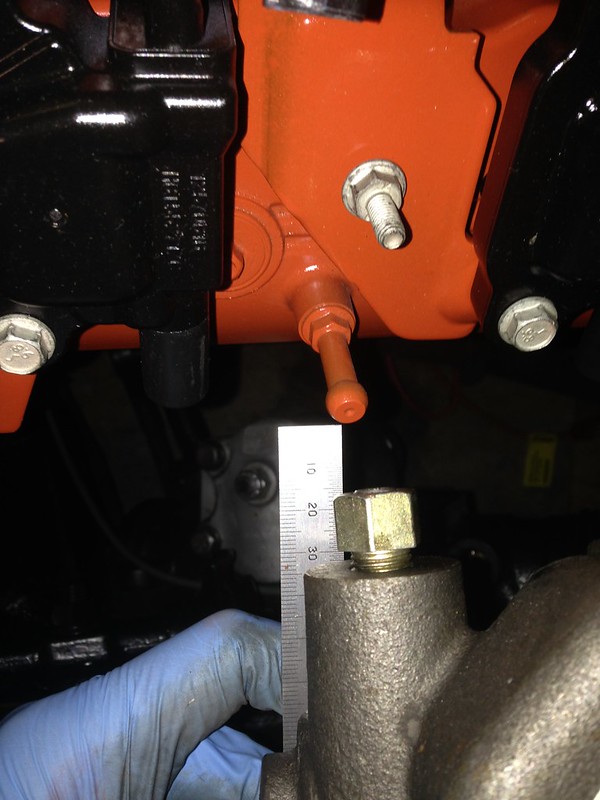
Thankfully there is pretty good clearance between the coil packs and the master cylinder. The closest interference is a peg/pedestal for the original Holden engine cover (which we won't be using) and will be removed if required...

Untitled


The good news is the gearbox crossmember looks to be in a very similar position to standard, so it looks like very little modification is required (famous last words?).

To end the night, we pulled the engine back out, ready for the required mods.

J

Wednesday, 10 February 2016

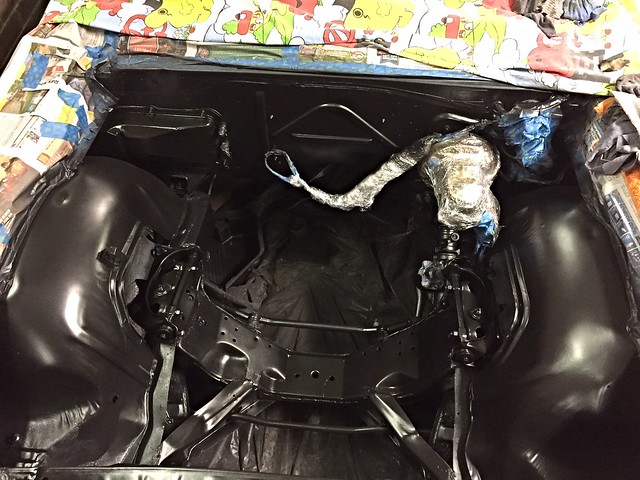
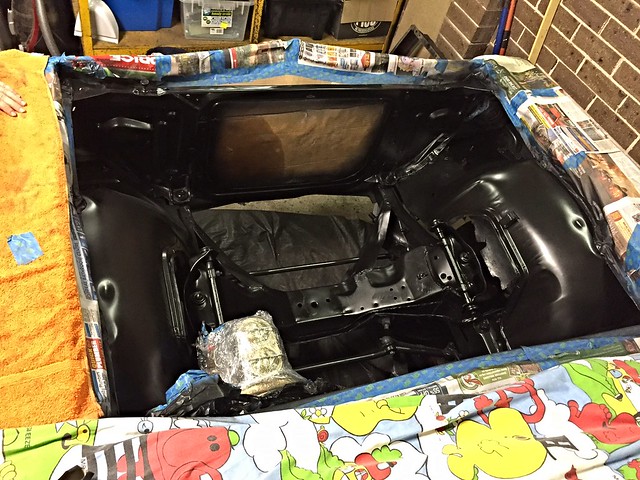
Satin Black

Time for "colour" to go down...

Untitled

Satin Black

Satin Black

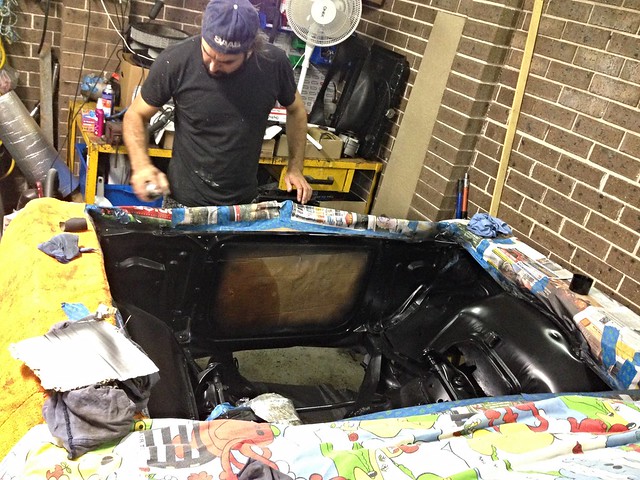
Two full cans of satin black = one coat.

Looks excellent!

J

Sunday, 7 February 2016

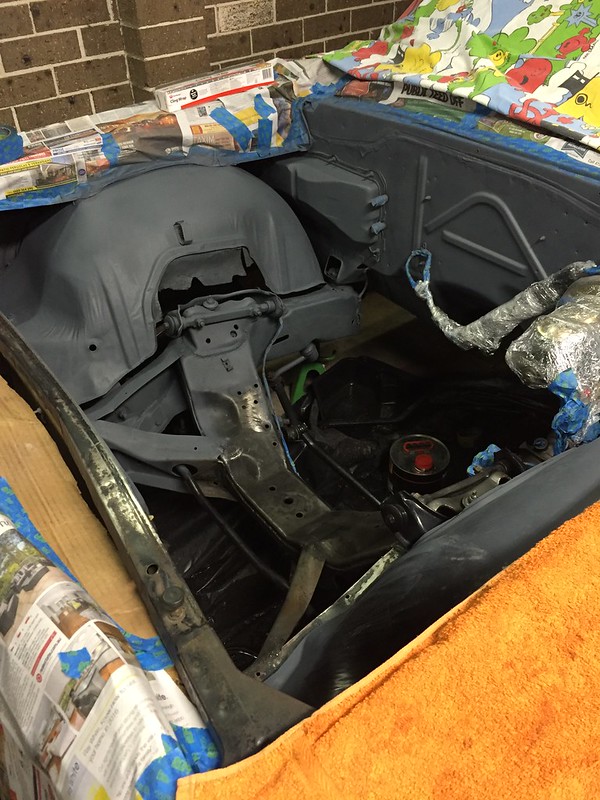
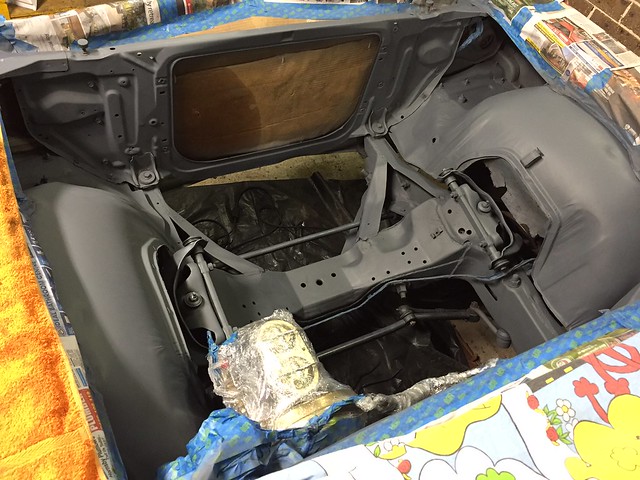
Prime coat goes on

Auto One etch primer was the primer of choice.

On it goes...

Half way through the primer coat


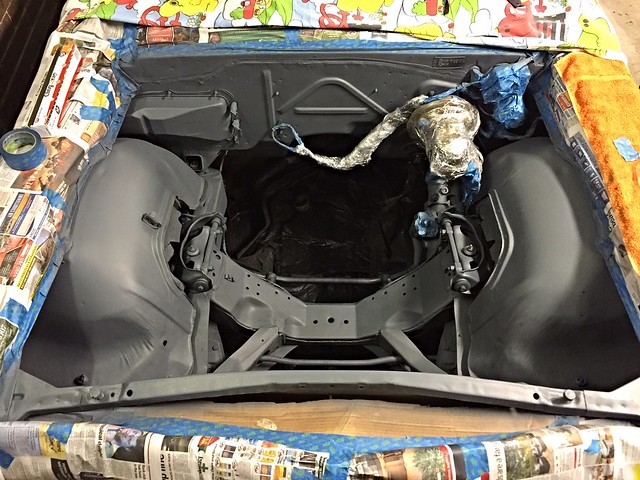
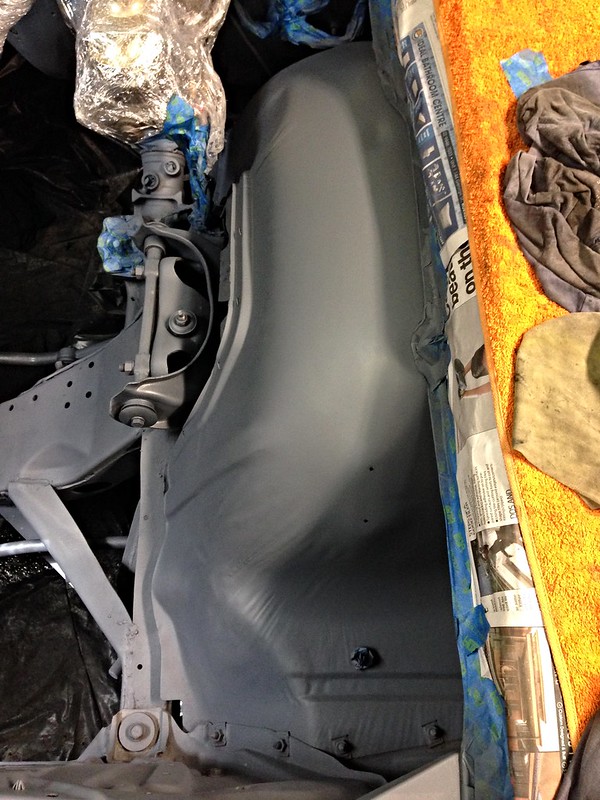
Fully primed...

Primed

Primed

Primed


Primer went down late on Sat 6/2.

A cursory glance would notice an area on one inner guard where the old paint wasn't feathered to the satisfaction of quality control (we won't say who sanded that guard).

JtC (the perfectionist he is) came back on Sun 7/2 to sand-back and re-prime.

Champion!

J

Saturday, 6 February 2016

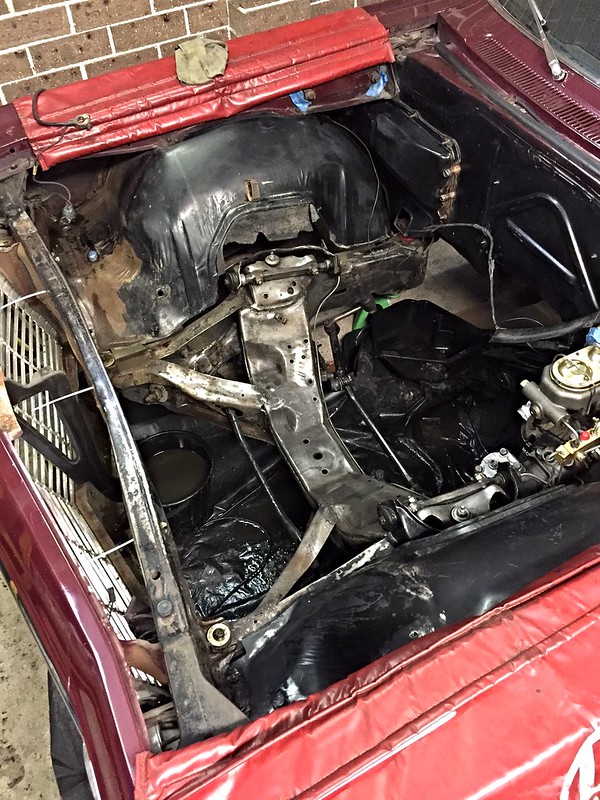
Cleaning... cleaning.. cleaning...

After much scraping, wire-brushing (manual and power), cleaning and sanding...

Cleaning... cleaning


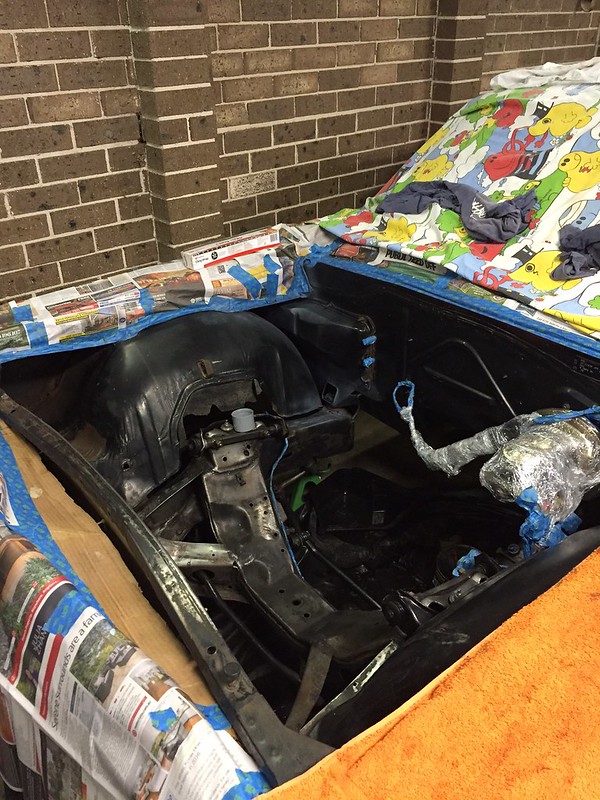
Time to mask and degrease...

Prepped


J