Showing posts with label shroud. Show all posts

Sunday, 15 October 2017

Air Filter Shroud

Next on the list in the quest to satisfy the engineer... shroud over the pod filter.

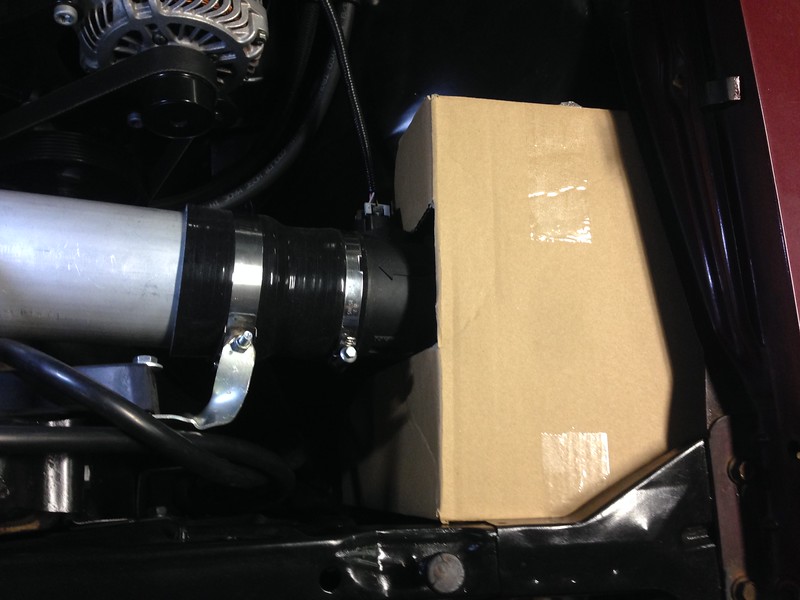
In NSW, we need to create a shield around the air filter to prevent any petrol fumes in the engine bay being ignited by the flames of a back-fire.

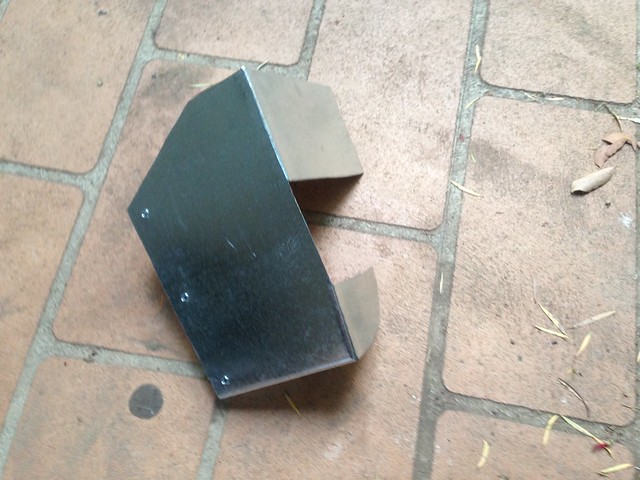
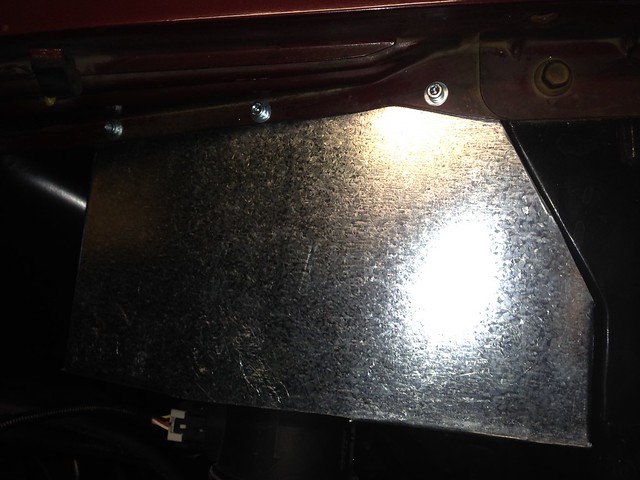
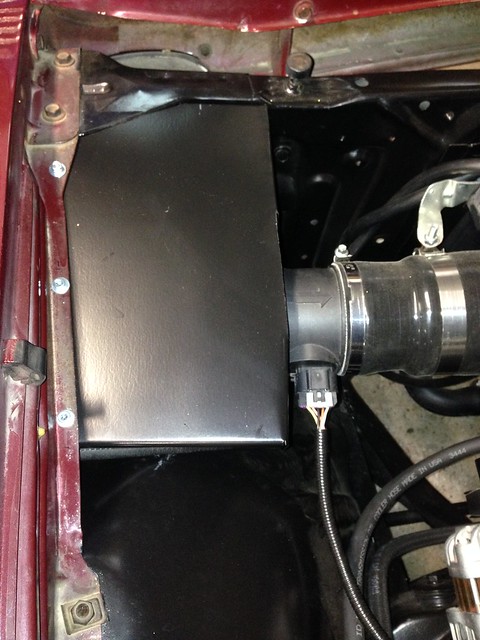
The Impala (being the tank that it is) had plenty of space to route the intake and to fit the pod filter in the front left corner of the engine bay. So all we needed to do was fold up some gal sheet to enclose said corner of the bay.

Time to get the carboard out...

Untitled


Then the steel version...

Untitled


Rivnuts are my new best friends... brilliant for this sort of work.

Untitled


Test fit...

Untitled


Then paint (satin black of course) and final fit...

Untitled

Untitled

JRD

Thursday, 17 November 2016

Four Letter F-word

So the original plan to use a thermo fan from a VS V6 Commodore (see here) wasn't going to work.

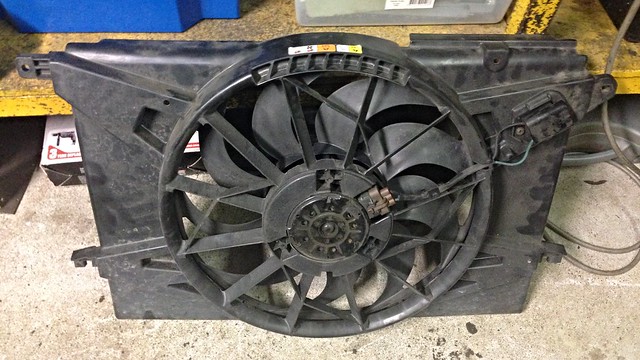
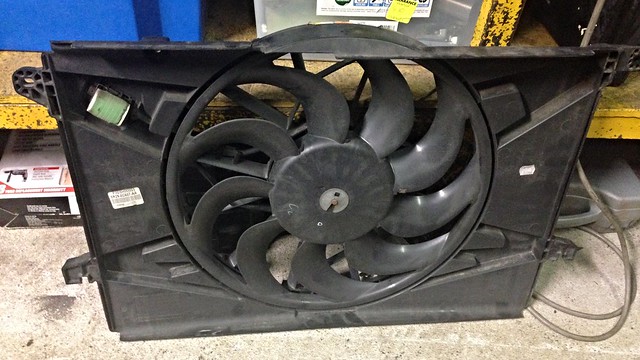
Once we started dummying-up the intake, it soon became obvious that the massive shroud over the top of the VS fan was going to foul the pipe to the throttle body.

After a bit of research, it was decided to go with a thermo fan from the dark side... a big single from a FG Falcon...

IMG_3348

IMG_3347

IMG_3351

J

Sunday, 16 October 2016

Thermo Fan + ATF Cooler Lines + Bottom Radiator Hose (phew!)

BIG weekend spent on the Chev... and another BIG effort from JtC!

Saturday started with choosing a thermo fan from the pool of fans (what is the collective noun for electric thermo radiator fans?) we had lying around the place.

We settled on a VS V6 Commodore fan; will it draw enough air? We'll see! At the very least we put 12V across it and it certainly works.

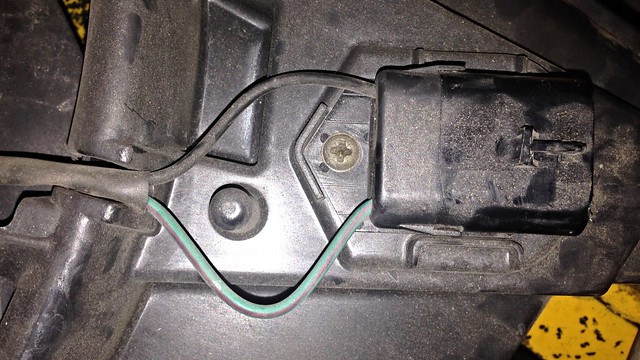
Time to fabricate a shroud and get it mounted. Scavenged plastic sheet from old radiator shrouds and self-tappers FTW!
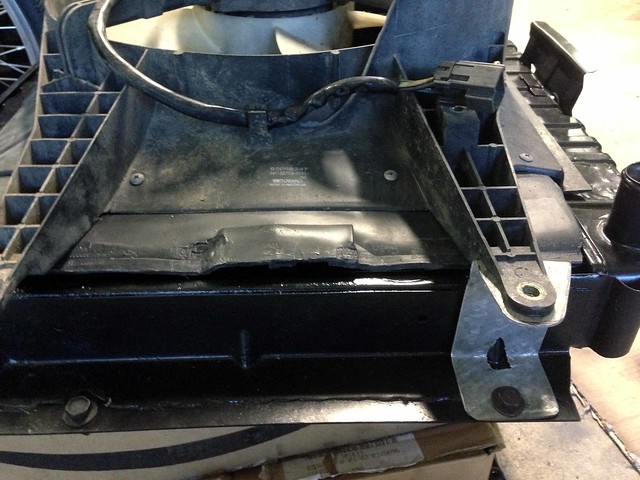
Thermo Fan Mounts


Folded gal steel sheet was used as bracket material, salvaged from a bash/splash plate from the underside of the VZ ute...
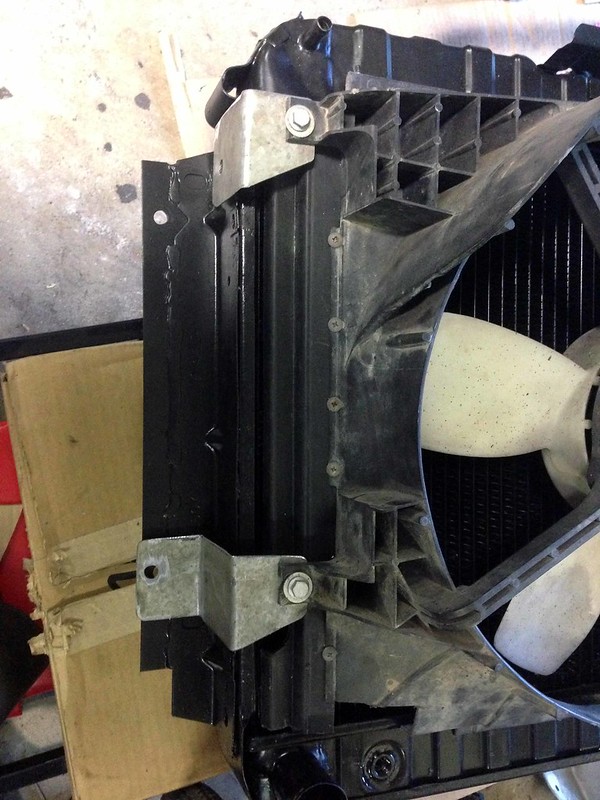
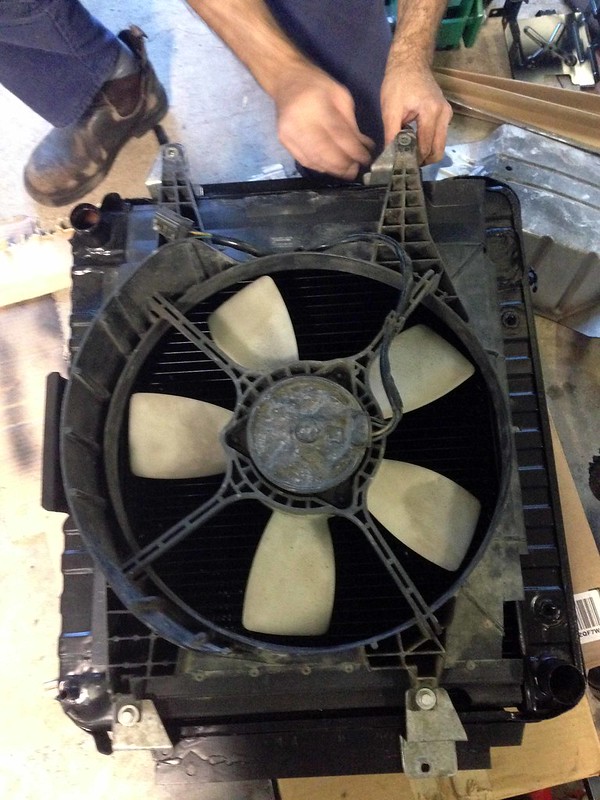
Thermo Fan Mounting Brackets

Thermo Fan


The shroud and brackets were hit with satin black in the evening, ready for Sunday.

A new day and new challenges.

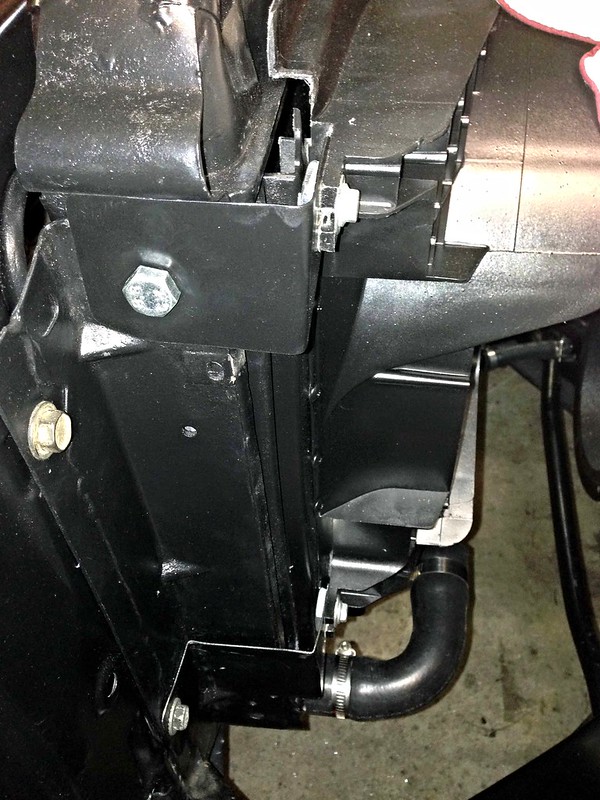
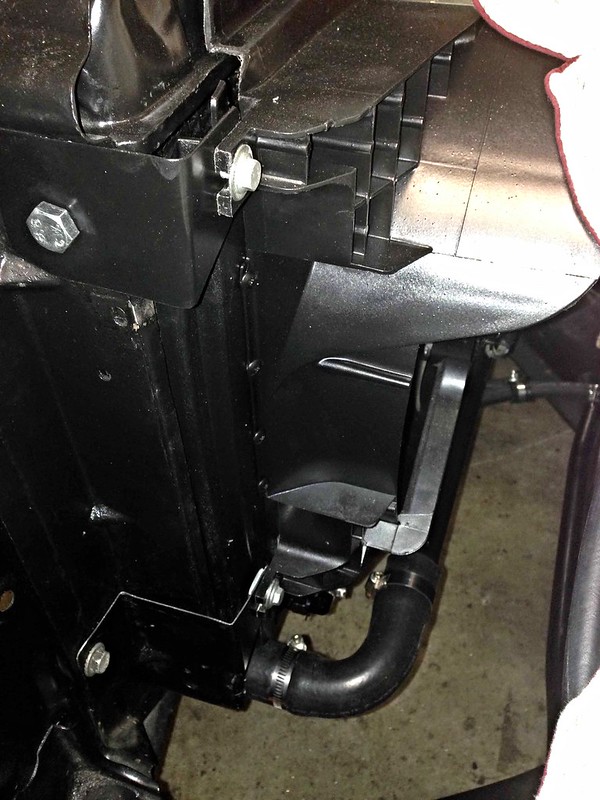
The bottom radiator hose arrangement was adapted from the VT II/VX/VY setup we used on the test frame. This meant:

  • U-shaped hose out of the water pump (Mackay Rubber part number CH2956),
  • VT II/VX/VY transfer pipe (sourced second-hand from a wrecker) and
  • 90 deg. hose into the radiator (Mackay Rubber part number CH3028... cut-down for the narrower Chev radiator).

The transfer pipe has mounting tabs which we bolted to the radiator support panel using more brackets fabb'ed from the VZ splash plate material. Bit dark, but it's there I promise!..
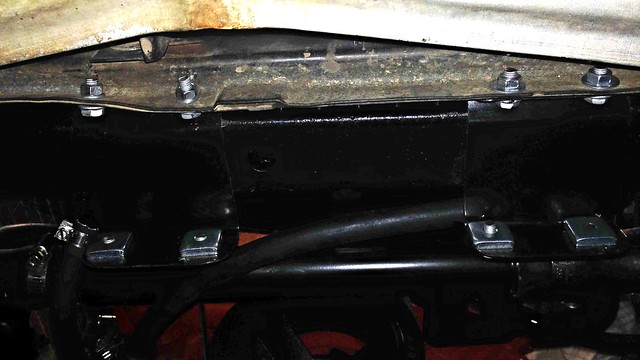
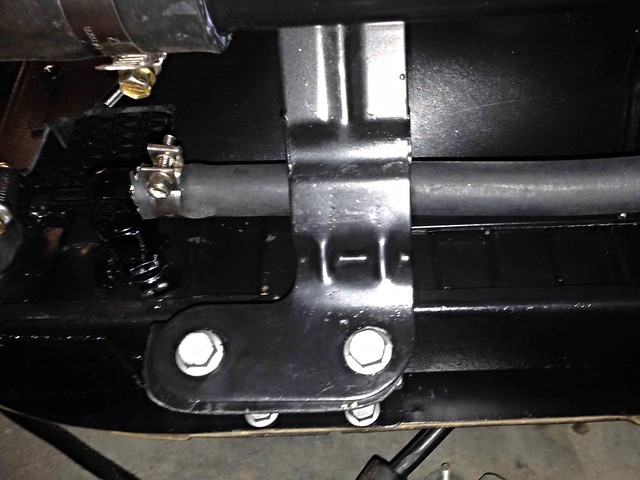
Coolant Bottom Crossover Pipe Mounting

Coolant Bottom Crossover Pipe Mounting


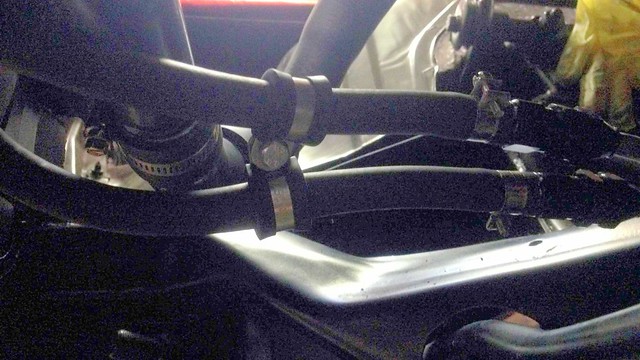
The last photo also shows the ATF cooler hose sitting on top of one of the transfer pipe brackets. The cooler hoses were connected to the radiator using Speedflow fittings/barbs and standard ATF cooler hose, retained with hose clamps. Might swap to hose with AN hose ends in the future when the wallet recovers.

More ATF cooler hose goodness...
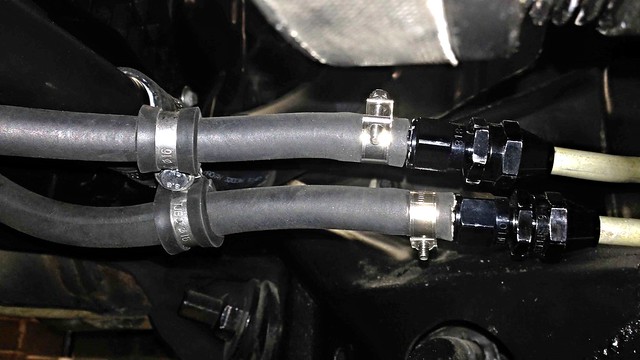
ATF Cooler Lines + P-Clips + AN Fittings/Barbs

ATF Cooler Lines + P-Clips + AN Fittings/Barbs


Finally, the finished product...

Thermo Fan Brackets

Thermo Fan Brackets


Massive thanks once again to JtC who did the majority of the work; excellent workmanship yet again!

We are getting close now...

J
Thursday, 19 April 2012

Melting and Moulding

Rather than trim down the fan fins, we decided to try heating the shroud to soften it and mould it to give a bit more clearance to the fan.

I had a Holden Commodore 6-cylinder shroud lying around, so it became the test mule to see what was/wasn't achievable. The shroud was clamped to the workbench and the kids' mini skateboard used as a moulding tool.

Test Run

A butane torch was the heat source and - after a bit of trial and error - I got a bit of a technique down on how to heat and mould the plastic.

The test also showed it was easier to clamp the skateboard to the workbench and bring the shroud to the modifying wheel like so...

The Moulding Wheel

If I was to do it again, I would have had a 2nd person heat while I worked the shroud over the skateboard wheel as it was hard to heat, then quickly work the softened plastic.

But, I got there!

Fan Fitted and Finished!

The fan sits low in the shroud, so there is a larger gap a the top than the base, but it should be an improvement over no shroud at all.

Thursday, 12 April 2012

Fine-tuning the Fan Fitting

With the shroud mounted-up, it was time to fit the fan.

It was decided to use the universal fan I got with the shroud.

Without a spacer, it fouled some of the ancillaries. A measure showed around 0.75" placed the centre of the fins along the entrance to the shroud.

As the water pump can accommodate two different fan mounting PCD's and the universal fan is slotted to also take a variety of bolt patterns, I tried a 1" spacer for a Holden Red Motor.

Of course, I completely forgot about the water pump pulley and it DOESN'T suit the Red Motor water pump bolt pattern <slap forehead>. 1" also looked like it was going to push the fan too far into the shroud and foul on the tapered section.

Back to Rare Spares.

Plan B was to try an aftermarket, universal 0.5" spacer.

Bingo!

Once it was all bolted together, the fins of the fan juuust skimmed the shroud. Time for some modification... another day.

Wednesday, 4 April 2012

Fab it up

During the day, I salvaged a piece of 2 mm gal sheet.

JtC came up in the evening to see what we could conjure up in the way of bracketry. Thank goodness he brought a decent hacksaw!

Bending begins...

Bending Starts

After bending...

Bending Finished


After a series of trial fits and trims with the angle grinder, we ended up with this...

ShroudBrkt01

ShroudBrkt04

Bewdiful!

Driver's side was enough for one night. I finished off the passenger side on 6/4.

Monday, 2 April 2012

Shroud Mount Bracket Design

With the shroud modified and made to fit, it was time to attach the sucker. Design time...
Mocking Up

Final Sketch...


May the fabrication commence!

Saturday, 31 March 2012

Lets. Get. MODIFYING!

OK, so the HQ radiator shroud isn't quite a perfect fit - didn't expect it to - but for the price, the plan was to grab it and see if we could make it work. If it works, it turns out waaay cheaper than buying a +$100 one from the states + shipping.

So to work...

Shroud02

My little compressor quickly gave up the ghost, trying to supply air to JtC's die grinder + cut-off wheel.

Time for plan B... angle grinder with cut-off wheel. Bingo!

(Though being sprayed with molten plastic while holding the shroud as JtC ground away isn't a hobby of mine - I think the phrase "toughen up princess" applies here)

And this is the result...

Shroud03

Factory!

The inner face was relieved to fit it past the power steering pump, water pump, etc. and the outer (radiator side) face was notched to ensure the shroud sat hard up against the radiator core.

Now to make up some brackets to mount it.

Friday, 16 March 2012

New Fan + Shroud

Picked these up off eBay:

Shroud off an HQ Kingswood...


Universal fan...


They are both basically brand new; immaculate condition. I have to start measuring and see what we can get to fit. The fan is just short of 17" diameter. The shroud looks like it could take a 19" fan (with tight clearances). Perhaps my 18" fan will fill it out pretty nicely?

Big thanks to Andreas and Violetta from work for picking these up for me this morning. Thanks guys!

Tuesday, 7 February 2012

Ramblings re. Cooling

From: John
Sent: Tuesday, 7 February 2012 2:26 PM
To: JtC
Subject: Fan Shroud
I need to check it for myself, but it looks like the ’65 only had a shroud with the small block if it was air con (or “heavy duty cooling” optioned)…
http://www.impalas.net/forums/showpost.php?p=20135&postcount=17

John

From: JtC
Sent: Tuesday, 7 February 2012 2:17 PM
To: Driver, John
Subject: Re: Thanks!

Clutch fans certainly came later on. I honestly think we try source a fixed one for now, even if from a Holden wrecker - we can take the old pump with us to make sure it bolts up. Take fan too, to check diameter of blades.

Actually: you can buy good plastic multi blade units from Rare's, I put one on the Monaro.

Shroud? See if the plastic ones sold by Rare Spares are still avail- I also fitted one of these to the Munro. We will need to check radiator size against dad's HK's radiator... I think it's the same.
Sent from my CincoPhone


On 07/02/2012, at 1:57 PM, John wrote:
I have also done a bit of research (read asking Mr Chev Parts at Yennora) about fans, fan clutches and shrouds.

He didn’t think the ’65 came with a clutch fan, but couldn’t be sure.

A quick dig on the Impala Bob website didn’t come up with any clutch style fans so my guess is a simple mechanical fan w/o clutch.

I sooo don’t have the original fan…
http://www.impalas.com/1955-1966-bel-air-engine-fan-blade-4-blade-v8-6-cyl/bl225.html
But if mine was locked solid, you would think it would flow better than the one in the link.

Mr Yennora also checked to see if he had a shroud, but no luck there, even 2nd hand.

You can get them from Impala Bobs, but I am not sure the small block came with them standard…
http://www.impalas.com/1965-1966-impala-fiberglass-fan-shroud-283-327-small-block/170001.html

The listing for the big block shroud refers to it as “…a nice fiberglass reproduction of the original GM part…” but not so for the small block one.

John