Showing posts with label pedestals. Show all posts

Saturday, 21 March 2020

Engine Mounts... more mounting, less snapping

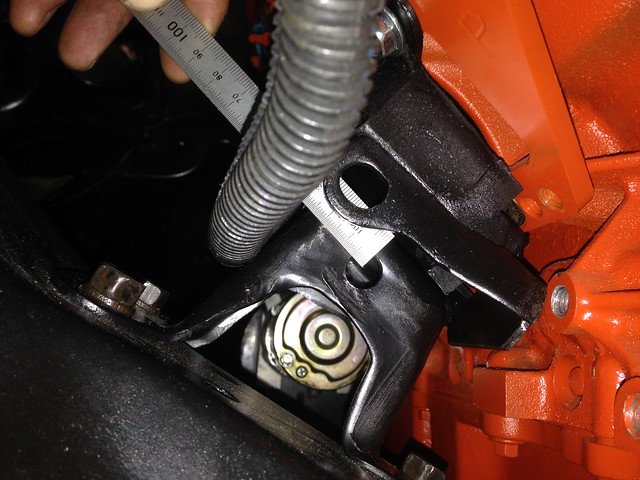
To fix the LS into place in the Chev engine bay, we used standard Chev SBC engine mounts with adaptor plates to pick-up the bolt holes on the LS block.

It seems the standard rubber bonded to steel mounts don't much like LS 6.0L torque...

QKGV3444


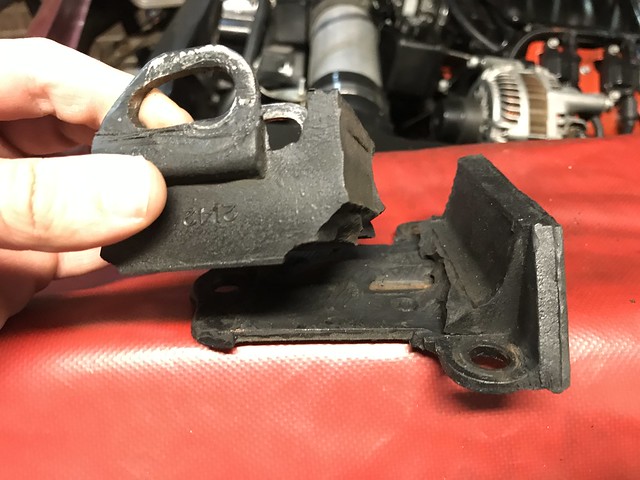
This is the second mount to snap on the tension side since the conversion, so time to rethink the whole engine mount solution methinks.

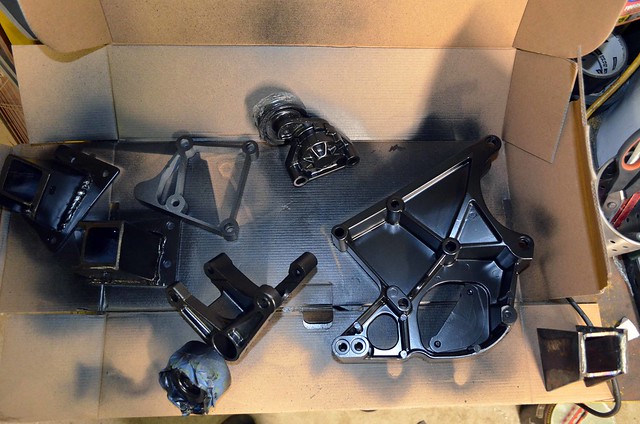
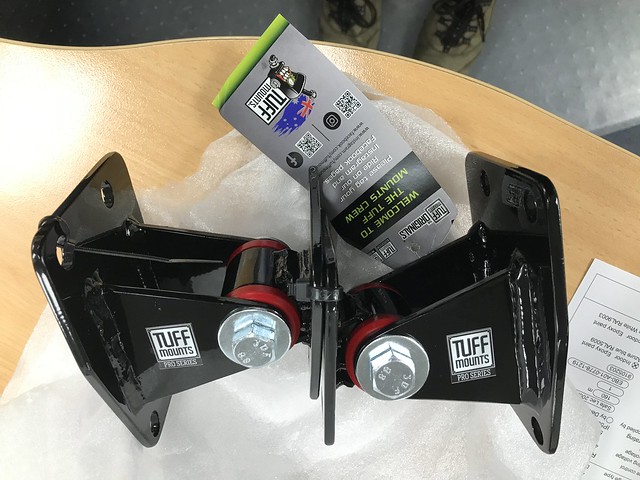
Enter Tuff Mounts...

JNSH5860


New vs. Old...

IMG_1492


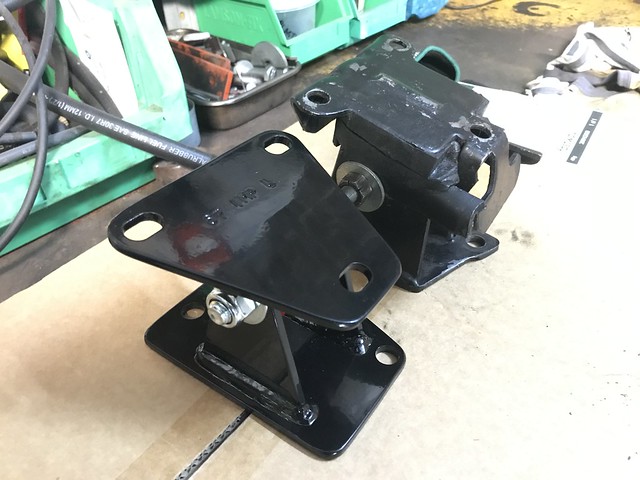
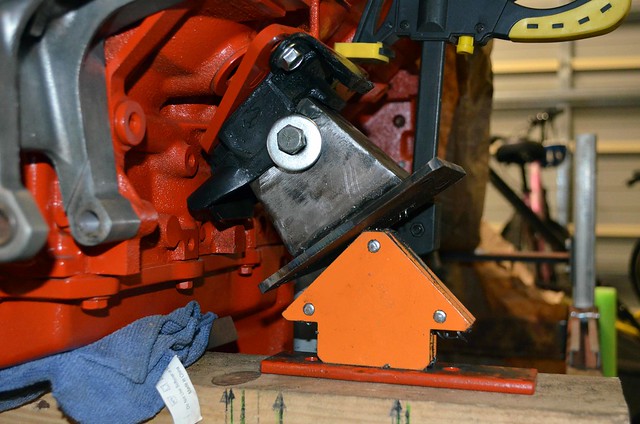
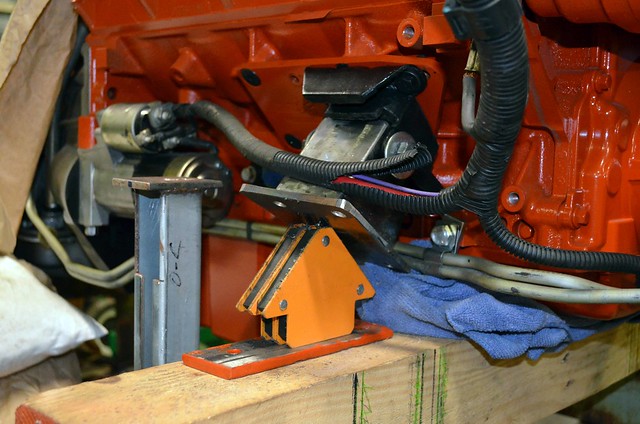
Like the original adaptor plate/standard mount/standard pedestal solution, she no fit...

IMG_1619


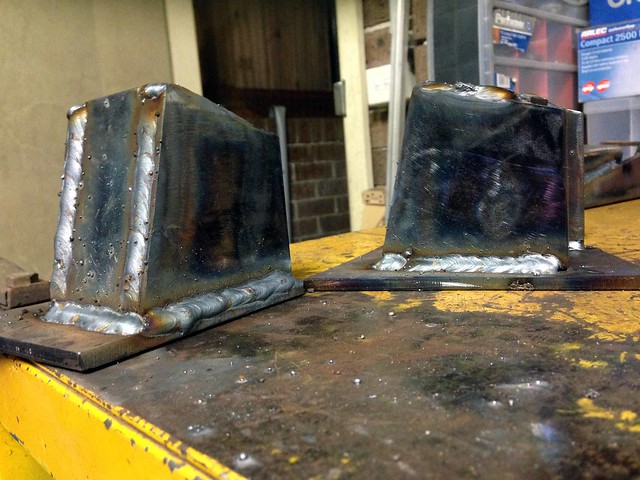
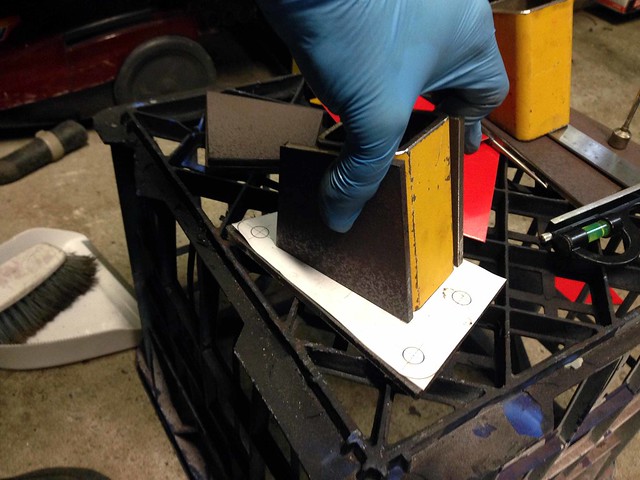
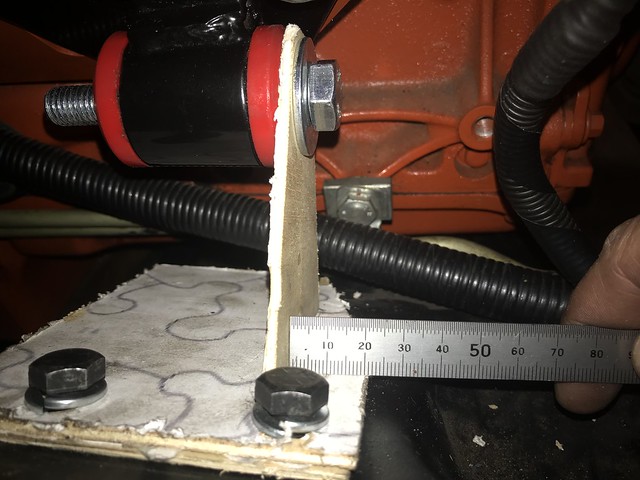
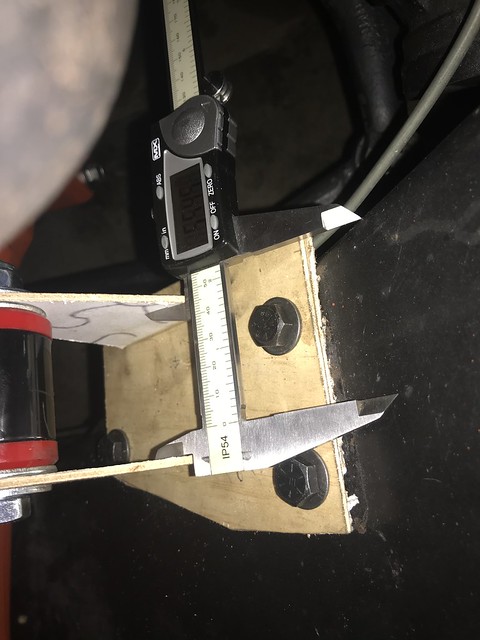
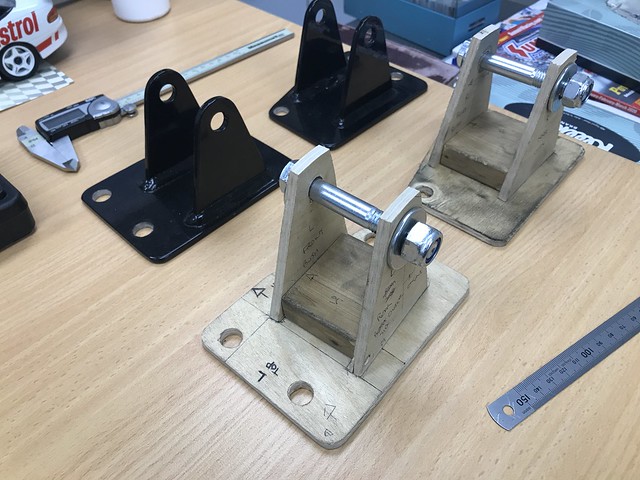
Like before, time to break-out some plywood to use as templating material and mock-up some new pedestals...

IMG_1712 

IMG_1705


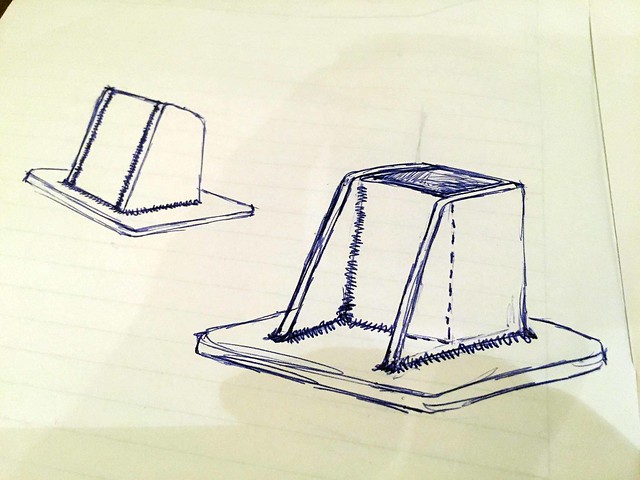
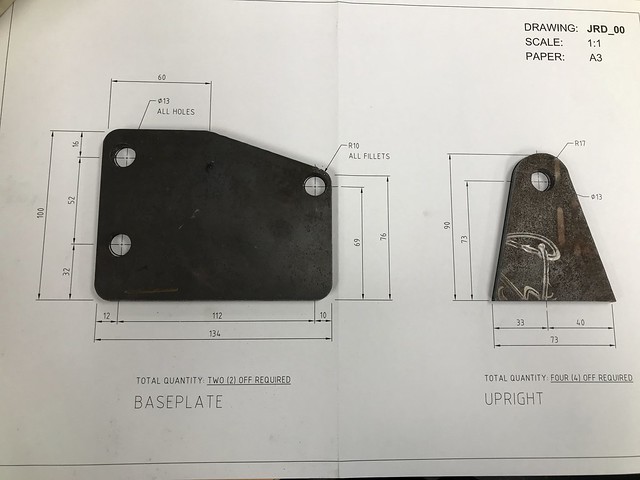
Things may have gotten a little out of hand. When you break out the CAD for a pair of simple engine mounts, it is a good sign I maaay have over-thought this little project...

XNHS5307

XNFE2782

IMG_1743

IMG_1744


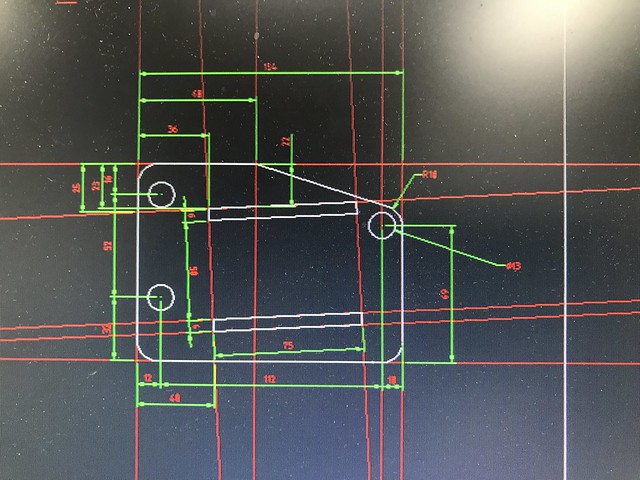
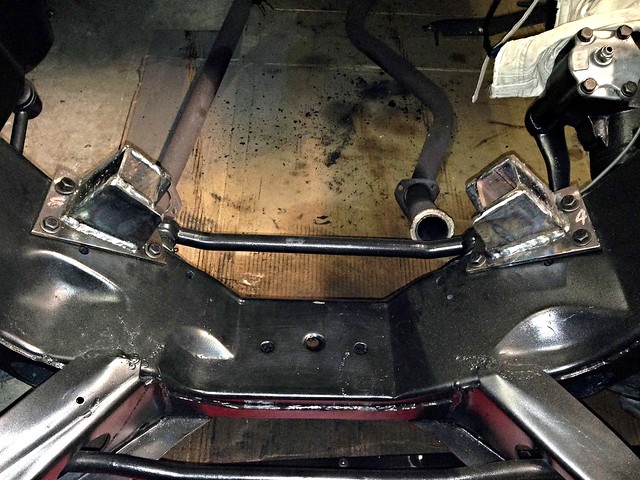
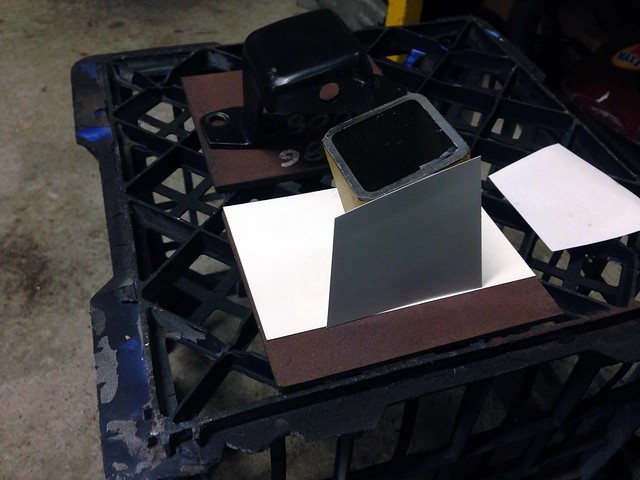
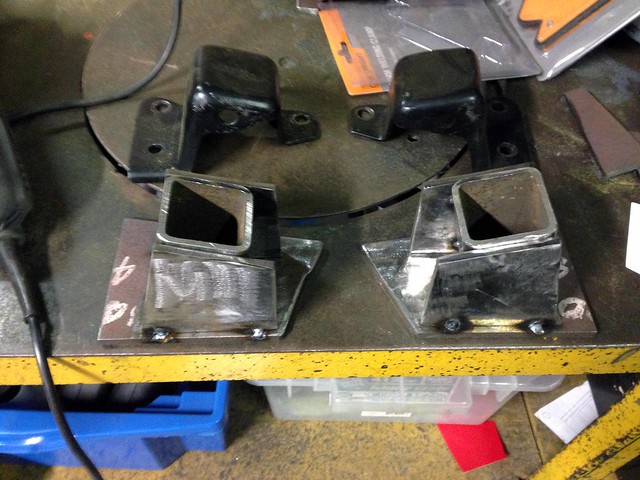
...especially when you decide to engage a local machine shop to supply a set of profile cut plates (instead of just breaking out the angle grinder and cut-off wheel)...

IMG_1785


Tuff Mount vs. profiled plate vs. template...

IMG_1787


Mocked-up in position...

IMG_1819

IMG_1820

IMG_1825

IMG_1827


Welded-out and done...

IMG_1835

IMG_1836


Hit with primer and a couple of coats of black before being dropped into place.

Definitely a more rigid mount. You can feel more of the engine's vibration at idle and the gear shifts are much more direct.

J

Saturday, 23 April 2016

Done!

Welds relieved where required to clear the washers and cleaned-up.

Engine mount holes drilled after mocking-up the pedestals to the LS...

Driver's Side Mocked-up

Passenger's Side Mocked-up

J

Thursday, 21 April 2016

Sitting in their new home...

Located in place


Just need to:
- relieve the welds in 2 x spots to clear the washers,
- drill the engine mount bolt holes to suit the final location of the engine,
- final clean up of the welds and...
- hit with a coat of satin black.

Gettin' close to engine test fit #2!

J

Fwd: Ramblings

From: John
Date: Thu, Apr 21, 2016 at 11:00 AM
Subject: Ramblings
To: JtC

Yeah, so straight away I could tell the old gas bottle was empty... the new one weighs a ton!

Got it home and cracked the valve for 0.01 seconds... I don't think I have any hearing left ;-)

Welding went ok. Won't win any beauty contests, but doesn't look too bad. It is beyond rock-solid and is all sealed up...

Seam Welded


This morning, before work, I spent less than 10 mins seeing how the welds would clean up on the grinder. Not bad! See below...


I will need to touch the weld across the front of the SHS in one spot with the grinder to make sure the washer clears.

Immediate list:
- final clean-up of the welds with a grinder
- drill base holes
- paint pedestals + Holley ancillary brackets black
- locate pedestals on cross member
- make up a jig to pick-up the location of engine mounts
- drill engine mount holes in pedestals
- bolt pedestals to cross member
- drop engine in!

J

Saturday, 16 April 2016

Fabricating New Engine Mount Pedestals

The engine test-fit on 29.03.2016 showed that the engine mounts didn't quite meet the pedestals that are bolted to the cross member...

Untitled


The original plan was to make packer plates between the mounts and adapter plates, to move the engine mounts closer to the pedestals.

That idea was ditched as I wasn't confident the holes would line-up across the car.

Plan B: fabricate new pedestals!

I drafted a few designs before JtC tweaked my penultimate design for this - final - concept...

Sketch


Back to AutoCAD to tweak the design. It wasn't long before some 1:1 templates were printed and cut out of card...

Templates

Templates


Plate was cut and the final design mocked-up in steel...

Mock-up


New vs. old. Tacked ready for seam welding...

Tacked

Material:
50 x 50 x 4.0 SHS
6 PL

J