Showing posts with label cooling. Show all posts

Thursday, 17 November 2016

Four Letter F-word

So the original plan to use a thermo fan from a VS V6 Commodore (see here) wasn't going to work.

Once we started dummying-up the intake, it soon became obvious that the massive shroud over the top of the VS fan was going to foul the pipe to the throttle body.

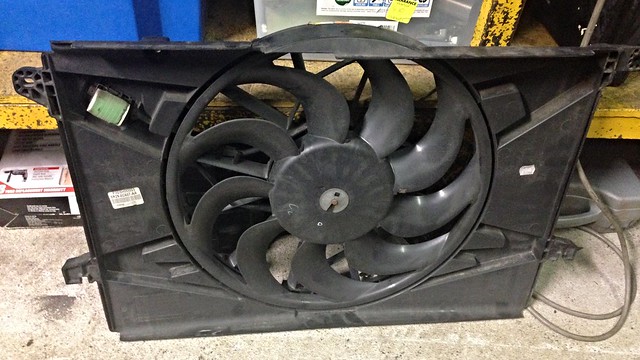
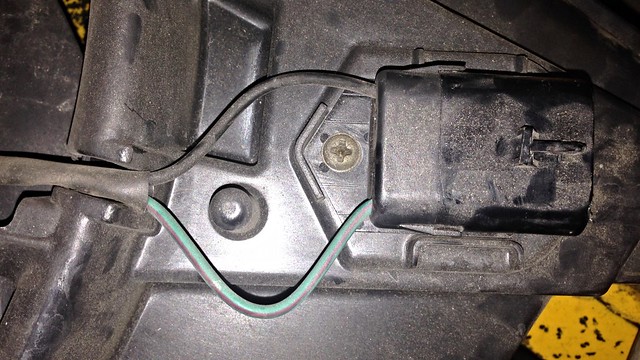
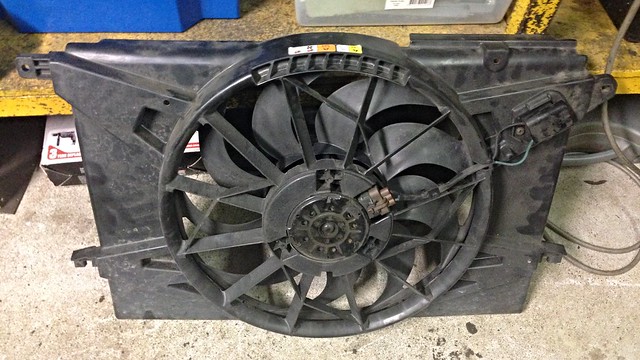
After a bit of research, it was decided to go with a thermo fan from the dark side... a big single from a FG Falcon...

IMG_3348

IMG_3347

IMG_3351

J

Saturday, 8 October 2016

Radiator Support

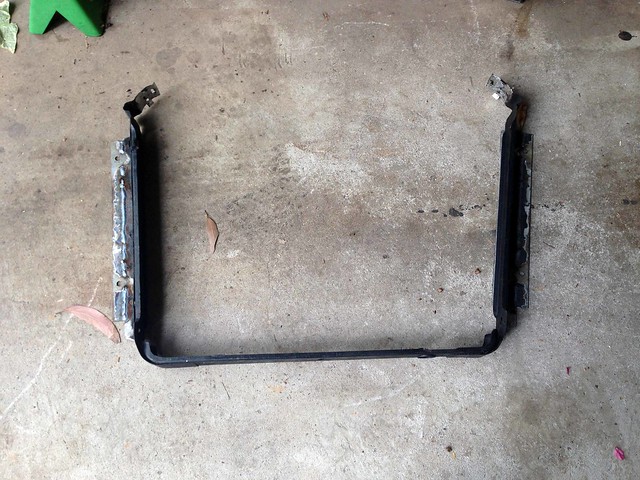
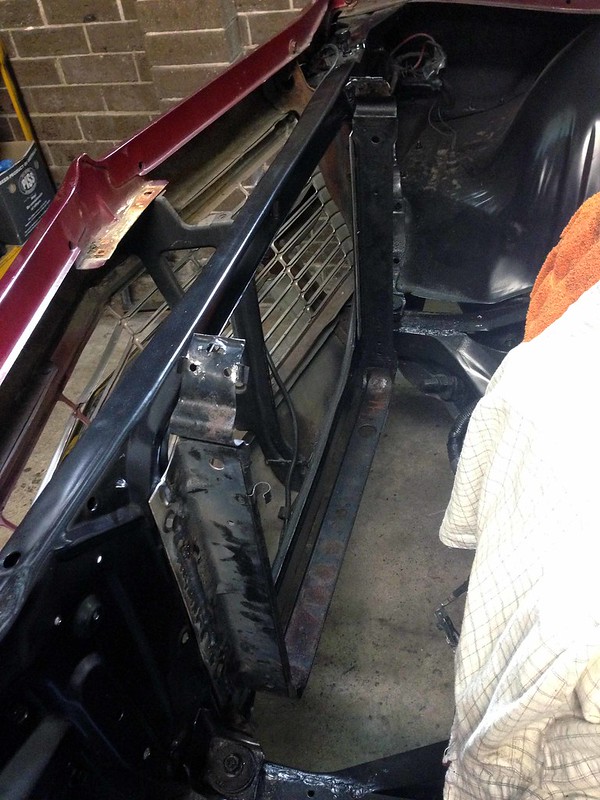
With the radiator left getting modified, I took the mounting strap/flanges home to be modified to mount the Chev's radiator support panel without using the spacer.

The spacer was a handy template, obviously having the bolt patterns for both the existing radiator mounts, as well as the radiator support panel.

Without the radiator to hold the correct bolt spacing, I bolted the support strap to the inside of the spacer and use threaded rod to hold the two sides at the correct spacing.

Then flip over the spacer and determine the width of flange required. Here it is with the flanges already cut out of galvanised steel scrap...
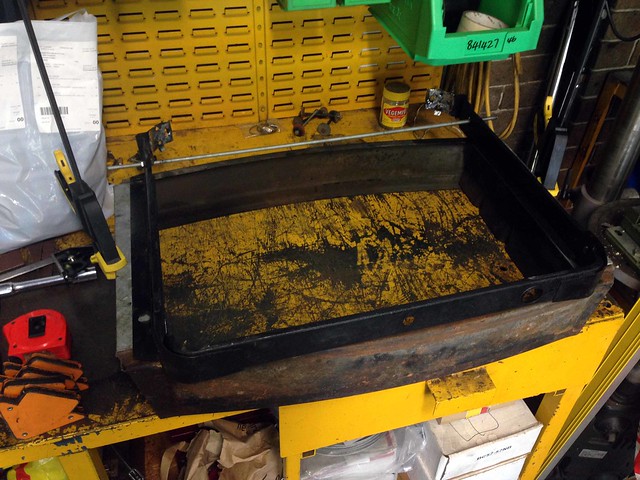
RadSupport02


Holes were drilled in the flanges to match the radiator support bolt spacing, then bolted into the car...
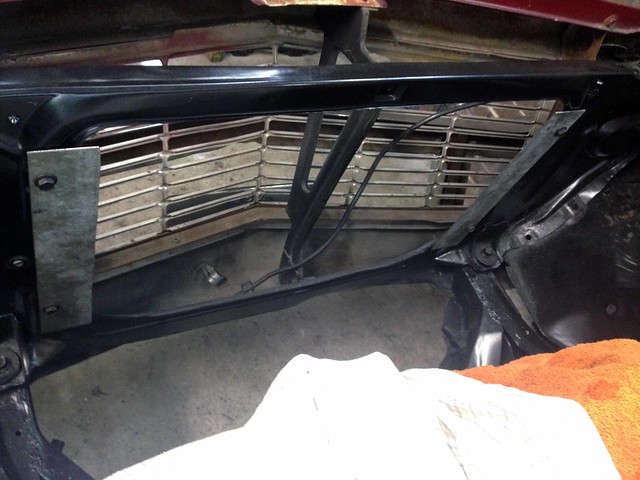
RadSupport03


...before lowering in the radiator mounting strap, locating it against the flanges in the final position and marking where the welds were to go...
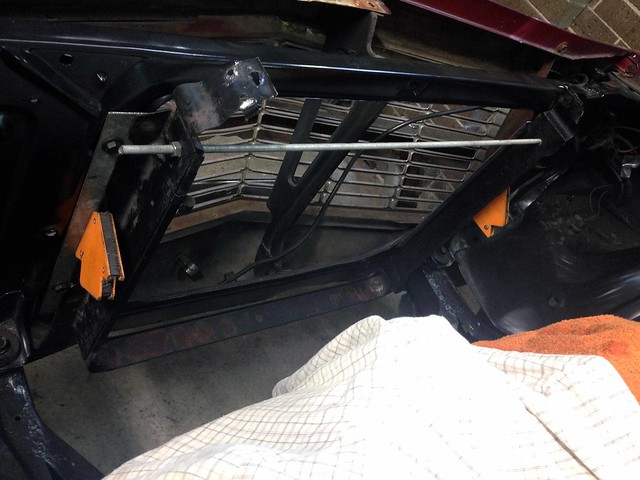
RadSupport04


Then it was time to break-out the welder!
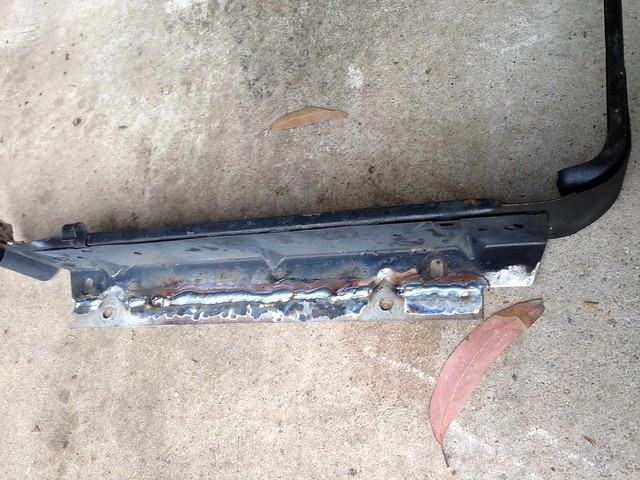
RadSupport06

RadSupport05


Trial-fit in the Chev... all good!

RadSupport07

Then a quick dress of the welds, prime and paint with satin black (no photos).

Now to drop the modified mounting strap off to Merrylands Radiator so it can be reunited with the modified radiator.

J
Wednesday, 5 October 2016

What's missing?


Stopped in at Merrylands Radiators this morning and explained the plan.

Ray was all good and will put Commodore-sized ports as far in the corners as possible, plus add the little steam vent port... all for $100! And could be finished this 'arvo!

He was just a bit unsure about the wider mounting flange so came up with the idea in the photo. Within a couple of minutes he had melted the solder holding the mounting strap and whipped it off the radiator. Now I can take the mounting strap home and weld a wider flange to it. He will remount it, all included in the $100.

He'll give the radiator a clean as well.

J

Wednesday, 28 September 2016

Radiator and Thermo Fan Clearance Dimensions

Scratch below! We are deleting the spacer (decided 02.10.2016).

From: John
Date: Wed, Sep 28, 2016 at 12:08 PM
Subject: Radiator and Thermo Fan Clearance Dimensions
To: JtC


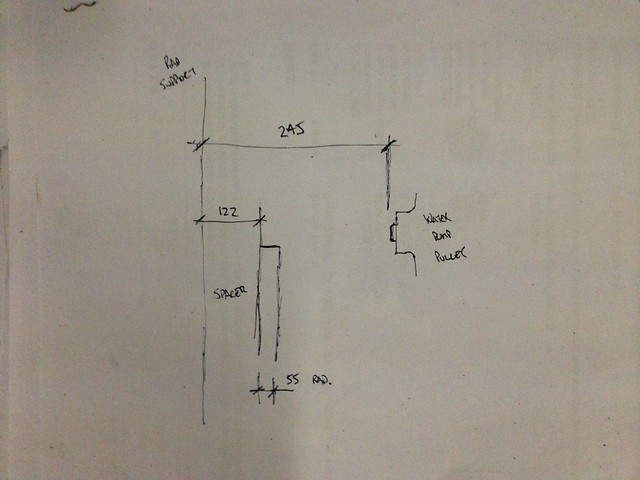
See here...

Radiator to Engine Dimensions

So spacer + radiator = 122 mm + 55 mm = 177 mm.

Radiator support to water pump pulley is 245 mm.

That gives an absolute maximum radiator width of 63 mm (which only leaves 5 mm to the water pump).

Now... Summit has a nice search feature where you can search by thickness of thermo fan.

It looks like there are a few options:

The 2.000" and 2.031" versions look like the go.

The other factor to keep in mind is the hose lengths. That will be another factor in keeping/omitting the spacer.


J

Friday, 30 October 2015

Cooling System Part 2 + Fuel

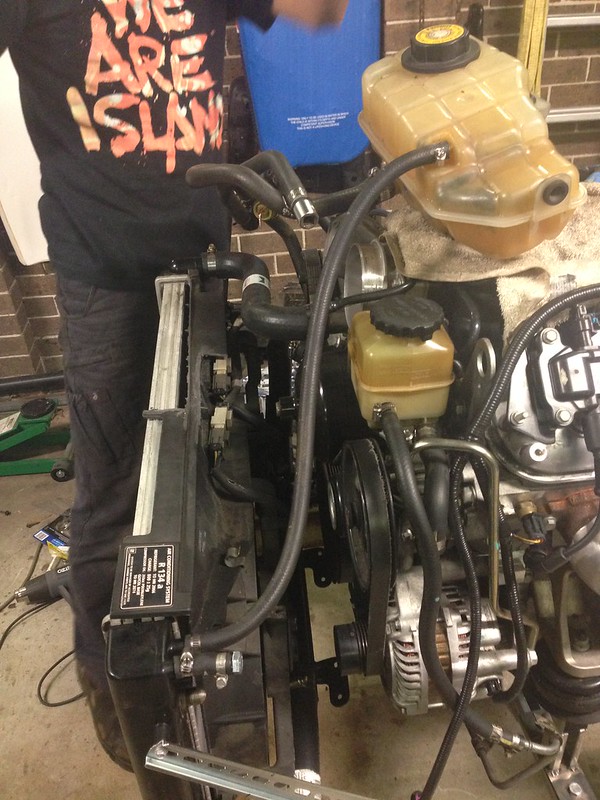
Cooling system topped-off with a reservoir from a VY SS and heater hoses salvaged from the VZ were used to connect it up.

The steam pipe is temporarily blanked off in the photo, but we'll buy a hose and plumb it to the radiator...

Untitled


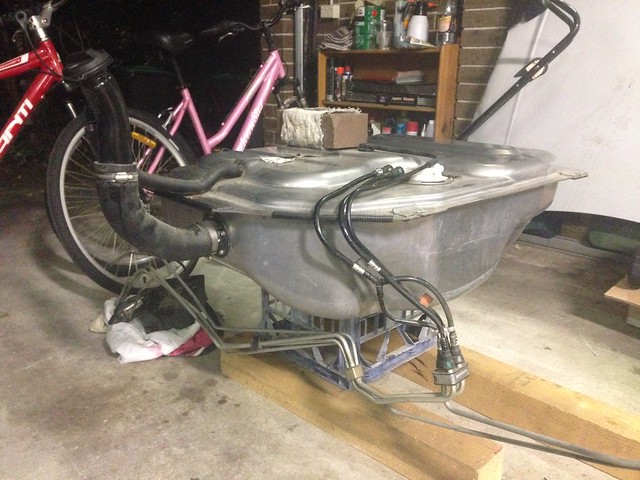
The fuel system was easy; we simply plumbed the fuel pump + filter from the VZ, using the stock lines...

Untitled


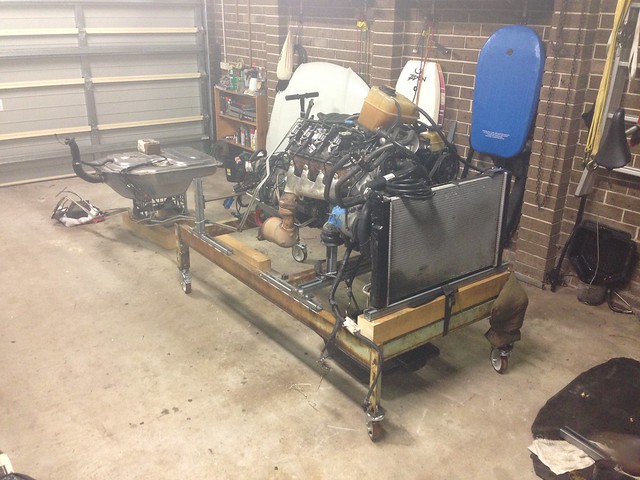
Complete, ready for wiring...

Untitled

J

Thursday, 29 October 2015

Test Bed Cooling Plumbed

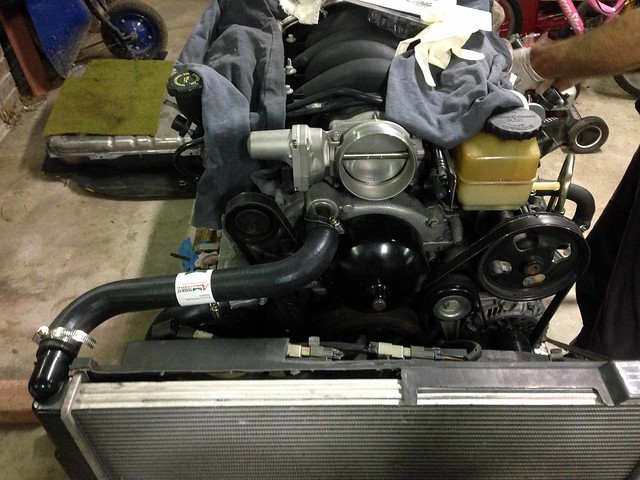
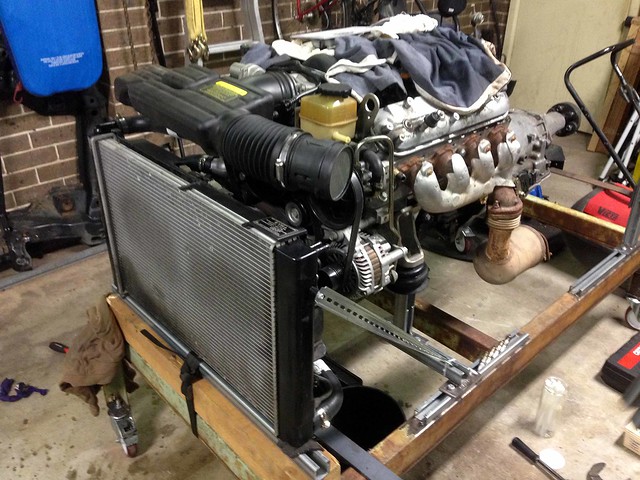
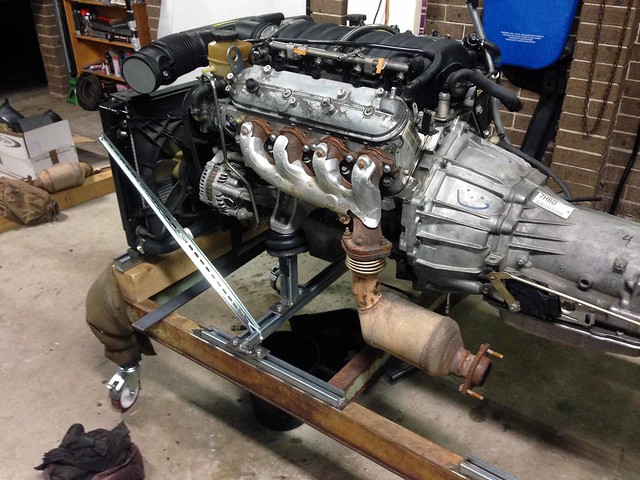
Radiator + thermo fans out of a VT Series 2 SS (thanks eBay) and radiator hoses to suit...

TestFrame009

TestFrame010

TestFrame011


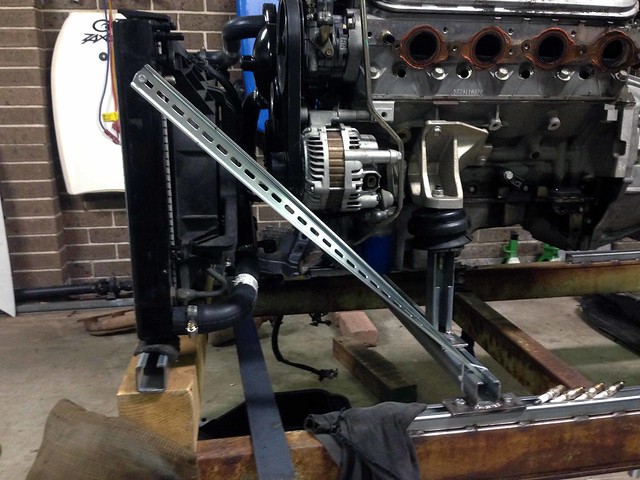
We sat the radiator in some C-rail to pick up 2 x pegs in the base, on rubber pads to reduce vibration. A wooden block under the C-rail to give the right height, all tied-down with a mini ratchet strap and diagonally braced with some cable ladder...

TestFrame008

J