Saturday, 16 January 2016

Engine Out!

All the while we have been prepping the LS, I have kept the Chev driveable and registered.

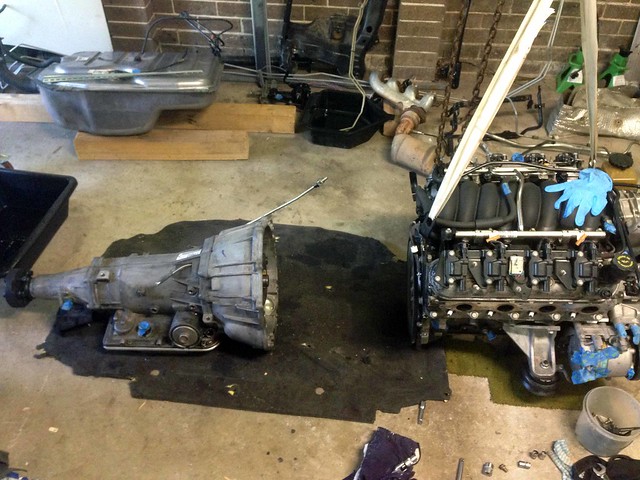
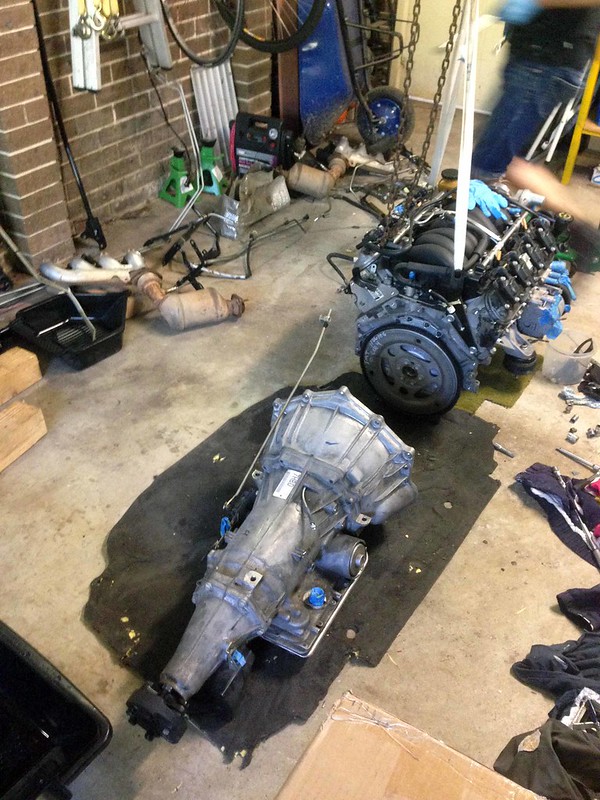
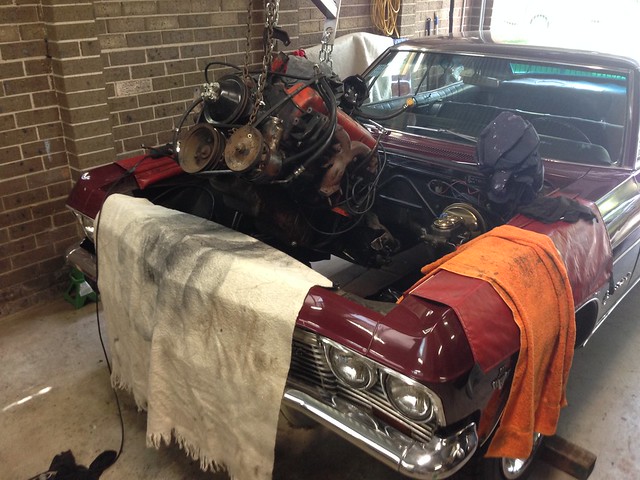
Now that the LS has been tested, cleaned and painted, I have finally run out of excuses and the time to pull the original 327 + Powerglide has come.

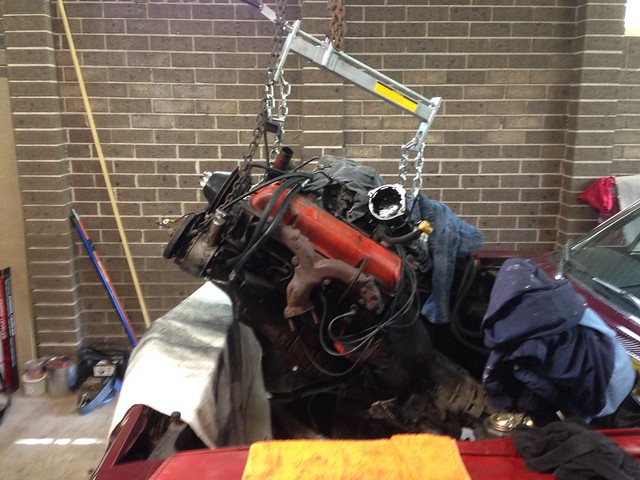
Lift-off...
Untitled

Untitled


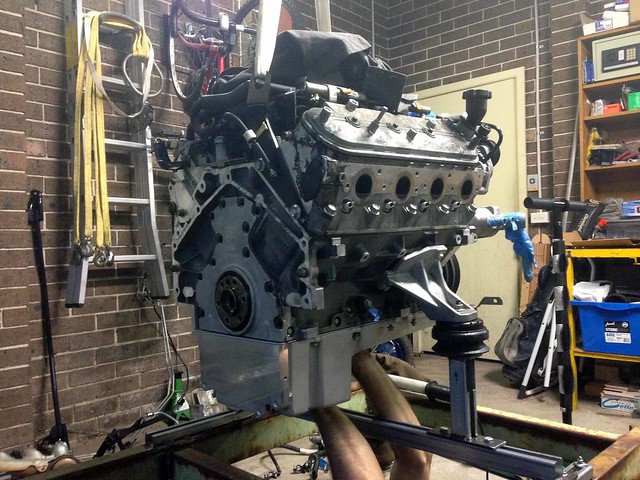
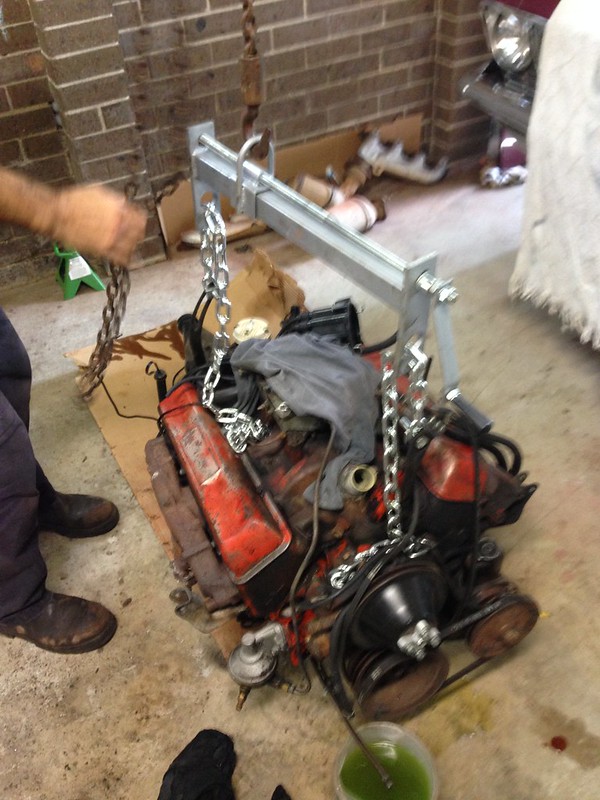
BIG TIP: For anyone trying this at home (especially with the engine and box connected), I cannot speak highly enough of the effectiveness of an adjustable, load-levelling, spreader. It made the job sooo easy.

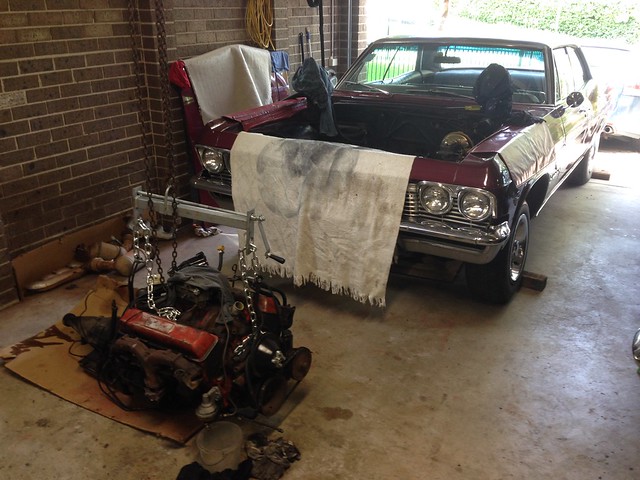
Touchdown...
Untitled

Untitled


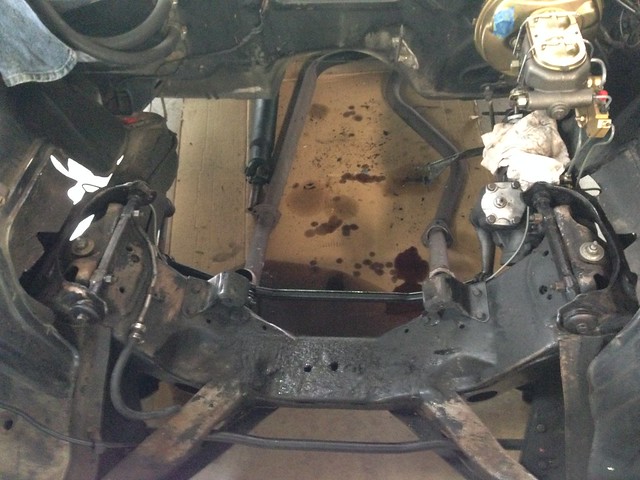
Though the front suspension and steering components are still relatively clean from the 2011 rebuild, the areas shrouded by the engine + trans aren't looking so flash (e.g. cross member)...
Untitled


Now the focus is to clean 50-years worth of grime off the engine bay, prep and paint before we can test-fit the LS.

J

Thursday, 31 December 2015

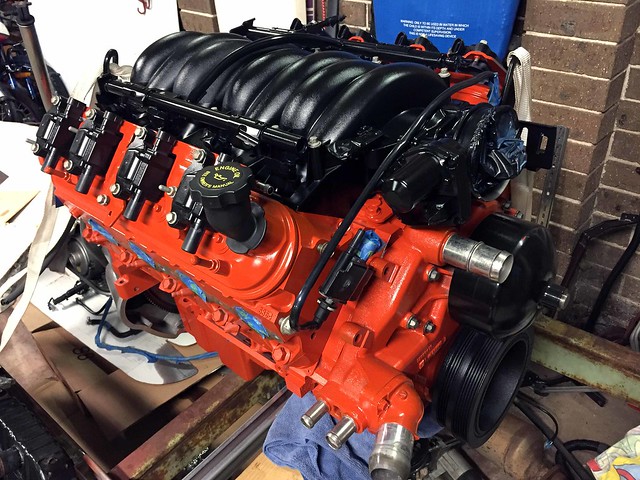
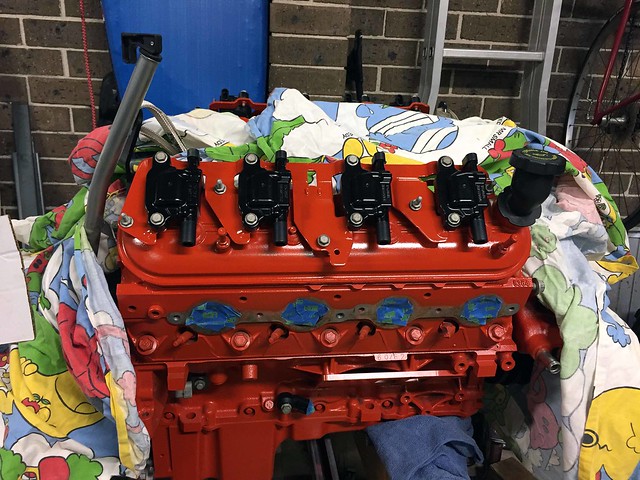
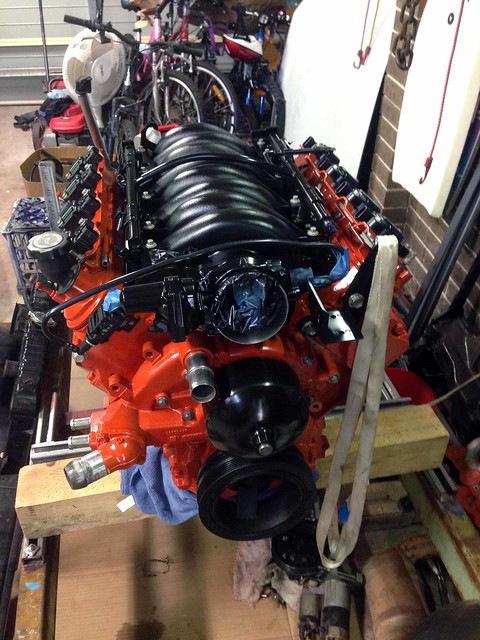
Engine painted!

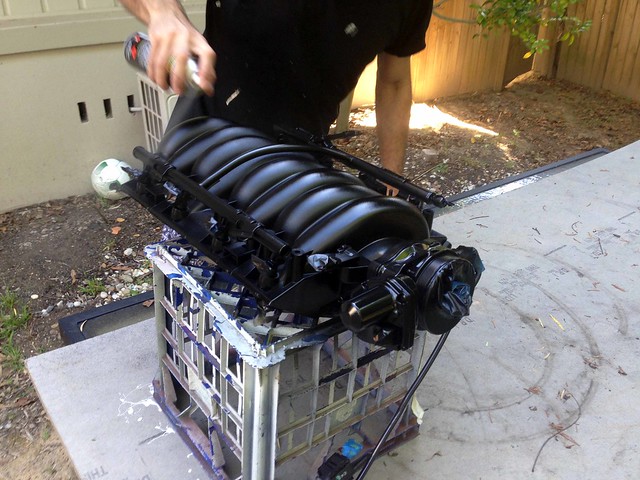
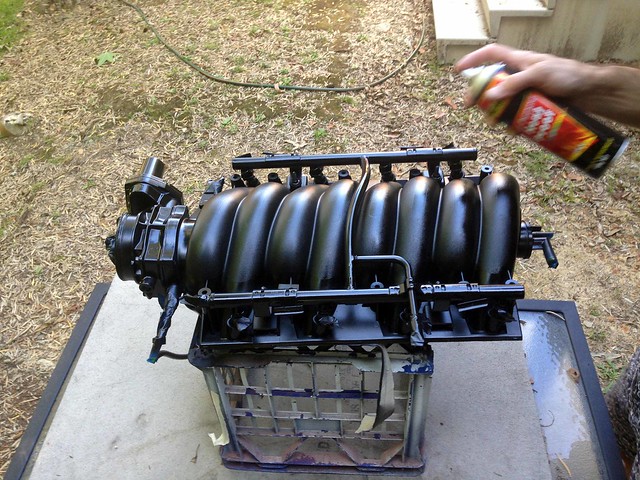
The last pieces of the engine painting puzzle was the fiddly bits... inlet manifold, fuel rails, throttle body, coil packs etc...

PaintedLS10

PaintedLS09

PaintedLS07


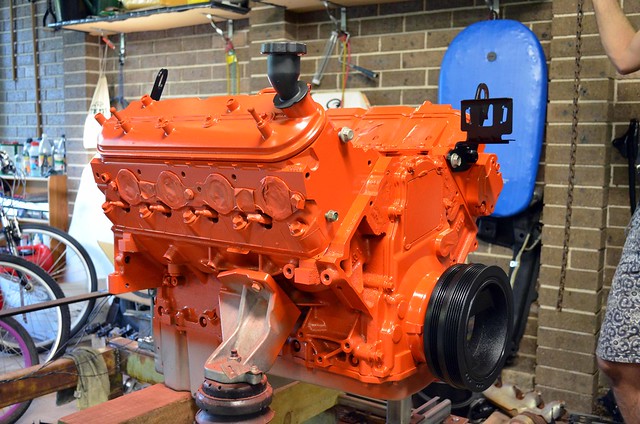
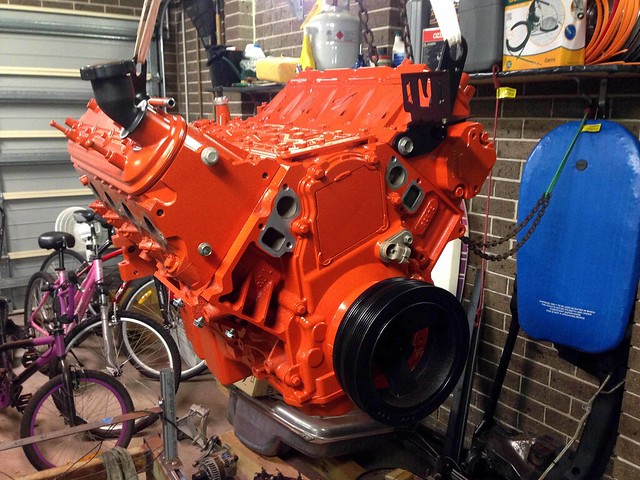
Finished product...

PaintedLS12

PaintedLS11

PaintedLS13


One of the big inspirations for the orange/black theme has been this engine...


...from this '57 Chev LS conversion project.


We'll see how the exposed coil packs look for the moment. At some stage down the track I may well relocate them and go for the series 1 SBC rocker covers with adaptor plates.

The other option for the future is to swap-out the inlet manifold for one that maintains multi-point fuel injection, but has the throttle body in the same position as the traditional carburettor. Like so...


More info here.

J

Wednesday, 23 December 2015

In the clear

A few days after the engine, it was the transmission's turn...

4L65Eclear10

4L65Eclear01


A good clean (...a VERY good clean...) and simply coating the trans in several coats of clear-coat did the trick.

J

Sunday, 20 December 2015

Clean and paint, clean and paint...

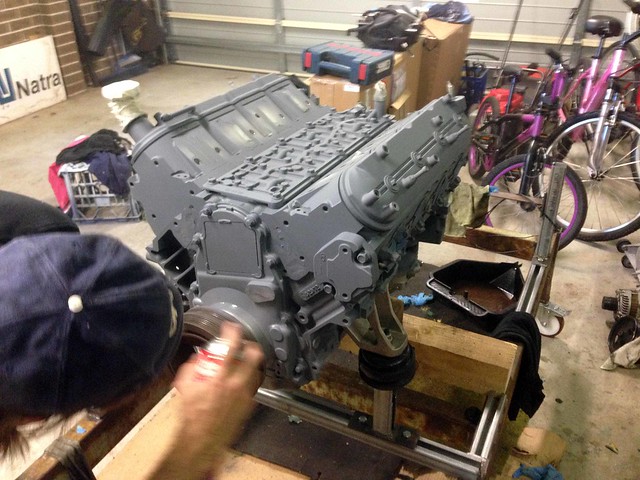
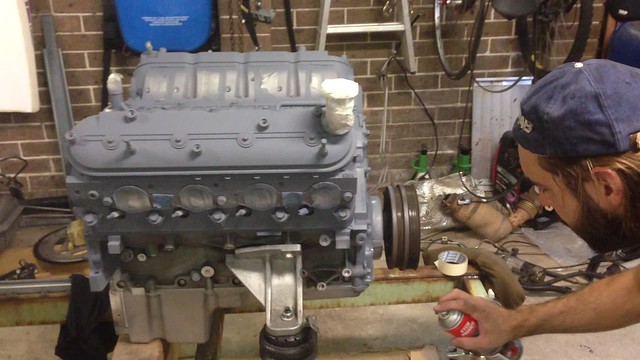
With the engine and transmission apart, it was time to strip all ancillaries, get cleaning and mask-up in preparation for painting.

JtC did the vast majority of the work as my attendance was sporadic at best!

As they say, preparation is everything when it comes to paint and JtC was at his meticulous best...

OrangeLS_12

OrangeLS_13


Few coats of etch primer...

OrangeLS_16

Untitled


Then finally some colour; Chev Orange with black ancillaries/brackets for a retro feel...

OrangeLS_01

OrangeLS_24


Could not have been happier with the result!

J

Saturday, 5 December 2015

Oil Pan

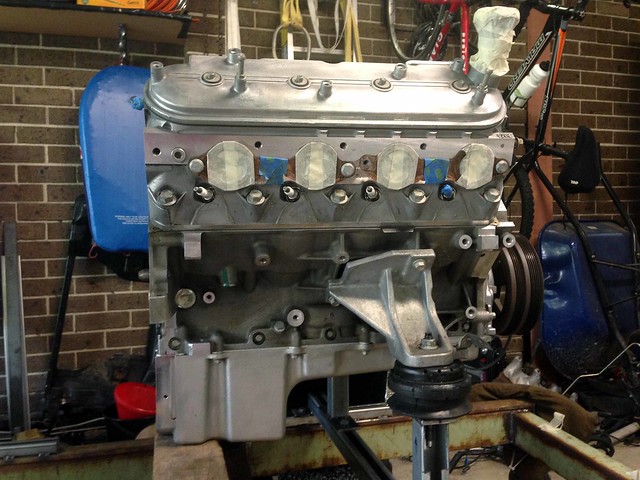
Time to swap the standard Holden VZ Commodore oil pan for the Holley LS conversion oil pan (Part No. 302-1) to suit B-bodies.

The 302-2 developed for A-body Chevs is not required (I hope!) as the Impala has the steering drag-link at the rear of the cross member and lower down, so there are no issues with the drag link fouling the sump.

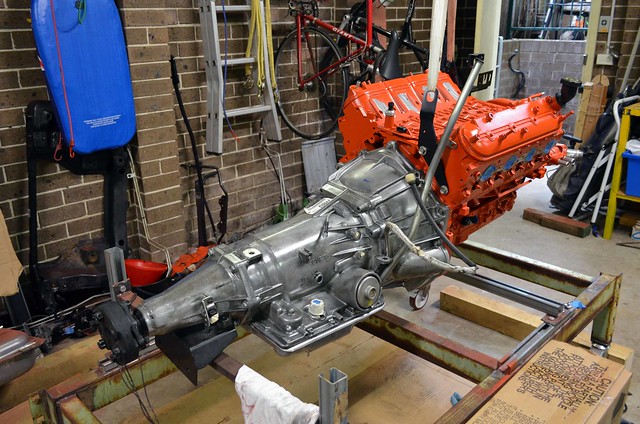
Because the two lowest engine-to-transmission bolts picks-up the sump, the trans and engine need separating...

OilPan04

OilPan05


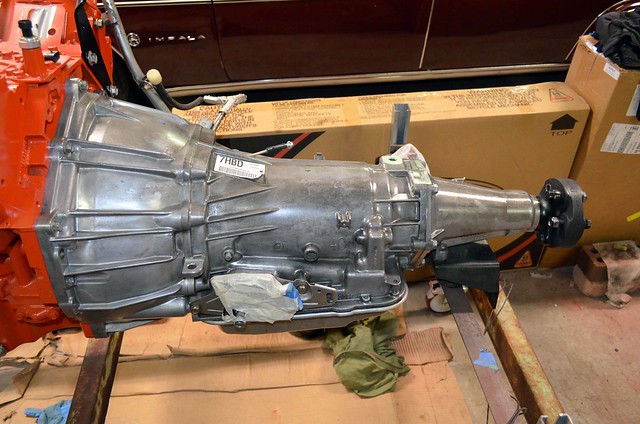
We lifted the 4L65E onto the workbench, ready for cleaning prior and hitting with a few coats of clear-coat.

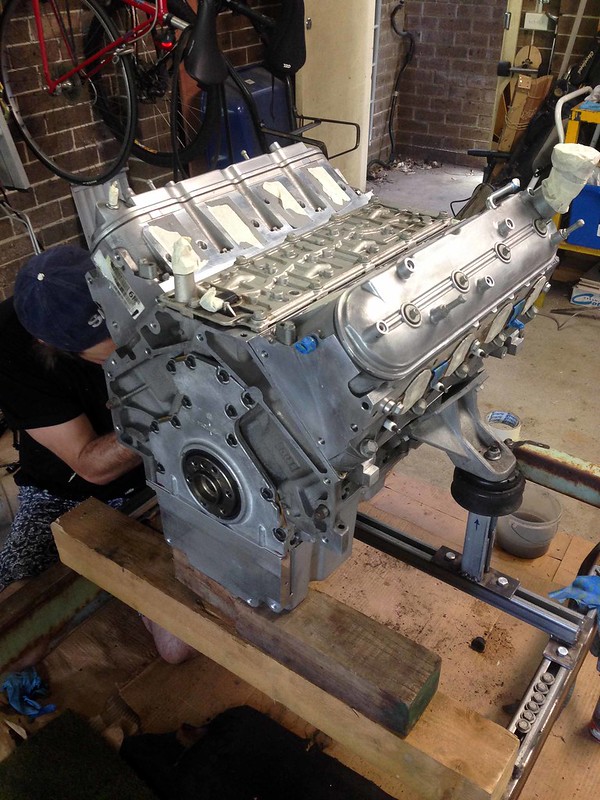
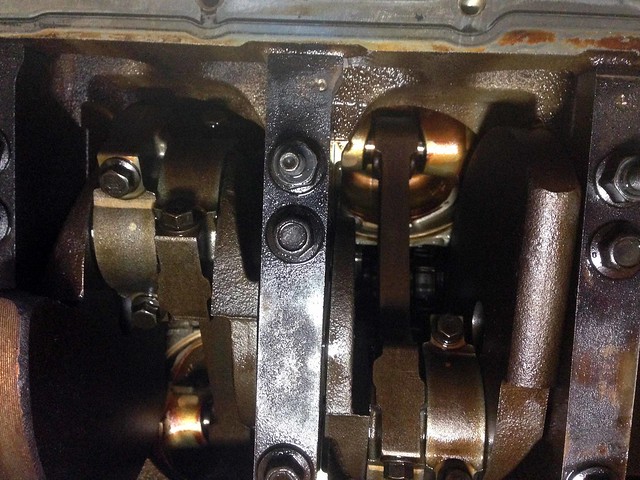
With the sump off, we could have a look at the crank, underside of pistons and the base of the bores; looks pretty good...

OilPan07


Holley sump going on...

OilPan11


A very nice product from Holley; good bit 'o kit.

J


Tuesday, 24 November 2015

Fuel Tank

I ordered a Tanks Inc. kit through Summit which included tank + pump + sender.

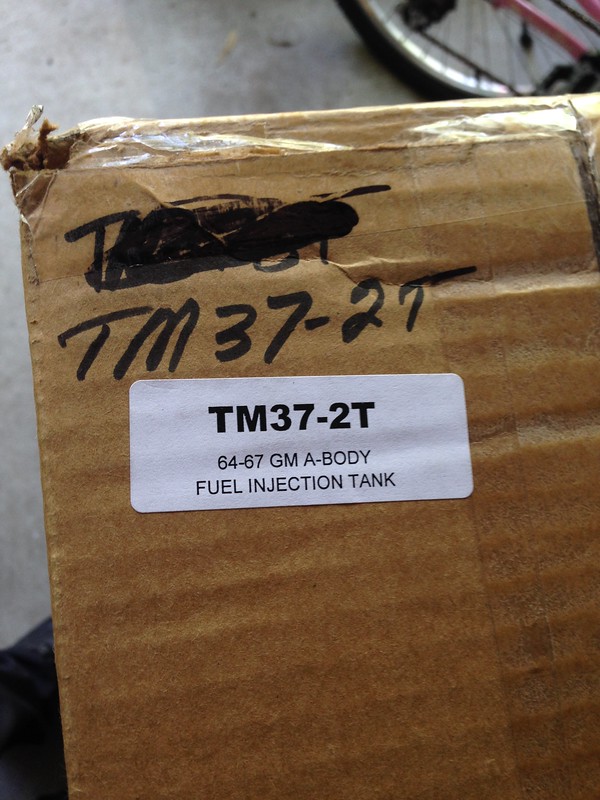
The only problem is that even though the kit is for a '65 Impala, the tank included in the kit was for an A-body (TM37-2T)...

Untitled


Once brought to their attention, Summit came to the party and sent me the correct tank (TM37C-T) straight away.

BIG thanks to Summit Racing and excellent customer service!

J

Wednesday, 18 November 2015

Retro LS Swap Video

---------- Forwarded message ----------
From: Driver, John
Date: Wed, Nov 18, 2015 at 1:05 PM
Subject: 65 Impala - Retro LS Swap Video
To: JtC

Don't have sound here at work, but this looks goo-ood!

Start at 1:57…

Significant in a number of ways:

1.
Centre throttle body only (no throttle body injection) that maintains multi-point injection.

2.
Because I have no sound, I am not quite sure what he has done with the coils… are they the standard coils, arranged in a ring with a cap over the top to make it look like a dizzy?

3.
Perhaps most important, it maintains the PS pump on top with low-mount alternator. If that is the standard GM F-body (i.e. our) accessory drive arrangement, then things are looking promising for saving cash.

Interestingly there are no heat shields on the plug boots.

Also, it looks like they have used the heat-shrink hose clamps I was telling you about.


J

Monday, 16 November 2015

Headers

From: John
Sent: Monday, 16 November 2015 12:06 PM
To: JtC
Subject: Headers


This guy has LS3 headers out of a Camaro…
Chevy Talk Forum Post
...and it looks like they fit in his ‘65 Impala LS swap.

And this guy has headers out of a 2010 Camaro...
Pale-yellow '66 Impala convertible build
...which fit fine.

They look *very* similar (identical?) to my LS2 headers. I am hoping that is the case as I am keen to keep my headers.

However… the HSV LS3 headers are definitely different…


We’ll just have to suck it and see during trial fitting.

J

Saturday, 14 November 2015

OBD2 Display

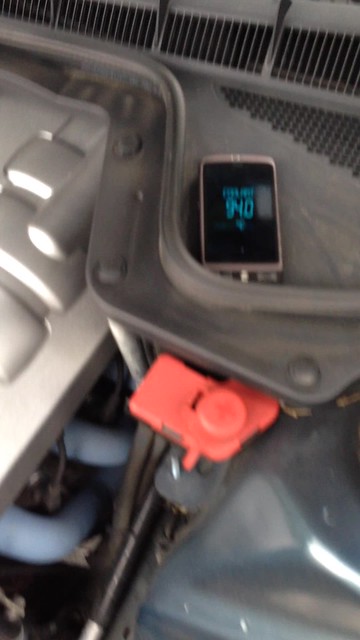
Commandeered my old HTC Android phone to test the OBD2 software ("Torque") and a Bluetooth ELM327 adapter using my VE SS Commodore.


OBD2 ELM327 Testing

J

Sunday, 8 November 2015

It lives!


We ignored supplying the starter solenoid through a relay and simply powered it via switched-power directly from the ignition switch... and ignored having a Park/Neutral inhibitor switch ;-)

The starter pack we had didn't have the herbs to kick it over so the battery from the Chev was quickly pilfered and pushed into surface.

We managed to forget to plug the vacuum hose to the brake booster (you can hear it in the video and JtC quickly found it), that was easily plugged with a bolt.

HUGE thanks again to JtC for all his work... especially his fab skills on the test frame, it is rock-solid!

J