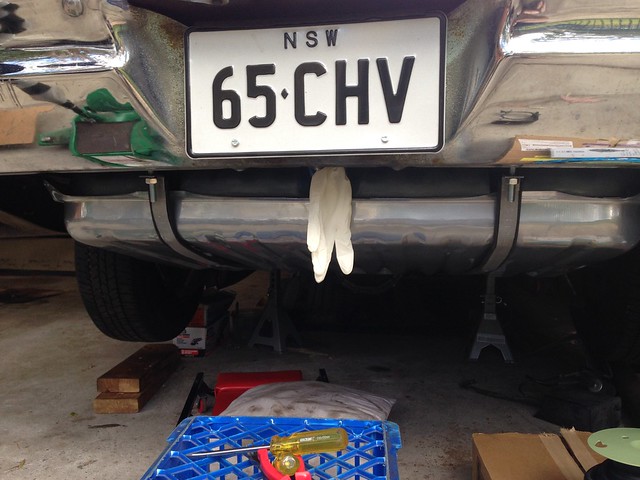
Tuesday, 18 October 2016

CSI: Radiator Hose Unit


---------- Forwarded message ----------
From: John
Date: Tue, Oct 18, 2016 at 11:00 PM
Subject: CSI: Radiator Hose Unit
To: JtC

1.
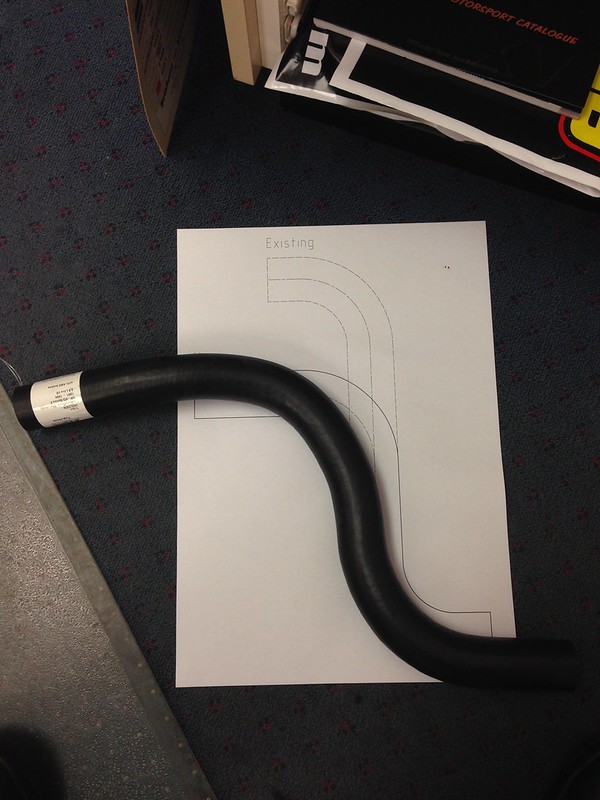
After a bit of measuring down in the garage, the attached "Top Radiator Hose Drawing" is going to be in the ball-park of what we are looking for. Printed out on A3 will give me a 1:1 template I can take with me to a parts store.

2.
Mackay Automotive have put out an AWESOME catalog which lists their hoses by ID, then length...
The top hose needs to be 33 mm ID. There looks to be a few which are promising, with CH1848 one of the best (with some trimming to length).

3.
Did a quick search for CH1848 on Supercheap Auto's website...

Now to go have a look!

Top Radiator Hose

It just happens to be the top radiator hose off a V6 VN-VR with ABS... did you salvage the top hose off the VR you bought?

J

Other promising ones...
---
Mackay
33 mm ID x 424 mm long as the basis...
---
CH3420
CH3539
CH3730
CH4822
CH1368
CH2552
CH3336
CH4274
CH3900
CH4009
CH1365
CH4954
CH1848 <-- 05-0922 <-- 92046089

Sunday, 16 October 2016

Thermo Fan + ATF Cooler Lines + Bottom Radiator Hose (phew!)

BIG weekend spent on the Chev... and another BIG effort from JtC!

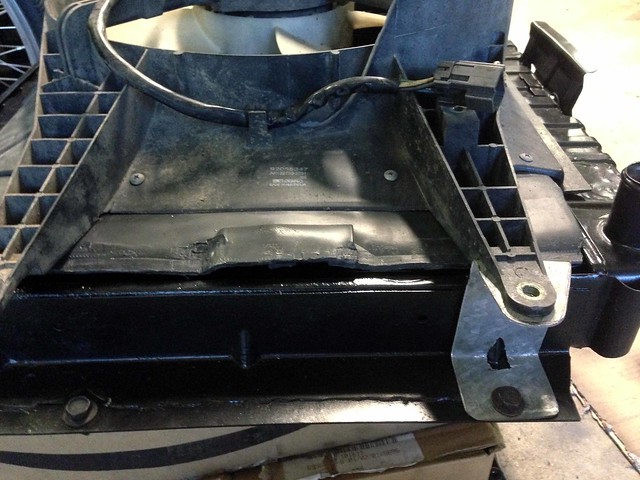
Saturday started with choosing a thermo fan from the pool of fans (what is the collective noun for electric thermo radiator fans?) we had lying around the place.

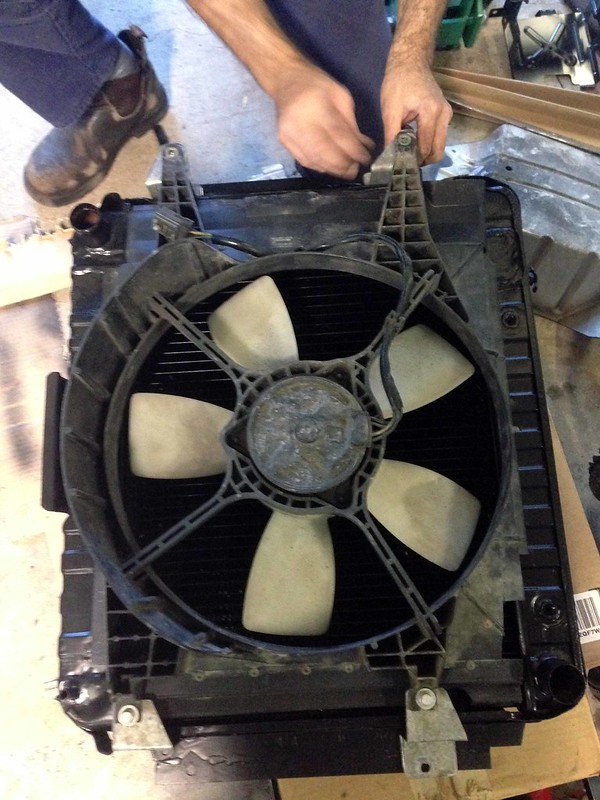
We settled on a VS V6 Commodore fan; will it draw enough air? We'll see! At the very least we put 12V across it and it certainly works.

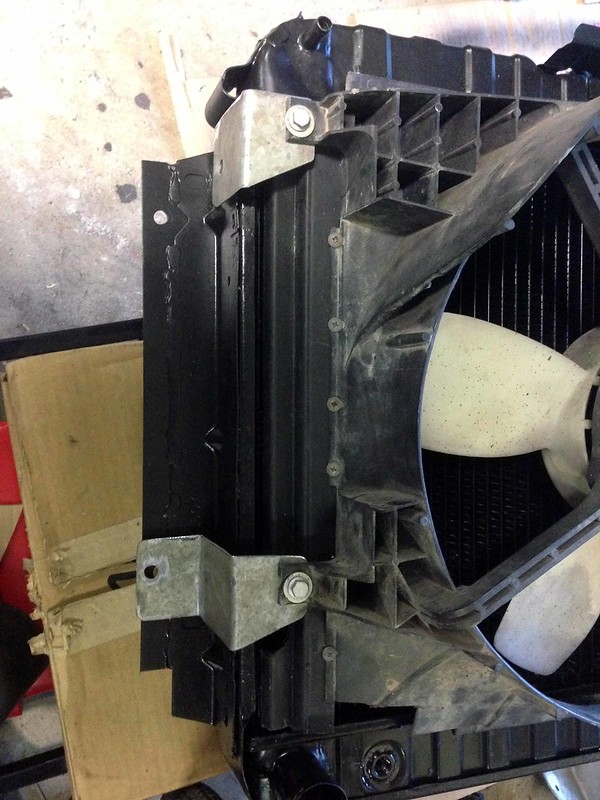
Time to fabricate a shroud and get it mounted. Scavenged plastic sheet from old radiator shrouds and self-tappers FTW!

Thermo Fan Mounts


Folded gal steel sheet was used as bracket material, salvaged from a bash/splash plate from the underside of the VZ ute...

Thermo Fan Mounting Brackets

Thermo Fan


The shroud and brackets were hit with satin black in the evening, ready for Sunday.

A new day and new challenges.

The bottom radiator hose arrangement was adapted from the VT II/VX/VY setup we used on the test frame. This meant:

  • U-shaped hose out of the water pump (Mackay Rubber part number CH2956),
  • VT II/VX/VY transfer pipe (sourced second-hand from a wrecker) and
  • 90 deg. hose into the radiator (Mackay Rubber part number CH3028... cut-down for the narrower Chev radiator).

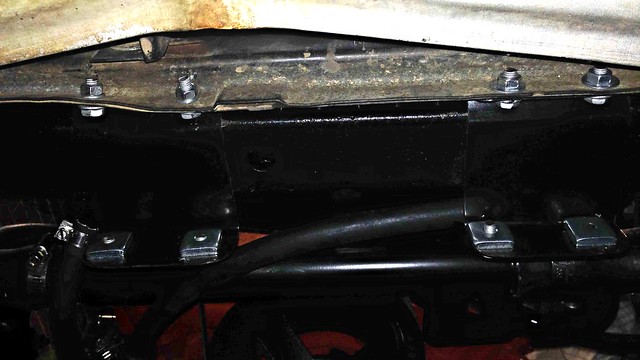
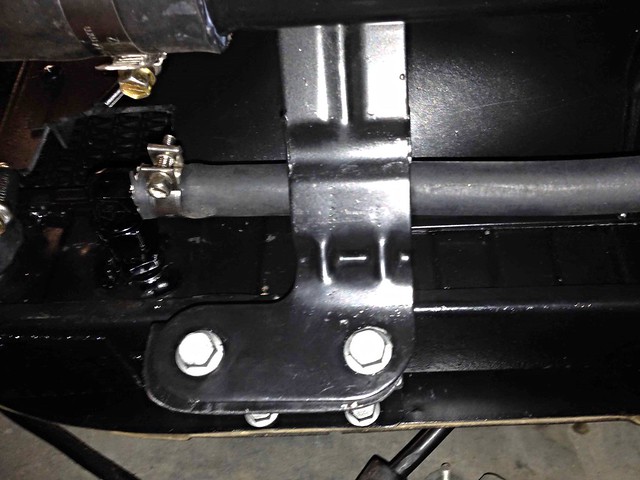
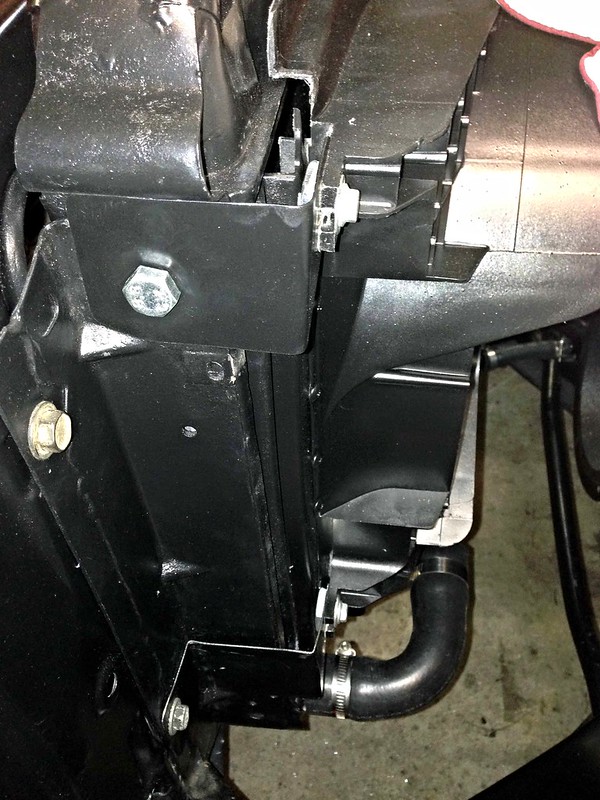
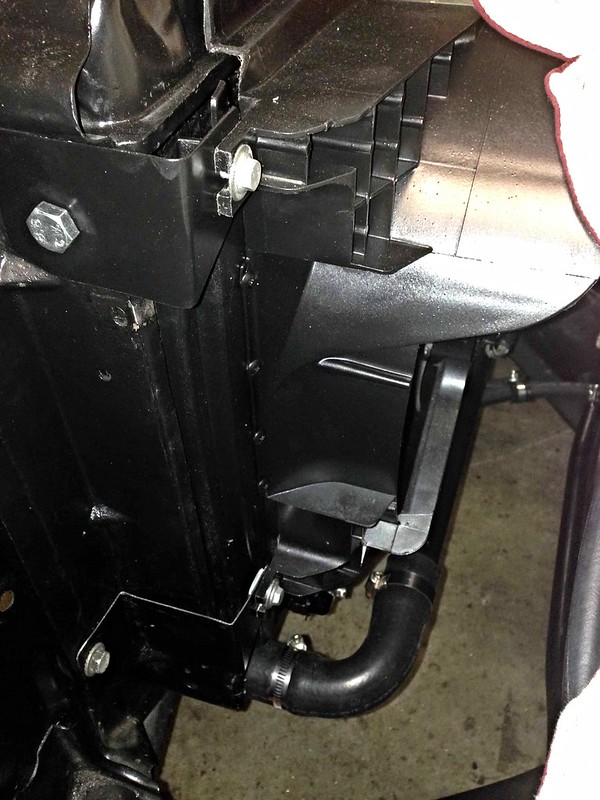
The transfer pipe has mounting tabs which we bolted to the radiator support panel using more brackets fabb'ed from the VZ splash plate material. Bit dark, but it's there I promise!..

Coolant Bottom Crossover Pipe Mounting

Coolant Bottom Crossover Pipe Mounting


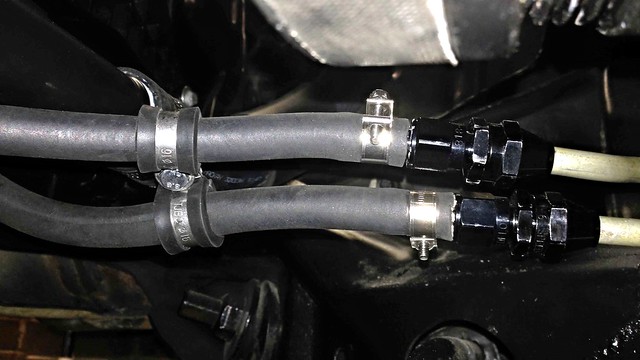
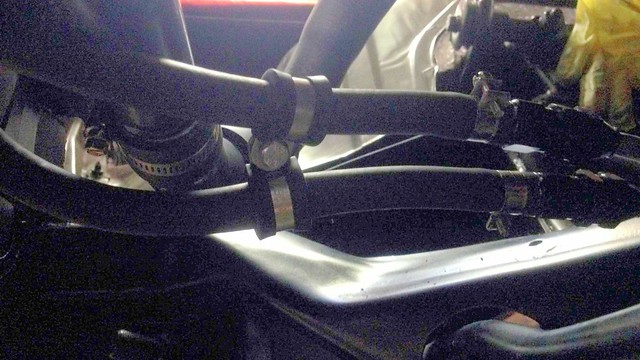
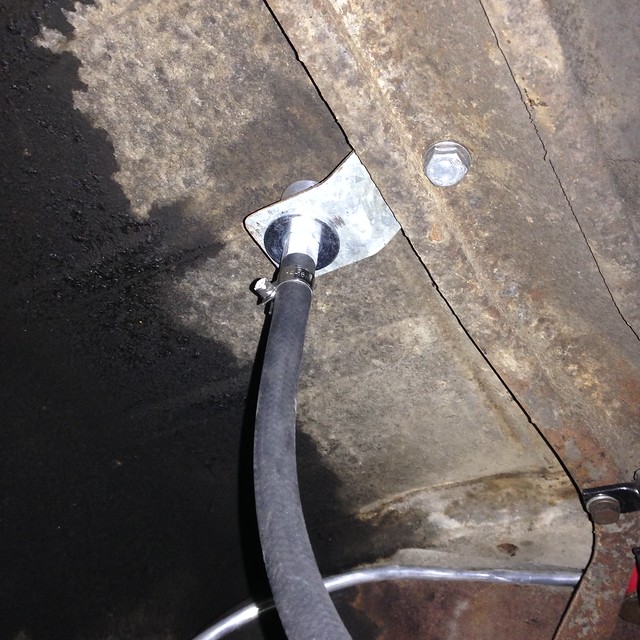
The last photo also shows the ATF cooler hose sitting on top of one of the transfer pipe brackets. The cooler hoses were connected to the radiator using Speedflow fittings/barbs and standard ATF cooler hose, retained with hose clamps. Might swap to hose with AN hose ends in the future when the wallet recovers.

More ATF cooler hose goodness...

ATF Cooler Lines + P-Clips + AN Fittings/Barbs

ATF Cooler Lines + P-Clips + AN Fittings/Barbs


Finally, the finished product...

Thermo Fan Brackets

Thermo Fan Brackets


Massive thanks once again to JtC who did the majority of the work; excellent workmanship yet again!

We are getting close now...

J

Saturday, 15 October 2016

ATF Cooler Hose AN Fitting Shopping List

Speedflow Fittings

MALE TUBE ADAPTER
618-06-06-BLK
2 off

411 SERIES HOSE ENDS - 45 DEG HOSE END
412-06-BLK
1 off

411 SERIES HOSE ENDS - 90 DEG HOSE END
413-06-BLK
1 off

411 SERIES HOSE ENDS - STRAIGHT HOSE END
411-06-BLK
2 off

POWER STEER, FUEL & OIL LINES (AN-6 to 1/2”-20 Inv)
703-06-BLK
2 off

Saturday, 8 October 2016

Radiator Support

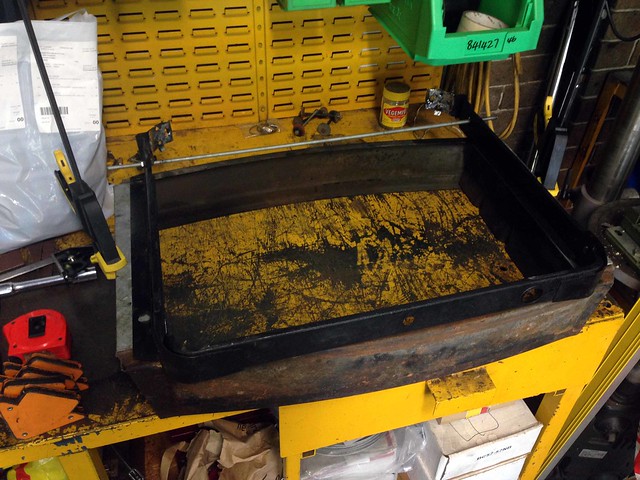
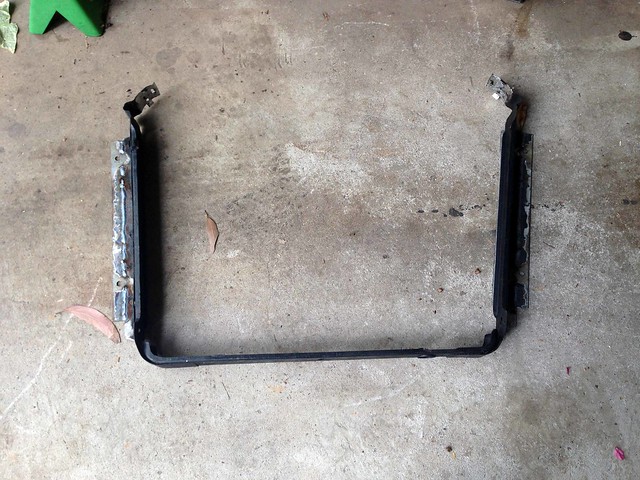
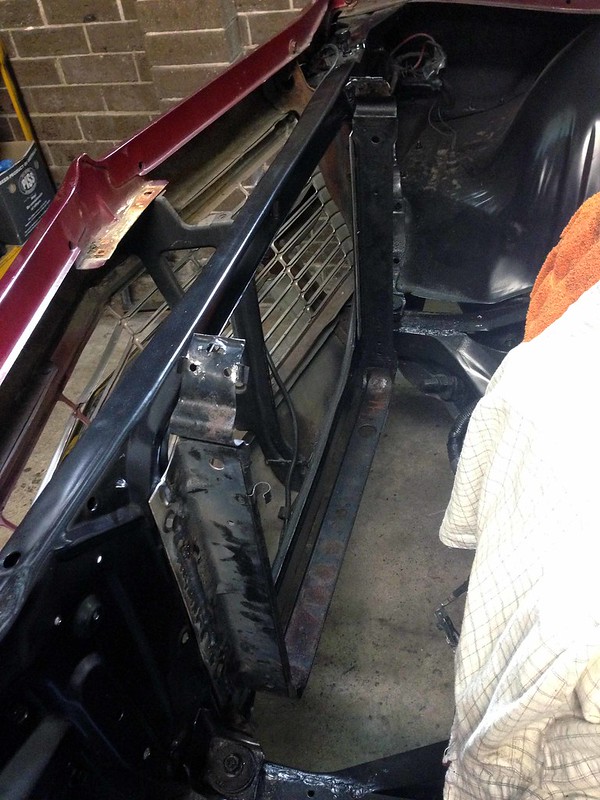
With the radiator left getting modified, I took the mounting strap/flanges home to be modified to mount the Chev's radiator support panel without using the spacer.

The spacer was a handy template, obviously having the bolt patterns for both the existing radiator mounts, as well as the radiator support panel.

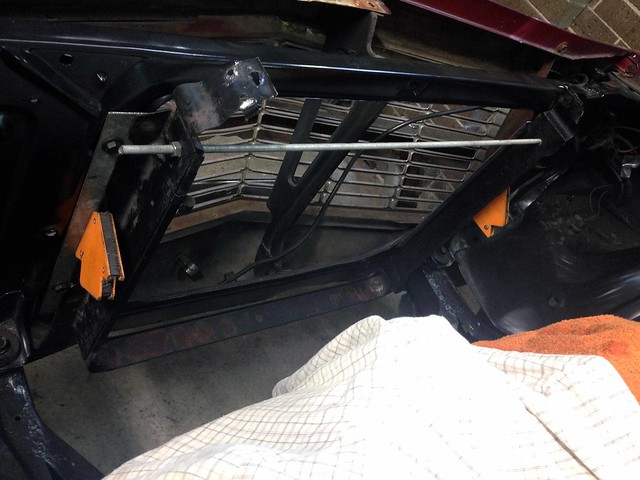
Without the radiator to hold the correct bolt spacing, I bolted the support strap to the inside of the spacer and use threaded rod to hold the two sides at the correct spacing.

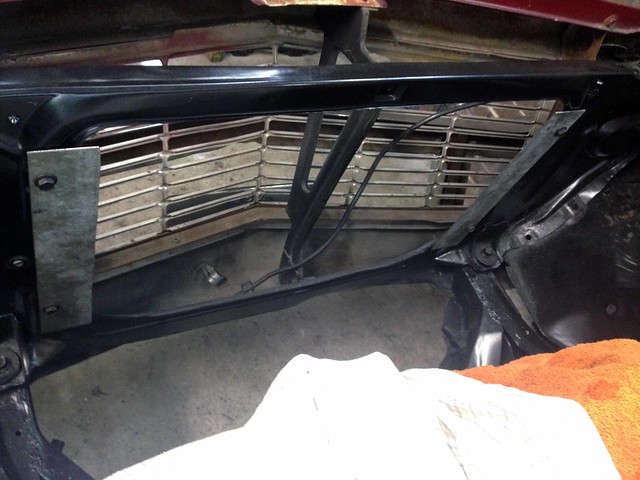
Then flip over the spacer and determine the width of flange required. Here it is with the flanges already cut out of galvanised steel scrap...

RadSupport02


Holes were drilled in the flanges to match the radiator support bolt spacing, then bolted into the car...

RadSupport03


...before lowering in the radiator mounting strap, locating it against the flanges in the final position and marking where the welds were to go...

RadSupport04


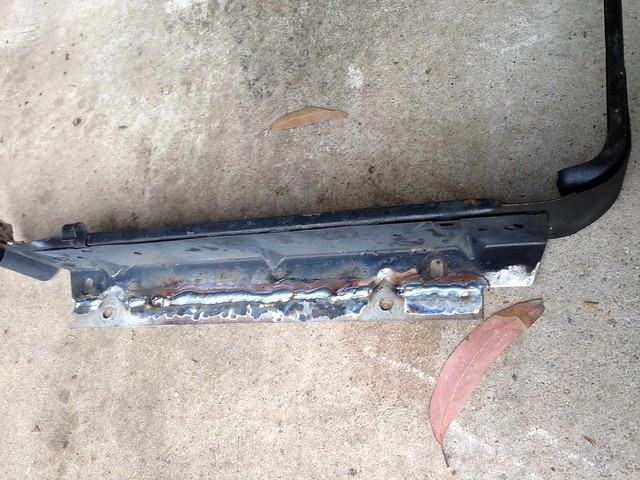
Then it was time to break-out the welder!

RadSupport06

RadSupport05


Trial-fit in the Chev... all good!

RadSupport07

Then a quick dress of the welds, prime and paint with satin black (no photos).

Now to drop the modified mounting strap off to Merrylands Radiator so it can be reunited with the modified radiator.

J

Wednesday, 5 October 2016

What's missing?


Stopped in at Merrylands Radiators this morning and explained the plan.

Ray was all good and will put Commodore-sized ports as far in the corners as possible, plus add the little steam vent port... all for $100! And could be finished this 'arvo!

He was just a bit unsure about the wider mounting flange so came up with the idea in the photo. Within a couple of minutes he had melted the solder holding the mounting strap and whipped it off the radiator. Now I can take the mounting strap home and weld a wider flange to it. He will remount it, all included in the $100.

He'll give the radiator a clean as well.

J

Monday, 3 October 2016

Headers + Engine Pipes

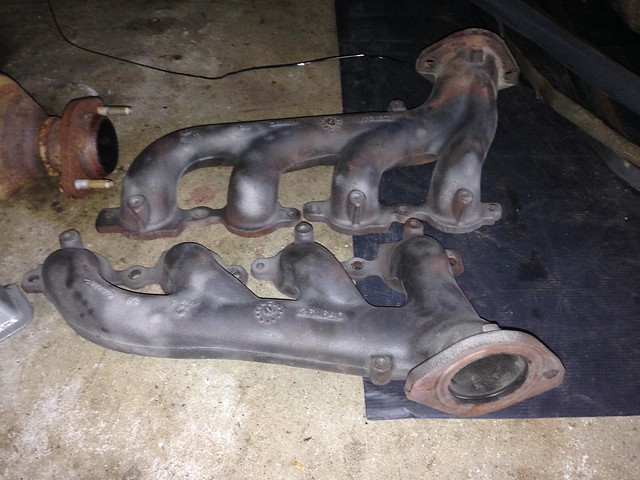
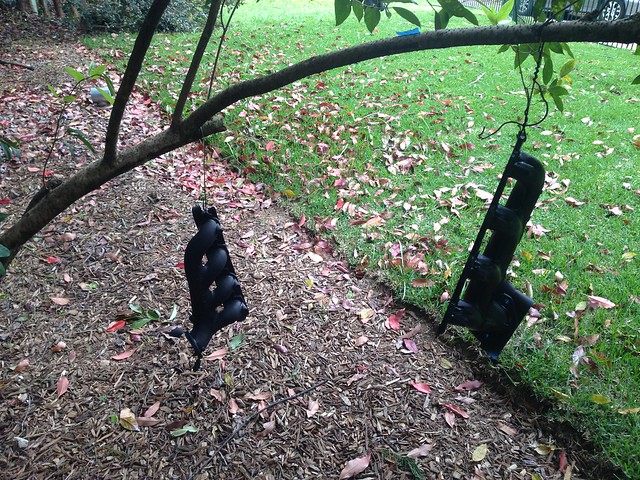
Grit blast the headers...

IMG_3227


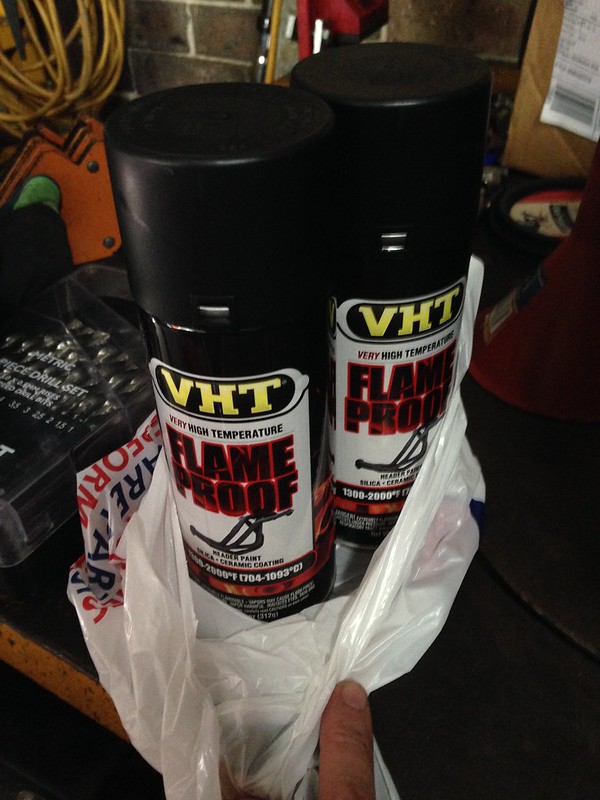
Quick wipe down with wax and grease remover.

Hit with this...

IMG_3226


..."in" the outdoor spray booth...

IMG_3230


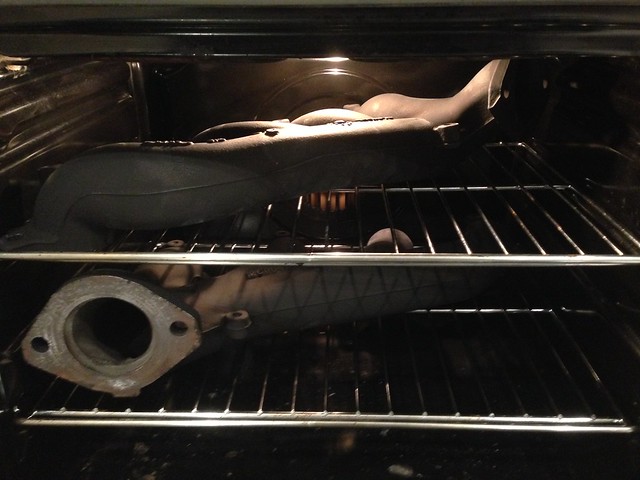
...and baked to perfection...

IMG_3231


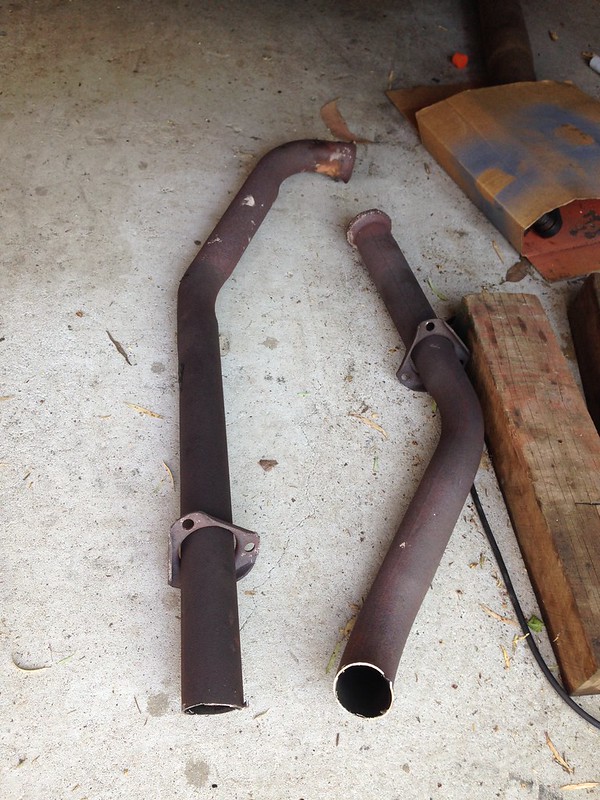
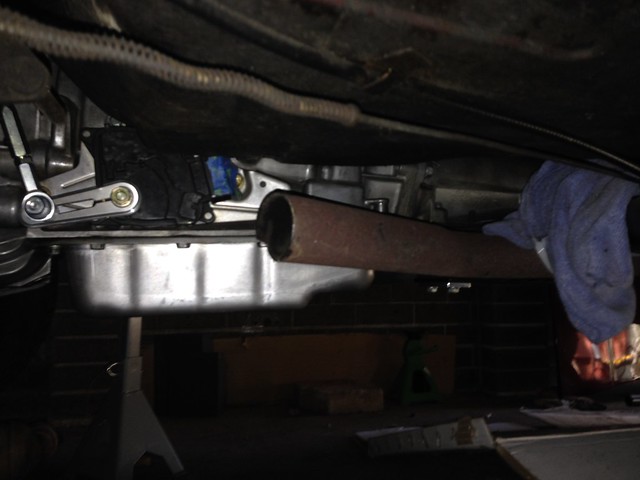
Back under the car, JtC axed through the engine pipes, just forward of the trans cross member...

IMG_3229
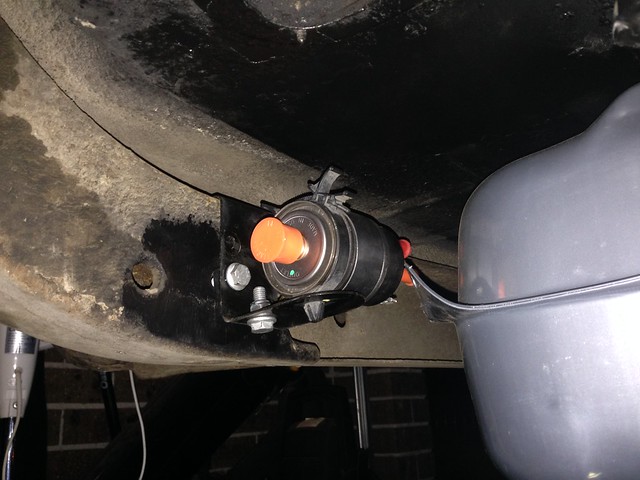

He then tied the exhaust to the transmission cross member ready for the transport (drive!?) to the exhaust shop...

IMG_3228

J

Wednesday, 28 September 2016

Radiator and Thermo Fan Clearance Dimensions

Scratch below! We are deleting the spacer (decided 02.10.2016).

From: John
Date: Wed, Sep 28, 2016 at 12:08 PM
Subject: Radiator and Thermo Fan Clearance Dimensions
To: JtC


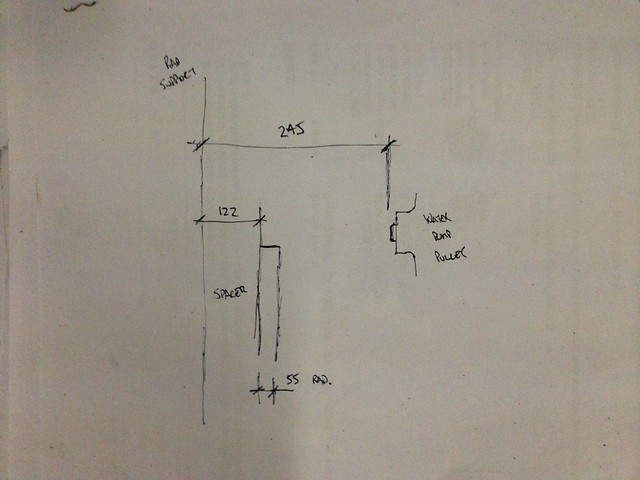
See here...

Radiator to Engine Dimensions

So spacer + radiator = 122 mm + 55 mm = 177 mm.

Radiator support to water pump pulley is 245 mm.

That gives an absolute maximum radiator width of 63 mm (which only leaves 5 mm to the water pump).

Now... Summit has a nice search feature where you can search by thickness of thermo fan.

It looks like there are a few options:

The 2.000" and 2.031" versions look like the go.

The other factor to keep in mind is the hose lengths. That will be another factor in keeping/omitting the spacer.


J

Tuesday, 27 September 2016

More EFI clamps turned up

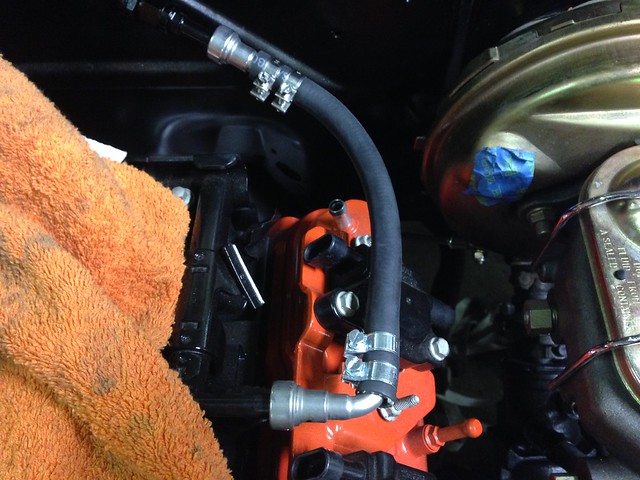
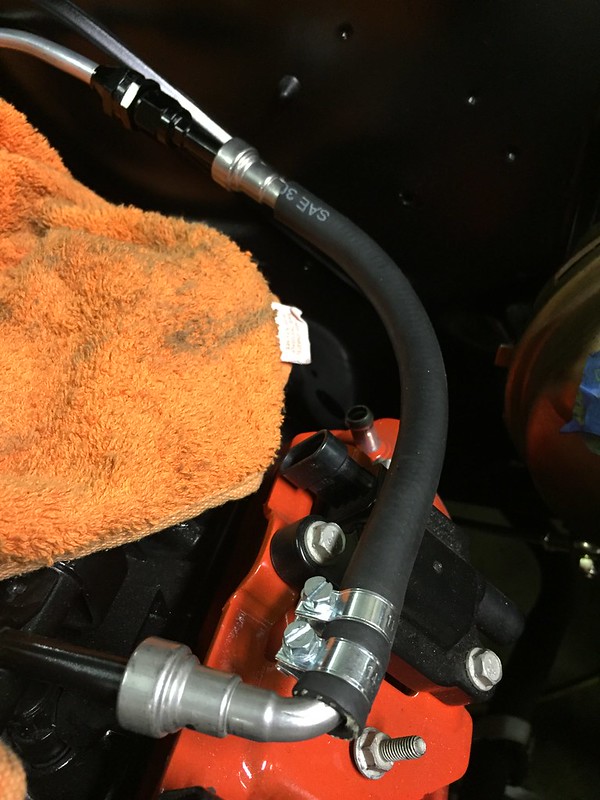
So we were able to finish off the final hose from the hard line to the engine...

IMG_3198


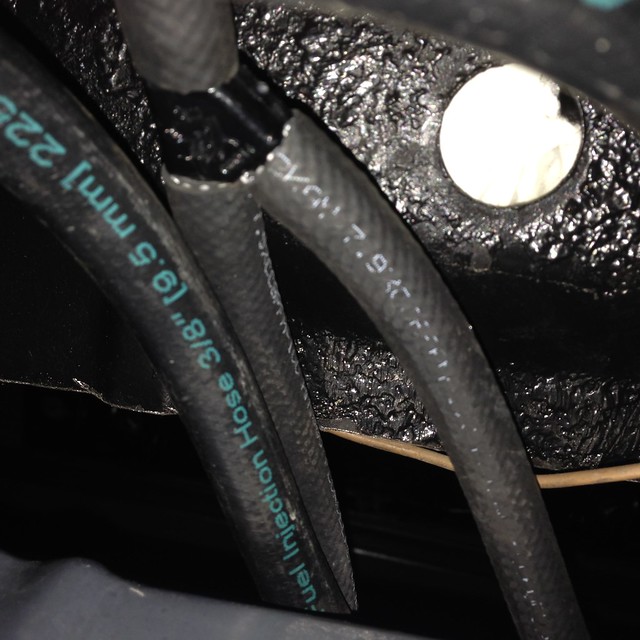
...and plumb the hose from the tank/pump vent to the breather...

IMG_3218

IMG_3210

IMG_3213

J

Sunday, 18 September 2016

Fuel Hard Line

Went into this little project with a degree of apprehension... running the fuel feed hard line from the rear of the car to the front.

I experimented with a length of tube out of the VZ. OK, but a bit tough to bend and the real concern was routing over the rear axle, as well as bending up into the engine bay.

But first, some new shiny bits...

IMG_3154

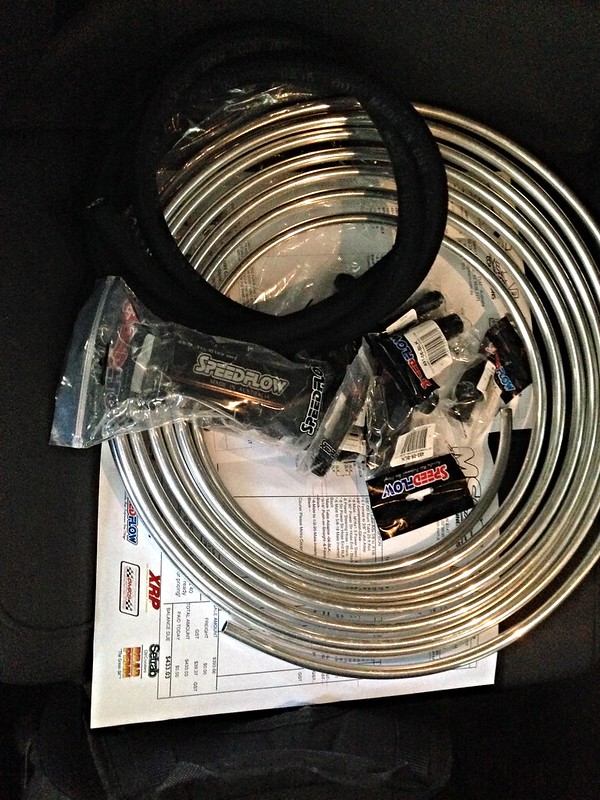
The black hose is for the power steering high pressure line from the pump to the steering box (another story). For today, we are concentrating on the coil of new 3/8" tubing and Speedflow hardline adaptors.

So the plan is...
GM female 3/8" QD on the filter output...
-> Speedflow GM 3/8" EFI adaptor to male AN-6 (716-06-06-BLK)
-> Speedflow male AN-6 to female AN-6 3/8" hardline adaptor (619-06-06-BLK)
-> Speedflow 3/8" hardline
-> Speedflow female AN-6 3/8" hardline adaptor (619-06-06-BLK)
-> Speedflow GM 3/8" EFI adaptor to male AN-6 (716-06-06-BLK)
-> fuel hose from the VZ.

Time to get JtC on the case...

Without seeing the job, there were no concerns.... easy!

Once on a creeper and under the car, the bend over the axle and the bends into the engine bay weren't looking so easy.

The decision was made to butcher the VZ fuel hose and make our own EFI rubber hose with the GM quick disconnect fittings to run from the engine, down to the chassis rail. Then it would be hard line to the axle where we would swap back to flexible hose for the axle bend.

A plan!

For a bit of laugh, JtC thought he would have a quick try bending the Speedflow hard line up and over the axle.

We shouldn't have been concerned, the new hard tubing was a lot more flexible and easier to work with than the original Holden lines.

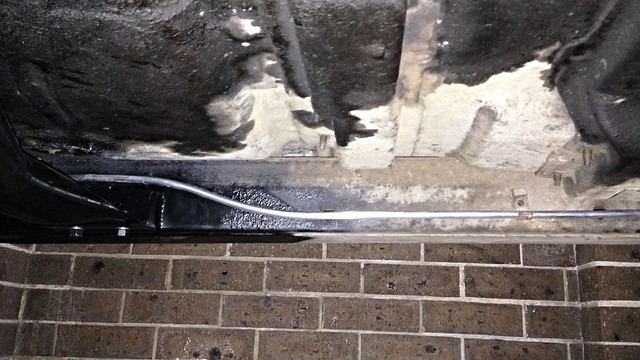
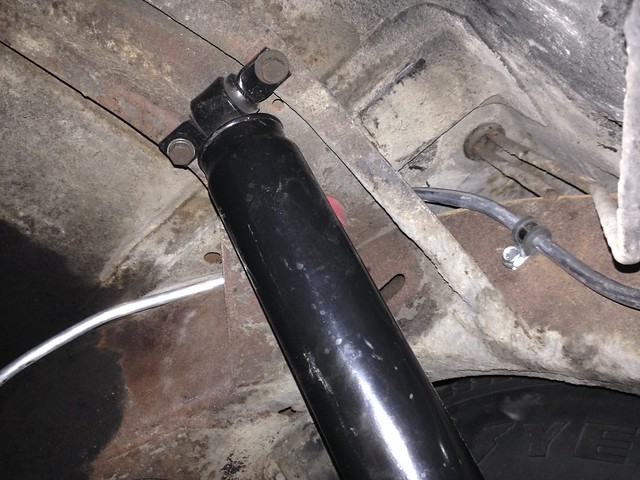
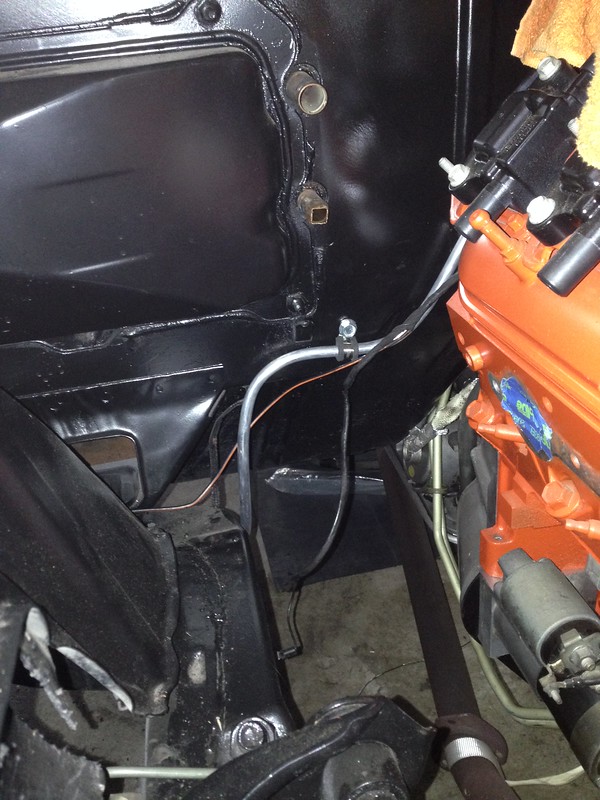
Next minute... hard line routed over the axle, over the trans cross member, even clipped into the original Chev retaining clips...

IMG_3163

IMG_3208

IMG_3207


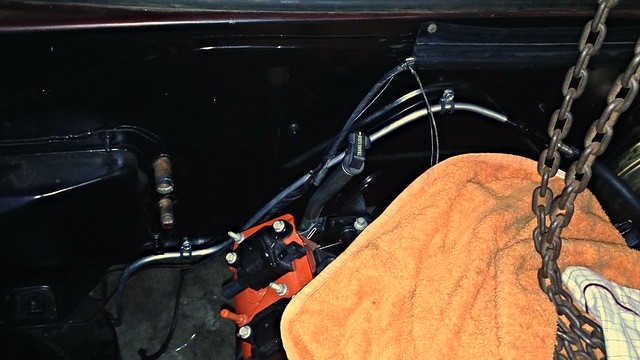
We were able to un-spool the coil of tubing up and into the engine bay, retaining the tubing with P-clips...

IMG_3193


A thing of beauty!

IMG_3194


Because we butchered the VZ fuel hose to the engine, we had to recreate it with EFI rubber hose. Here it is waiting for two more EFI hose clamps (what a time to run out)...

IMG_3164


BIG thanks to JtC for weaving his car whispering magic once again!

J

Saturday, 3 September 2016

Pity the Fuel!

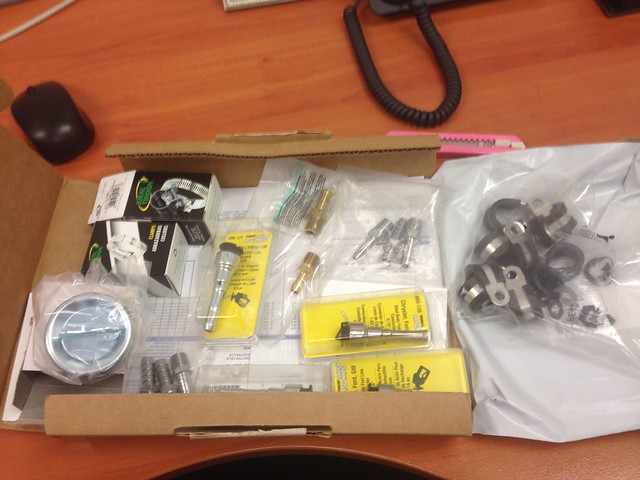
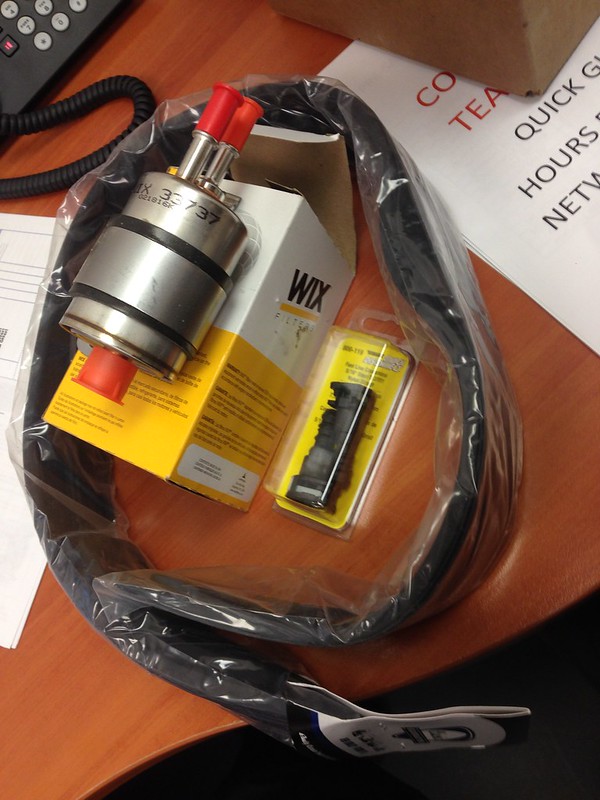
New parts coming in thick and fast...

New Parts - Fuel Fittings

New Parts


...time to install.

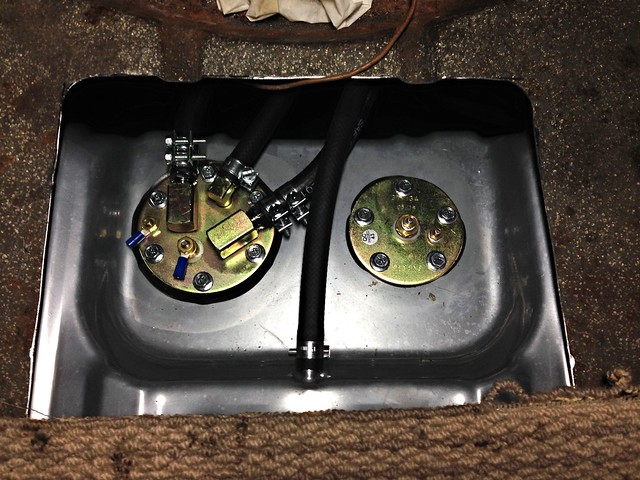
The pump outlet/return ports are female 1/4" NPT, so a couple of 3/8" barb adapter fittings will go there with Gates Barricade 3/8" EFI hose double clamped to the barbed fittings.

I have gone with a Corvette regulator/filter which takes care of regulating the fuel pressure, as well as the return to the tank, so only one 3/8" line needs to be run to the engine.

The filter/reg has a male 3/8" quick connect entry and a male 5/16" quick connect return. Feed to the filter uses a Dorman 3/8" quick connector double clamped to the feed hose.

Because I have a heap of 3/8" hose, I wanted to use that for the return as well so used a Dorman 5/16" quick release to 3/8" barb adapter.

Not sure what the result will be, clamping hose to a nylon fitting where normally nylon hose would be used... we'll see.

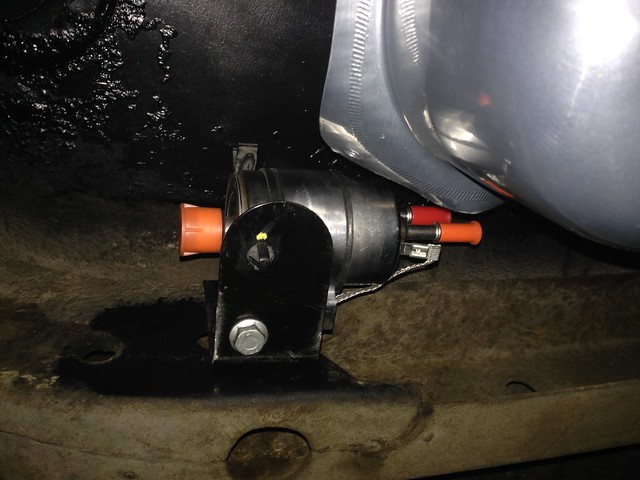
Anyhows, running the lines is to come. First: mounting the filter.

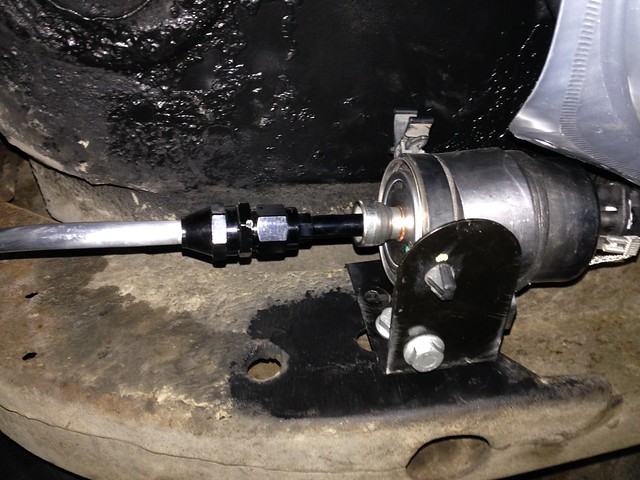
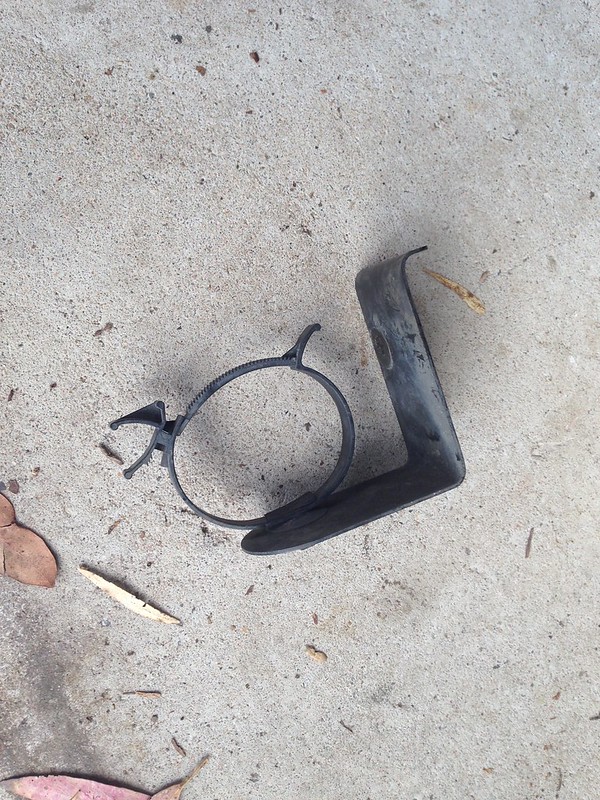
Waste not, want not: the VZ Commodore fuel filter bracket was resurrected...

VZ SS Commodore Ute Fuel Filter Bracket


...and pushed into service...

Filter in place

Filter in place

Plumbing to come!


Ooo... almost forgot! Fuel tank went in with the rubber-lined straps...

Tank straps with liners

J