Saturday, 16 April 2016

Fabricating New Engine Mount Pedestals

The engine test-fit on 29.03.2016 showed that the engine mounts didn't quite meet the pedestals that are bolted to the cross member...

Untitled


The original plan was to make packer plates between the mounts and adapter plates, to move the engine mounts closer to the pedestals.

That idea was ditched as I wasn't confident the holes would line-up across the car.

Plan B: fabricate new pedestals!

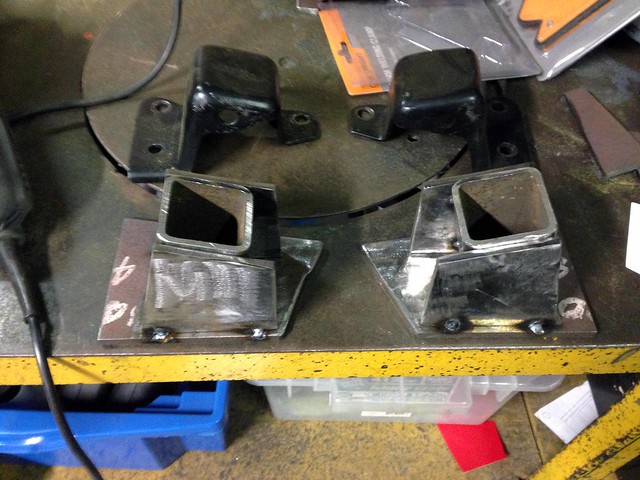
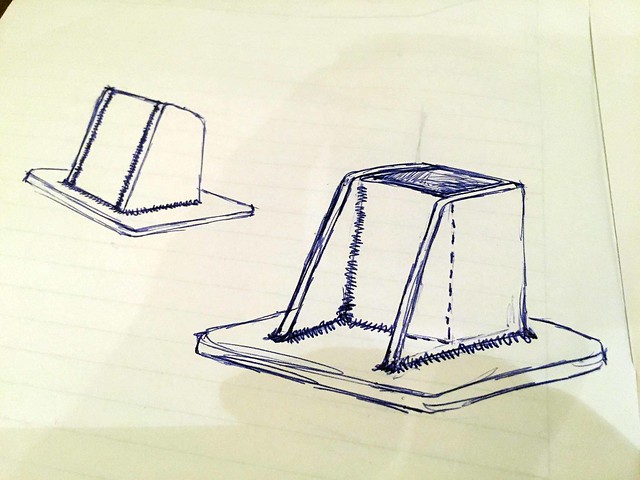
I drafted a few designs before JtC tweaked my penultimate design for this - final - concept...

Sketch


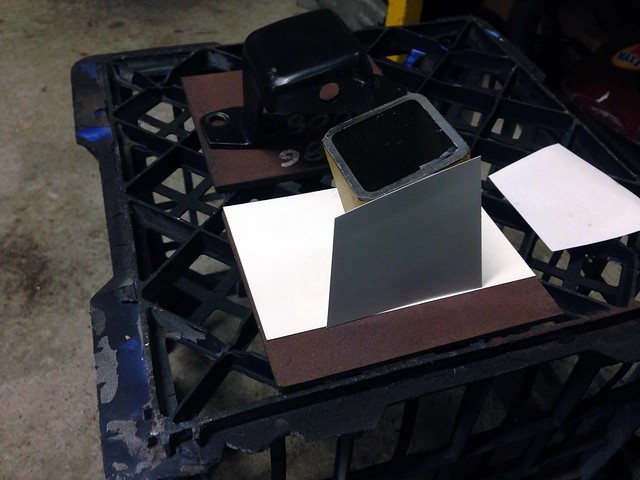
Back to AutoCAD to tweak the design. It wasn't long before some 1:1 templates were printed and cut out of card...

Templates

Templates


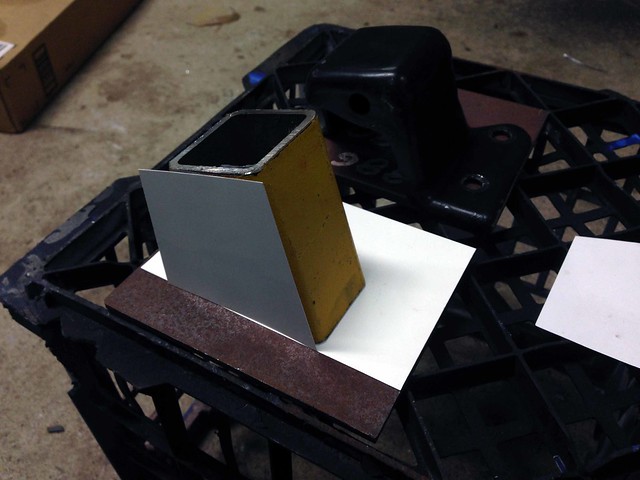
Plate was cut and the final design mocked-up in steel...

Mock-up


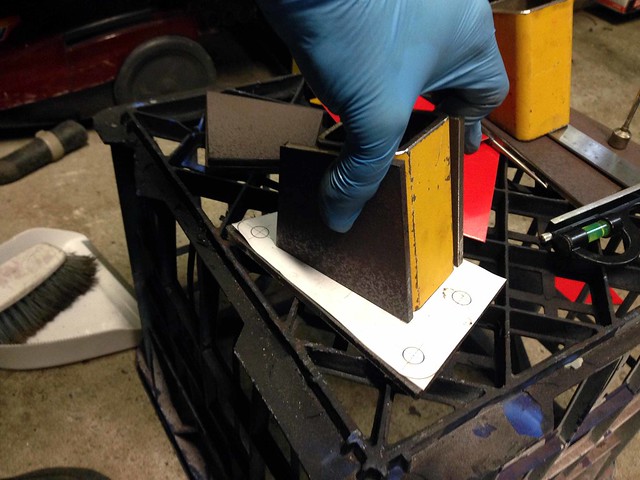
New vs. old. Tacked ready for seam welding...

Tacked

Material:
50 x 50 x 4.0 SHS
6 PL

J

Tuesday, 29 March 2016

Test-fit #1

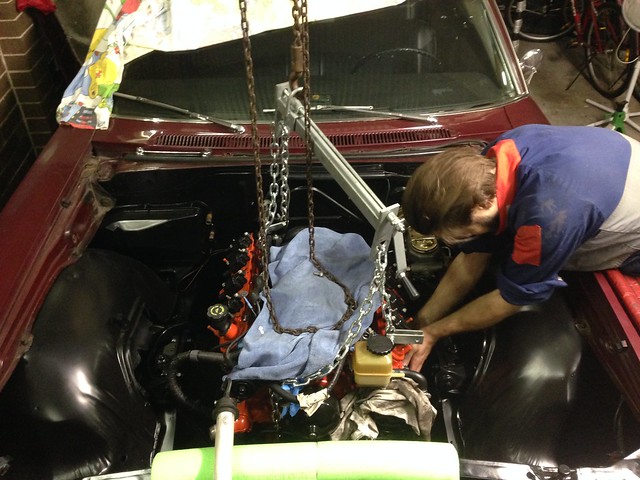
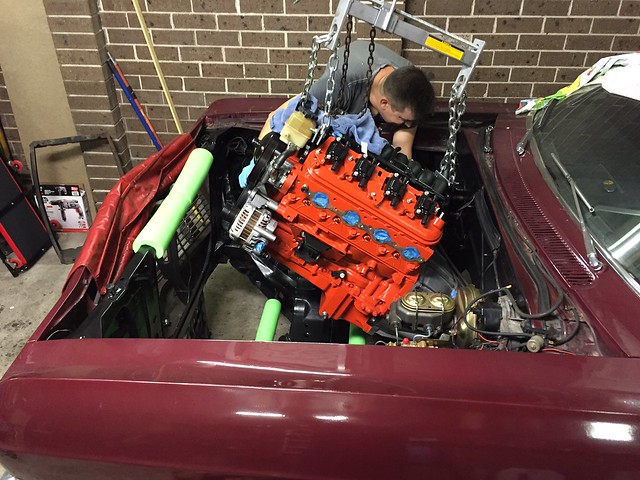
FINALLY we got a chance to try fitting the LS into the Chev!

With the trans connected to the engine, an engine leveller is a must... you need to wind some big angles into the assembly to feed it in and the ability to tweak the angle whilst suspended is a God-send!

Quick tip, cut-up pool noodles do a great job at protecting against any bumps and scratches...
IMG_4435

Untitled


Firstly, the stock Holden alternator location is too low and the alternator fouls on the engine cross member. I was expecting this to be the case and moved the engine as far forward on the adapter plates to see if I could get the alternator to sit in front of it, but to no avail.

Time to order an ancillary drive relocation kit. I have gone with Holley's version...
Holley 20-135 (Accessory Drive Bracket)
Holley 21-2 (Spacer)
Holley 198-200 (PS Reservoir)


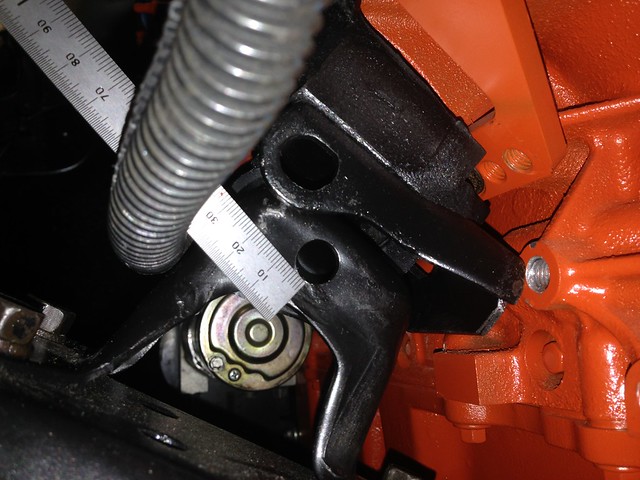
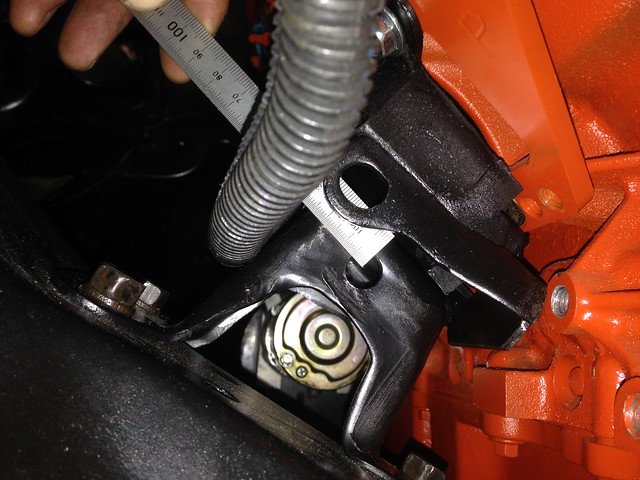
Secondly, the engine mount adapter plates are not thick enough to lift the sump above the engine cross member.

This shows the engine mount misalignment with the driver's side engine mount bolt in place (so the engine is tilted)...
Untitled

Untitled


I'll source some steel to shim the engine mount closer to the pedestal.


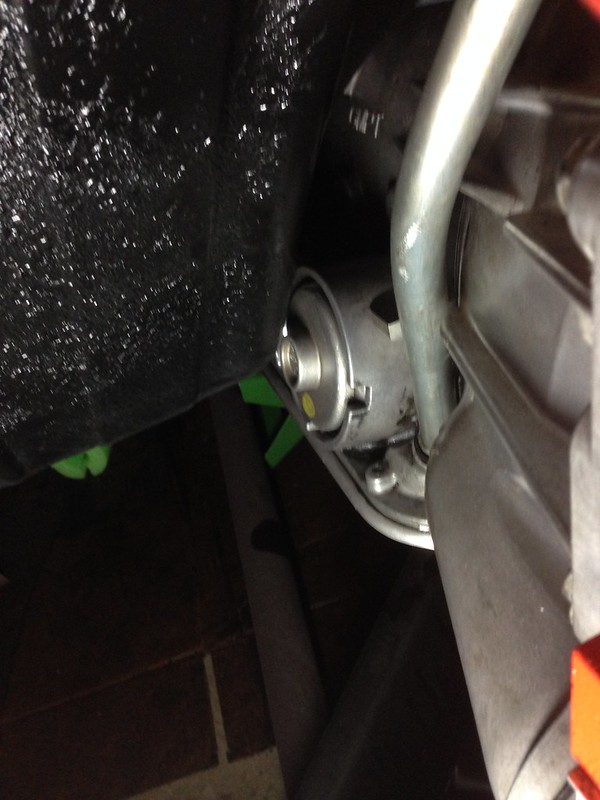
Thirdly, the servo on the 4L65E juuust touches the trans tunnel...
Untitled

Some massaging with a "gentle persuader" is required to ensure there is a nice amount of clearance.


Fourthly, the driver's side header heat shield juuust touches the steering box and the exhaust dumps onto the pitman arm. We will need to move the engine back on the engine mount adapter plates to clear this.

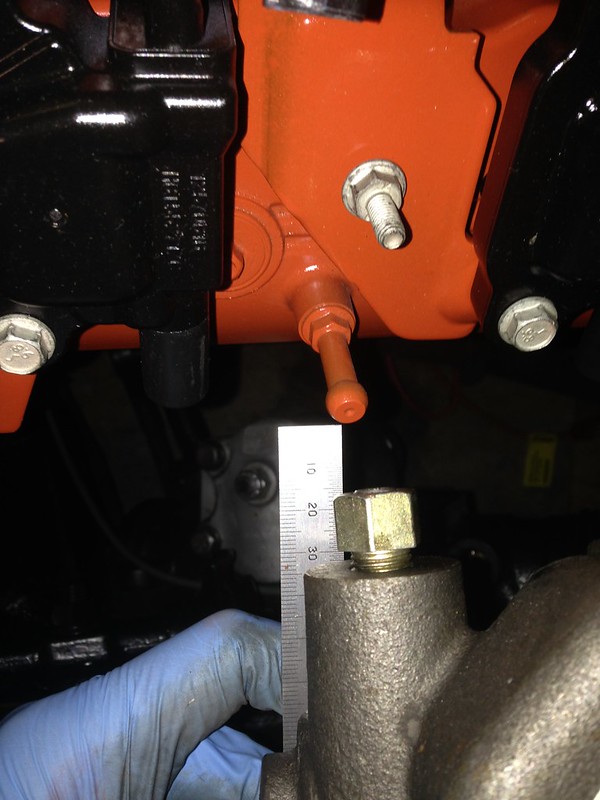
Thankfully there is pretty good clearance between the coil packs and the master cylinder. The closest interference is a peg/pedestal for the original Holden engine cover (which we won't be using) and will be removed if required...
Untitled


The good news is the gearbox crossmember looks to be in a very similar position to standard, so it looks like very little modification is required (famous last words?).

To end the night, we pulled the engine back out, ready for the required mods.

J
Wednesday, 24 February 2016

Oil Pressure Bits and Pieces

Remove oil pressure sender from 327 -> measure thread size/length -> 1/8 NPT

Oil Pressure Switch
Wells PS24
$20 from Chev Parts

Adapter for above...

Aeroflow Oil Pressure Adapter to suit LS1 LS2 L76 L98
Black
AF166-05-02BLK

M16 x 1.5
1/8 NPT Female


J

Monday, 22 February 2016

LS Swap Info

engine mount -> Chev Parts -> check if slotted holes are available -> no luck

Remove water temp sender from 327 -> measure thread size/length -> get adapter

water temp sender:
27.3 mm across flats
30.89 mm peak-to-peak
~ 22 mm thread OD

---

hex socket (for socket headed cap screw) -> bring in SHC screw

vacuum line (for gearbox breather)
vacuum line t-piece

1 x etch primer
2 x satin black

Remove power steer hose -> measure ends
Remove auto trans cooler hoses -> measure ends

p-clips (clamps)
t-bolt clamps -> pipe clamps

---

Dimensions:

earth bolts = M10 x 15 (can source SHCS M10 x 20)
coil bracket bolts = M6 x 20 (can source M6 x 25)
coil mounting bolts = M6 x 25 (can source M6 x 25)

VZ hard fuel line = 9.53 mm OD feed
VZ hard fuel line = 8.05 mm OD return

gearbox breather tube = 9.17 mm OD
gearbox breather T-piece = 5.19 mm OD

loom fat = 20.3 mm OD
loom small = 10.6 mm OD
battery loom = 24.7 mm OD

---

The tailshaft yoke fits:


Wednesday, 10 February 2016

Satin Black

Time for "colour" to go down...

Untitled

Satin Black

Satin Black

Two full cans of satin black = one coat.

Looks excellent!

J

Sunday, 7 February 2016

Prime coat goes on

Auto One etch primer was the primer of choice.

On it goes...

Half way through the primer coat


Fully primed...

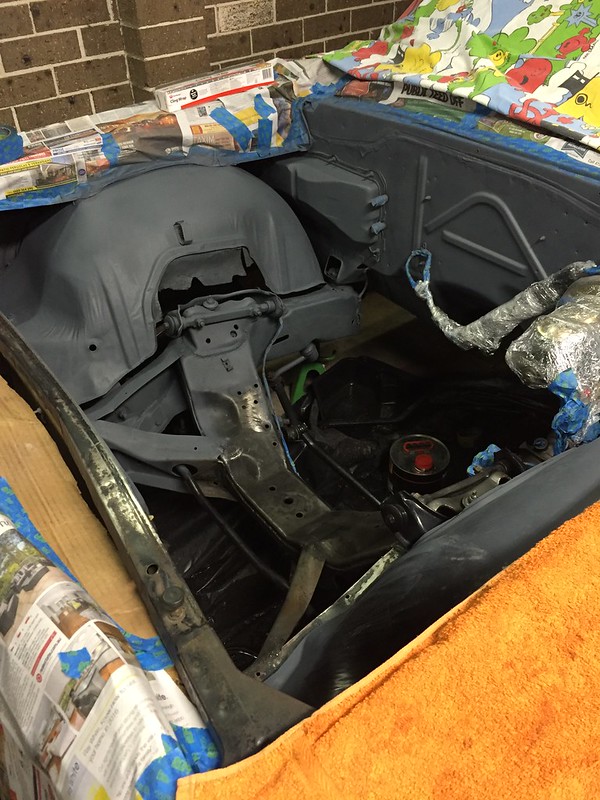
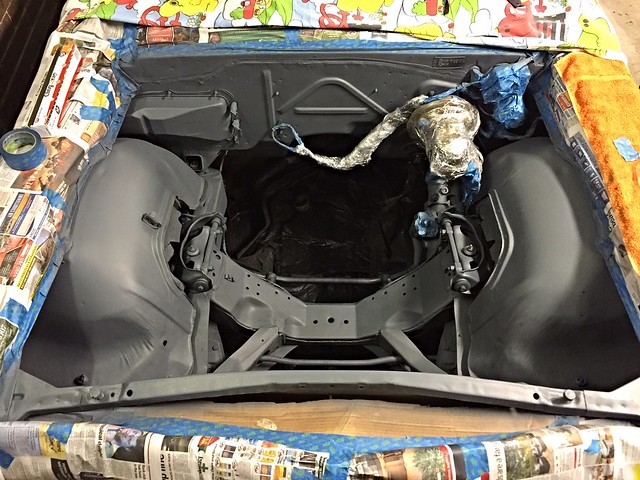
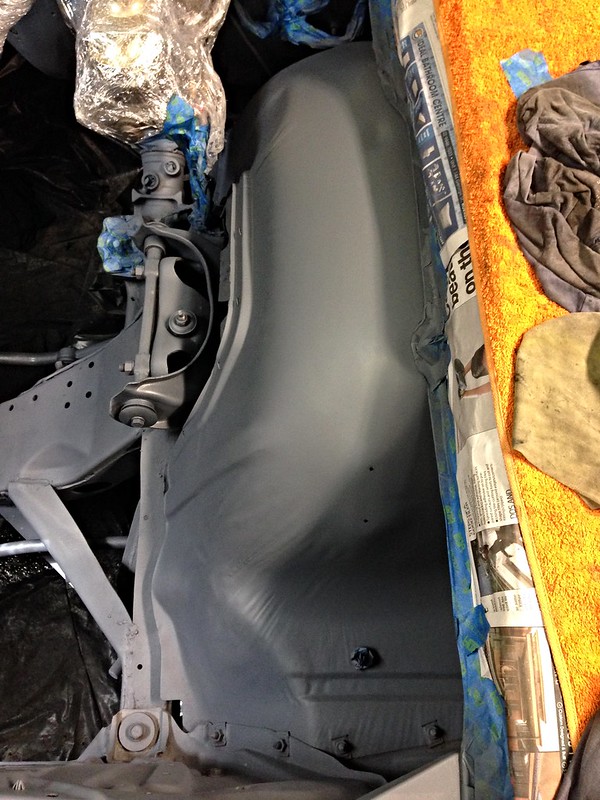
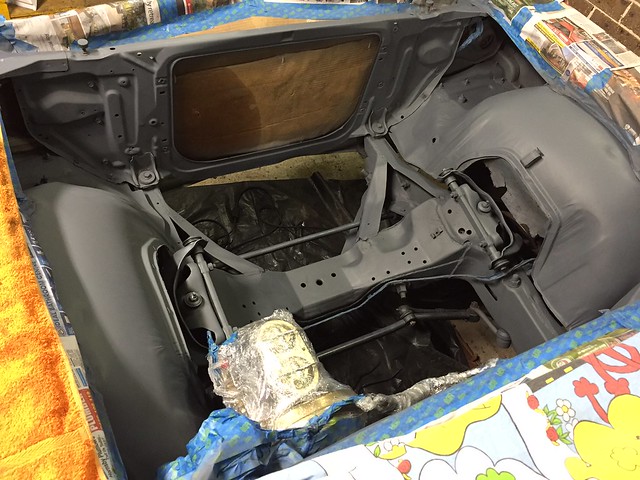
Primed

Primed

Primed


Primer went down late on Sat 6/2.

A cursory glance would notice an area on one inner guard where the old paint wasn't feathered to the satisfaction of quality control (we won't say who sanded that guard).

JtC (the perfectionist he is) came back on Sun 7/2 to sand-back and re-prime.

Champion!

J

Saturday, 6 February 2016

Cleaning... cleaning.. cleaning...

After much scraping, wire-brushing (manual and power), cleaning and sanding...

Cleaning... cleaning


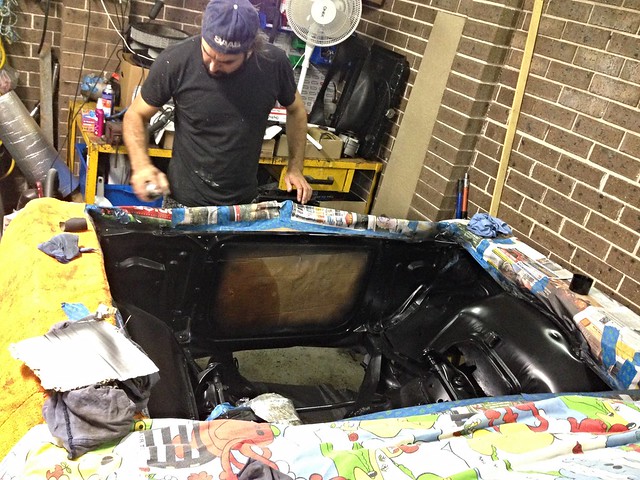
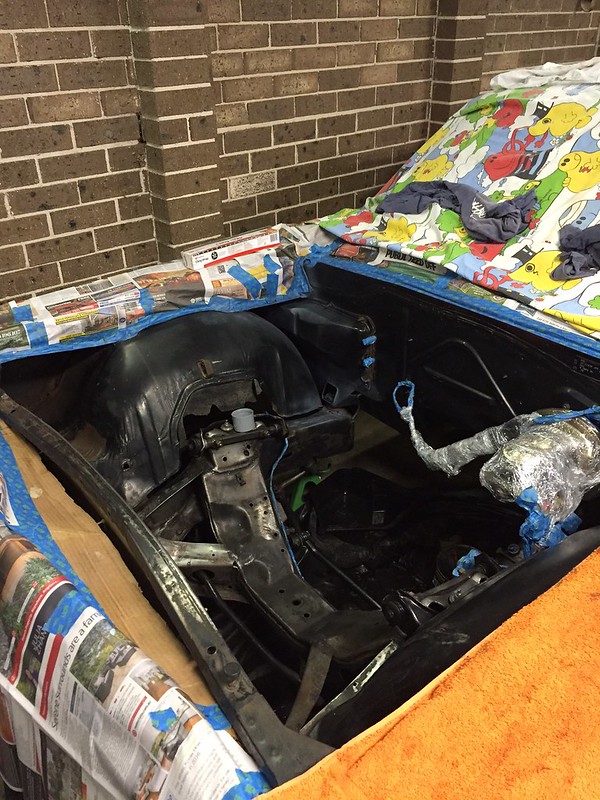
Time to mask and degrease...

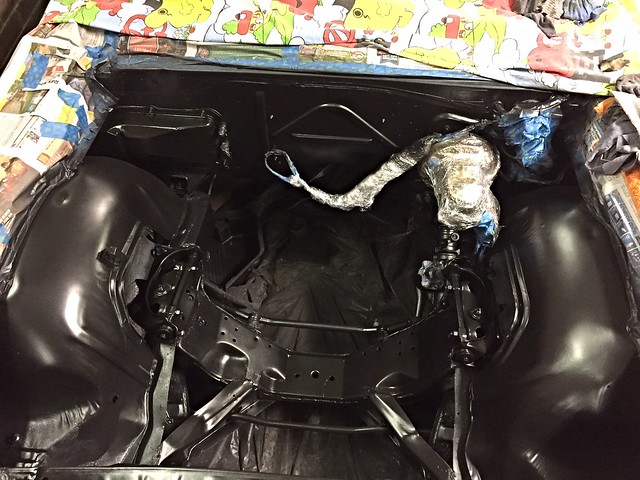
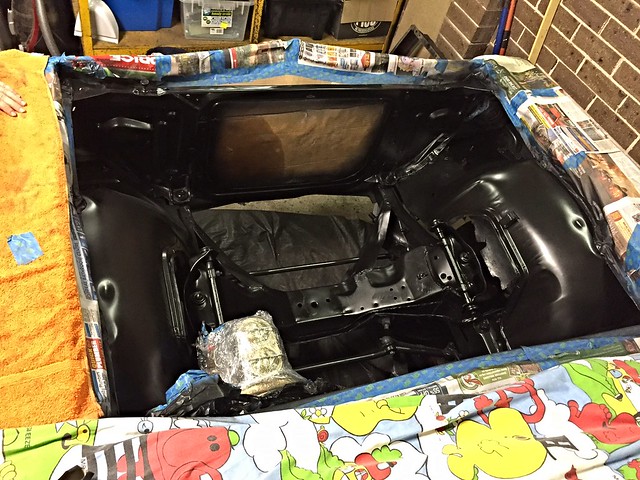
Prepped


J

Saturday, 16 January 2016

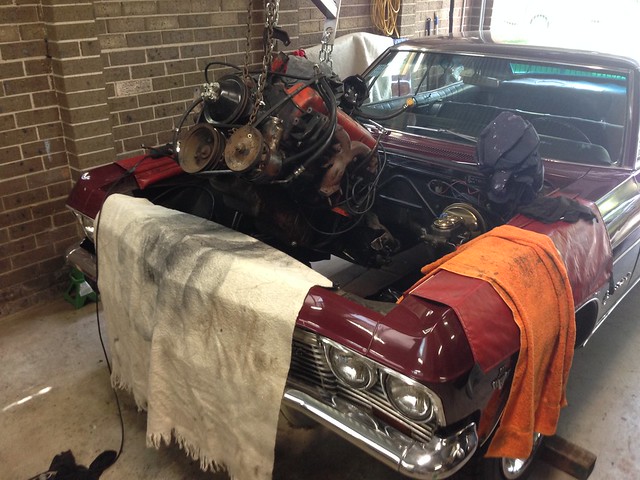
Engine Out!

All the while we have been prepping the LS, I have kept the Chev driveable and registered.

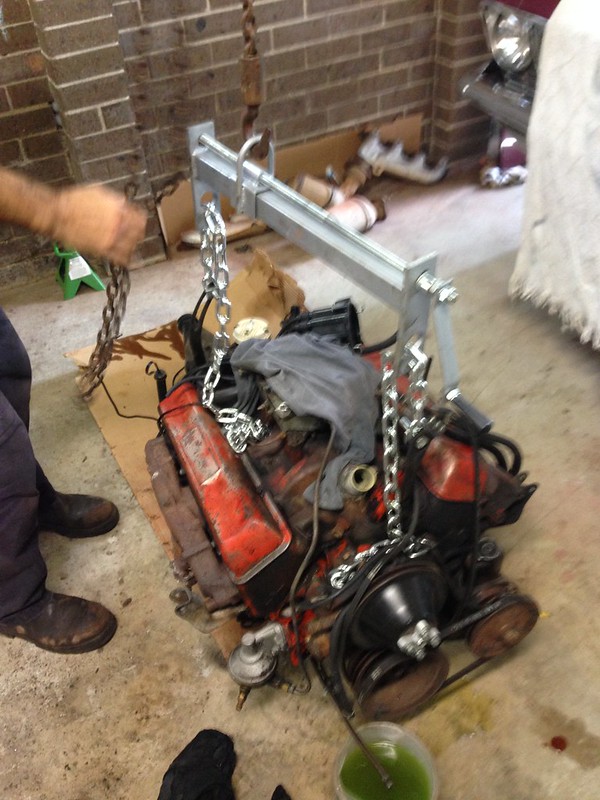
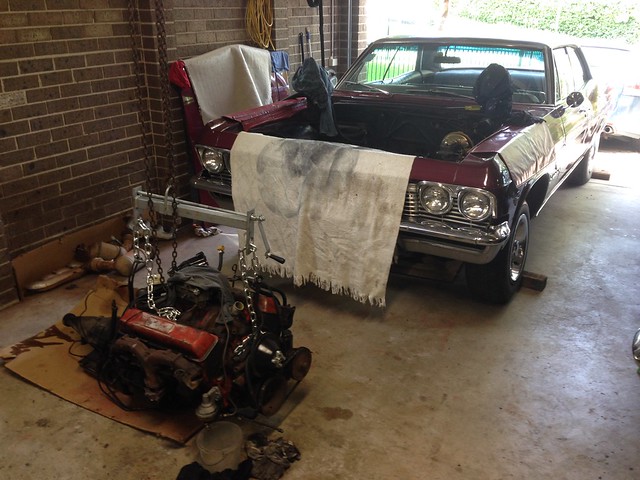
Now that the LS has been tested, cleaned and painted, I have finally run out of excuses and the time to pull the original 327 + Powerglide has come.

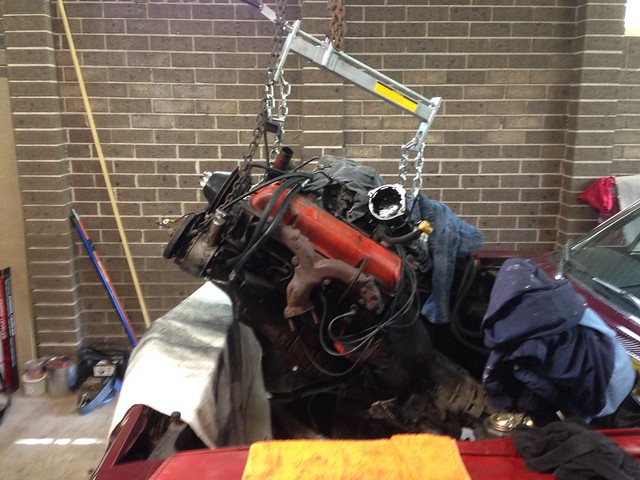
Lift-off...

Untitled

Untitled


BIG TIP: For anyone trying this at home (especially with the engine and box connected), I cannot speak highly enough of the effectiveness of an adjustable, load-levelling, spreader. It made the job sooo easy.

Touchdown...

Untitled

Untitled


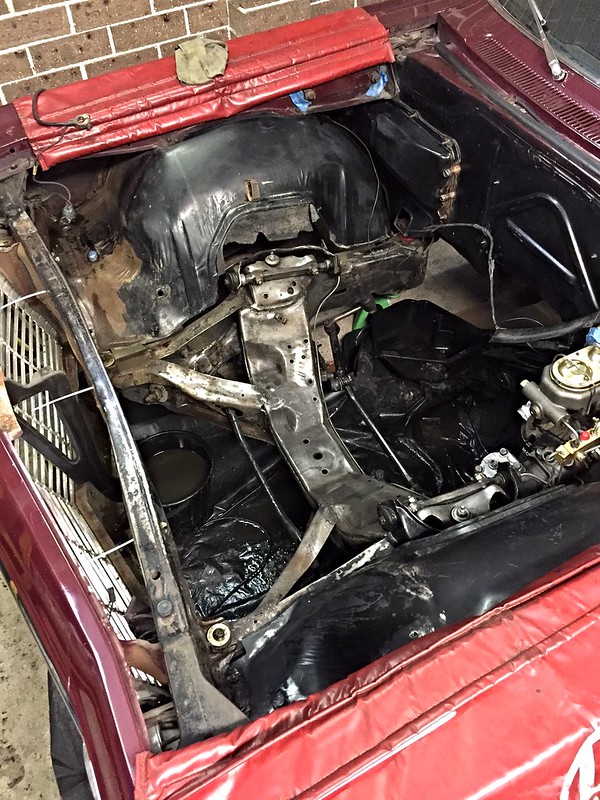
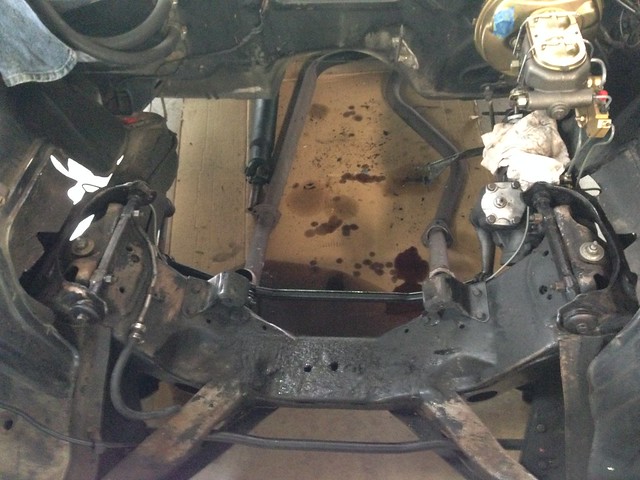
Though the front suspension and steering components are still relatively clean from the 2011 rebuild, the areas shrouded by the engine + trans aren't looking so flash (e.g. cross member)...

Untitled


Now the focus is to clean 50-years worth of grime off the engine bay, prep and paint before we can test-fit the LS.

J

Thursday, 31 December 2015

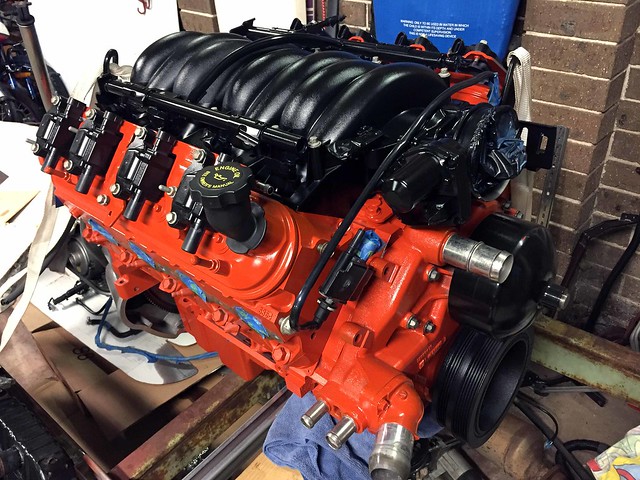
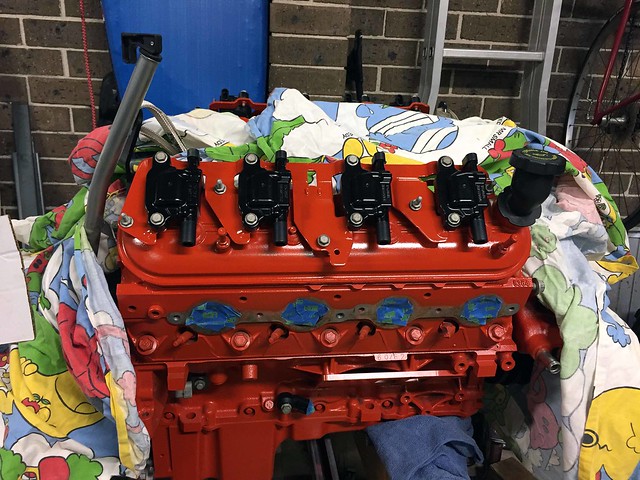
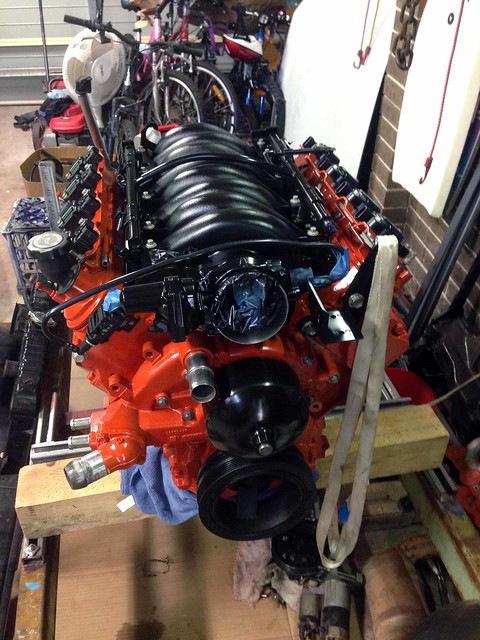
Engine painted!

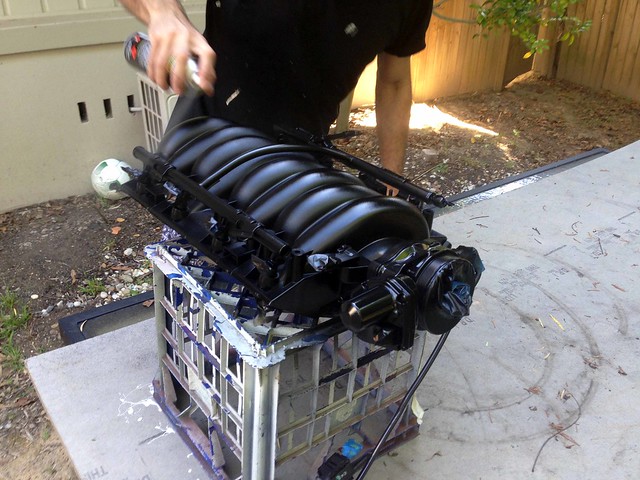
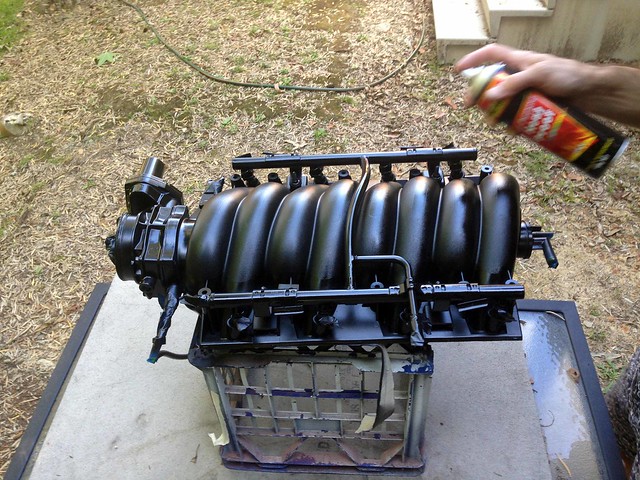
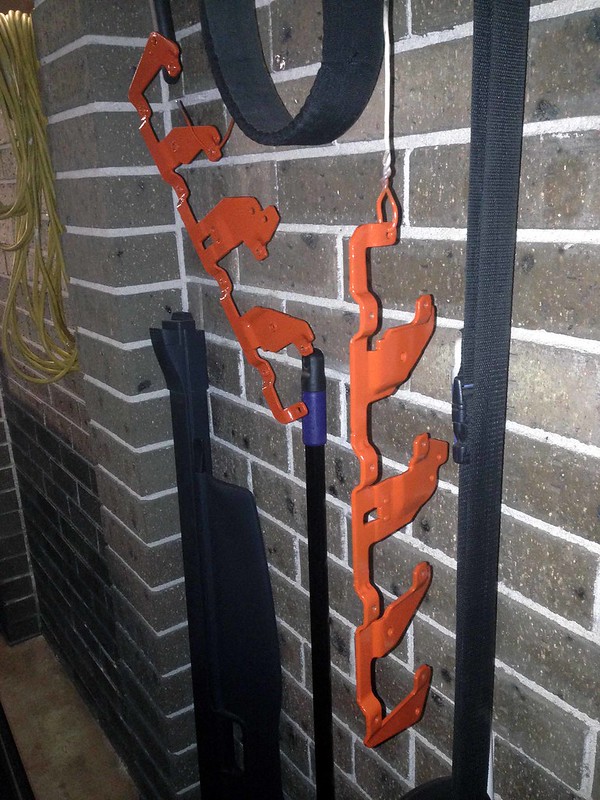
The last pieces of the engine painting puzzle was the fiddly bits... inlet manifold, fuel rails, throttle body, coil packs etc...

PaintedLS10

PaintedLS09

PaintedLS07


Finished product...

PaintedLS12

PaintedLS11

PaintedLS13


One of the big inspirations for the orange/black theme has been this engine...


...from this '57 Chev LS conversion project.


We'll see how the exposed coil packs look for the moment. At some stage down the track I may well relocate them and go for the series 1 SBC rocker covers with adaptor plates.

The other option for the future is to swap-out the inlet manifold for one that maintains multi-point fuel injection, but has the throttle body in the same position as the traditional carburettor. Like so...


More info here.

J

Wednesday, 23 December 2015

In the clear

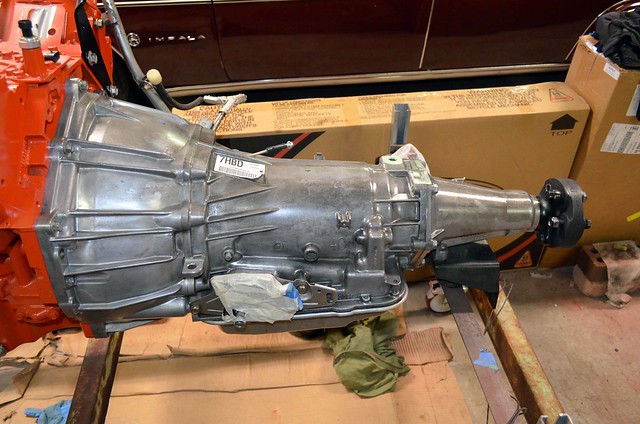
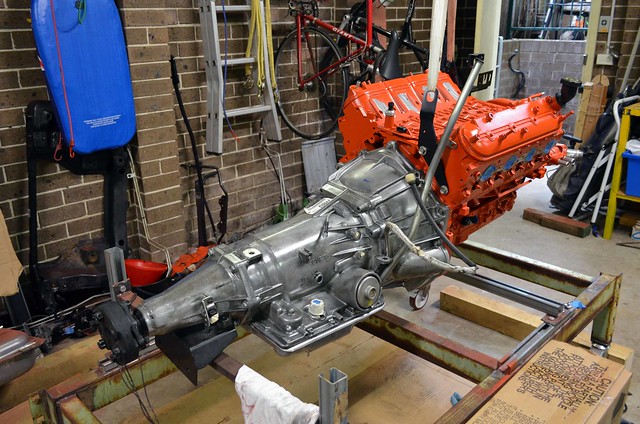
A few days after the engine, it was the transmission's turn...

4L65Eclear10

4L65Eclear01


A good clean (...a VERY good clean...) and simply coating the trans in several coats of clear-coat did the trick.

J