Friday, 30 October 2015

Cooling System Part 2 + Fuel

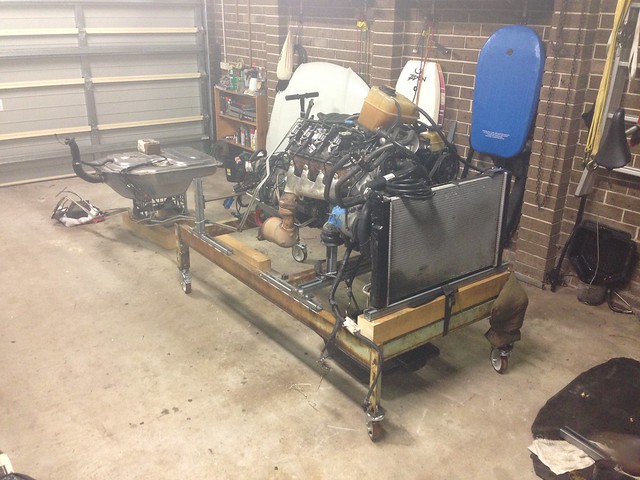
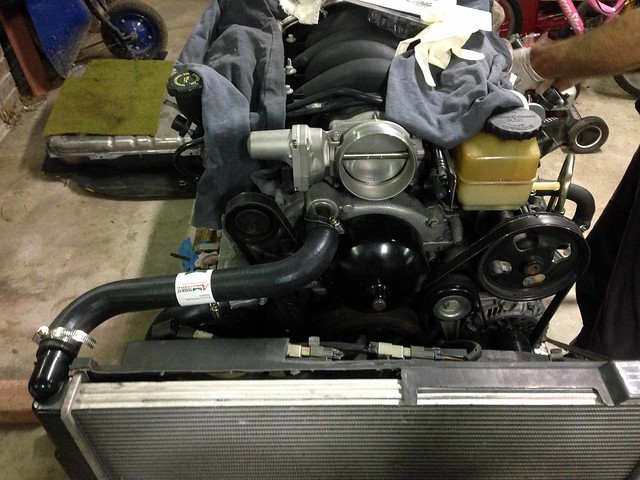
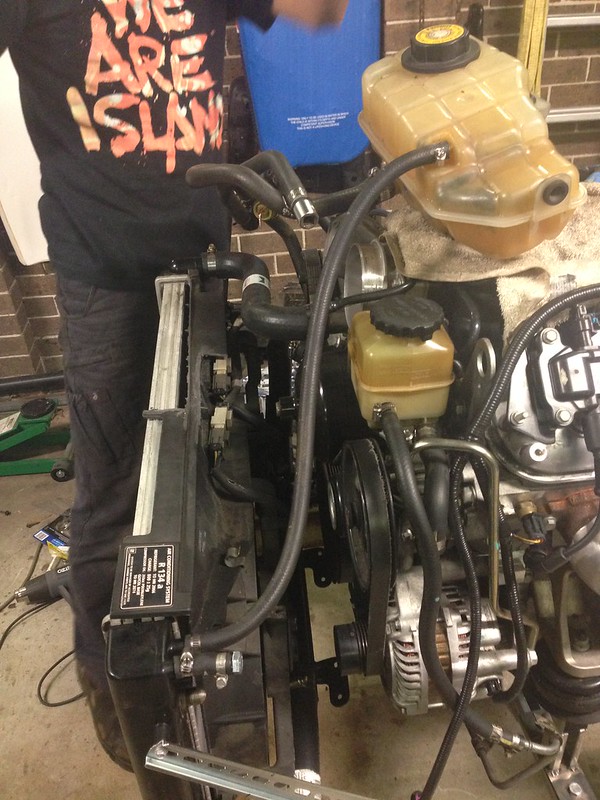
Cooling system topped-off with a reservoir from a VY SS and heater hoses salvaged from the VZ were used to connect it up.

The steam pipe is temporarily blanked off in the photo, but we'll buy a hose and plumb it to the radiator...

Untitled


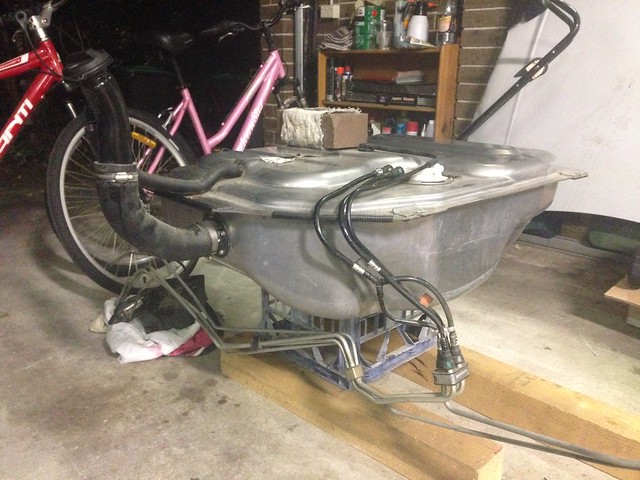
The fuel system was easy; we simply plumbed the fuel pump + filter from the VZ, using the stock lines...

Untitled


Complete, ready for wiring...

Untitled

J

Thursday, 29 October 2015

Test Bed Cooling Plumbed

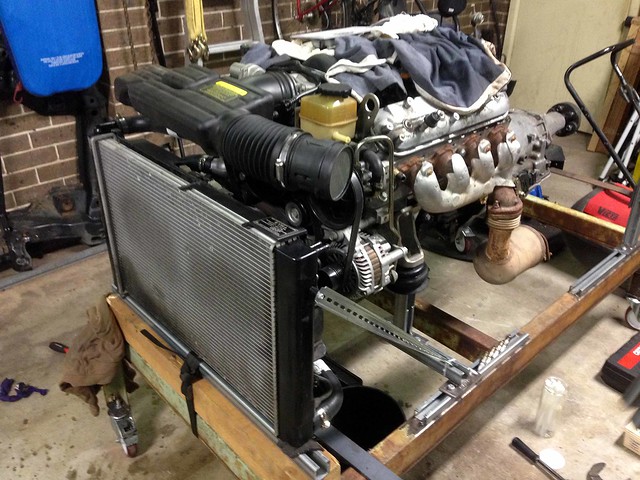
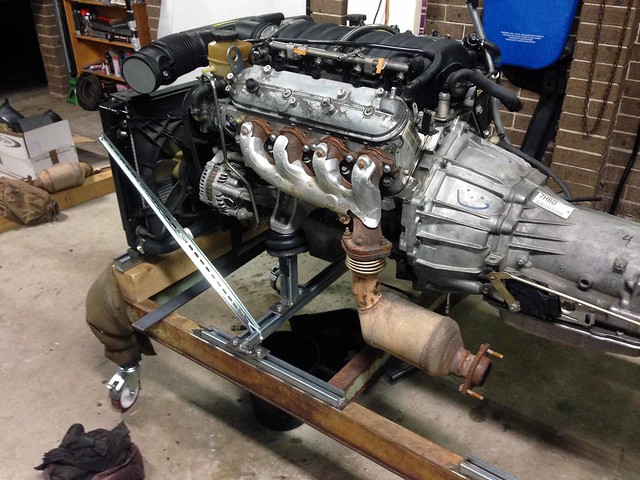
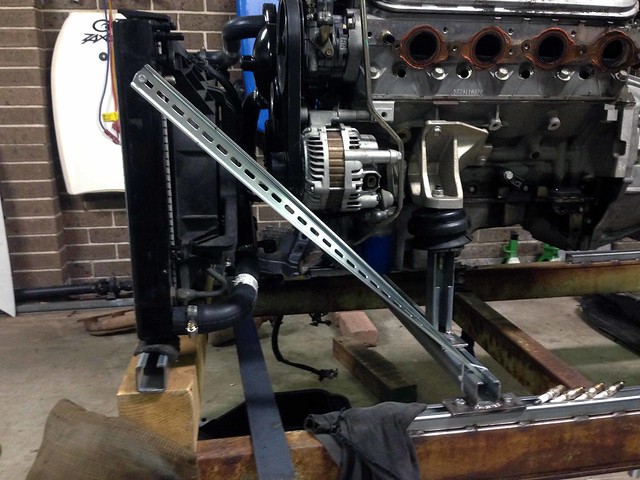
Radiator + thermo fans out of a VT Series 2 SS (thanks eBay) and radiator hoses to suit...

TestFrame009

TestFrame010

TestFrame011


We sat the radiator in some C-rail to pick up 2 x pegs in the base, on rubber pads to reduce vibration. A wooden block under the C-rail to give the right height, all tied-down with a mini ratchet strap and diagonally braced with some cable ladder...

TestFrame008

J

Friday, 23 October 2015

Engine Test Frame

The plan is to run the engine/transmission outside the Chev, to get it sorted before the 327/Powerglide comes out, to try and minimise the downtime.

This all means a test frame needed to be made up to mount it all.

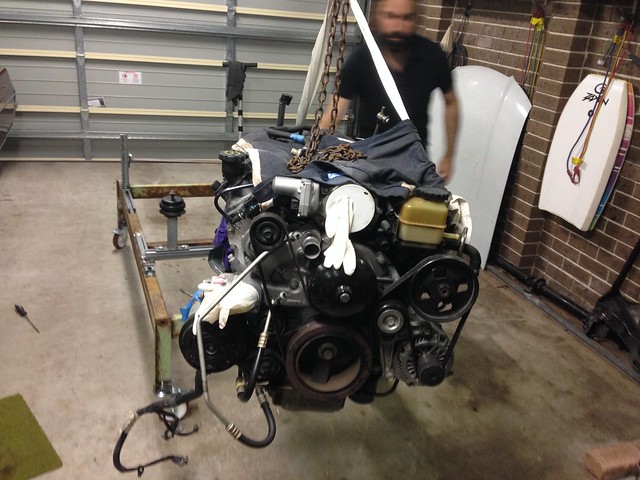
The design is a simple rectangular base using Dexion-style racking sections:

  • Long pieces were cut-down to the required length with the angle brackets salvaged and welded back on at the cut end. Cross pieces at each end and the centre.
  • 5PL feet on the end brackets for the 125 mm dia. castors (c/w lock-down brakes) to bolt to.
  • Along each long-side of the base, JtC stitch-welded short lengths of C-section at the location of the engine and the gearbox. This would allow us to adjust the positions of the engine and gearbox cross-members, before clamping them into position.
  • The gearbox uprights were C-rail sections with 100 x 50 x 5PL feet welded at each end. The feet allowed you to clamp-down on the base once the longitudinal position was reached.
  • Gearbox cross-member was UA 40 x 20 with 100 x 50 x 5PL welded at each end. The plated ends were clamped to the upright C-sections once the correct height was reached.
  • The engine cross member was heavier C-section to take the weight of the engine. Again, 5PL feet were welded to the ends to allow adjustment in the longitudinal direction, before clamping down.
  • The engine mount uprights had feet at both ends, bottom feet to pick-up the cross member C-section and top for the standard LS2 engine mounts to bolt to.

A simple that allow adjustment to suit a variety of engine/gearbox combinations. JtC's welding skills well and truly came to the fore!

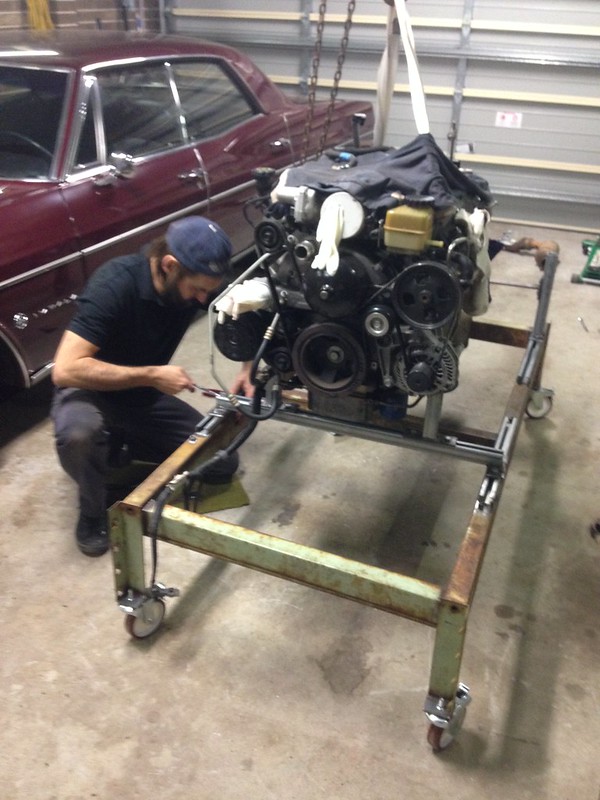
With the base frame welded up, castors on and the engine/gearbox mounts in place, it was time to lift... action shot!

Untitled


Bolting-up...

Untitled


Like a bought one!

Untitled


With the L76 + 4L65E bolting in place, it is time to plumb the cooling circuit + fuel + electrics... stay tuned!

J

Thursday, 22 October 2015

Gawwwnnn...!

With the VZ shell stripped of all required bits, it was time to get rid of the evidence.

After many weeks of no bites on eBay, it finally sold for the princely sum of $32!

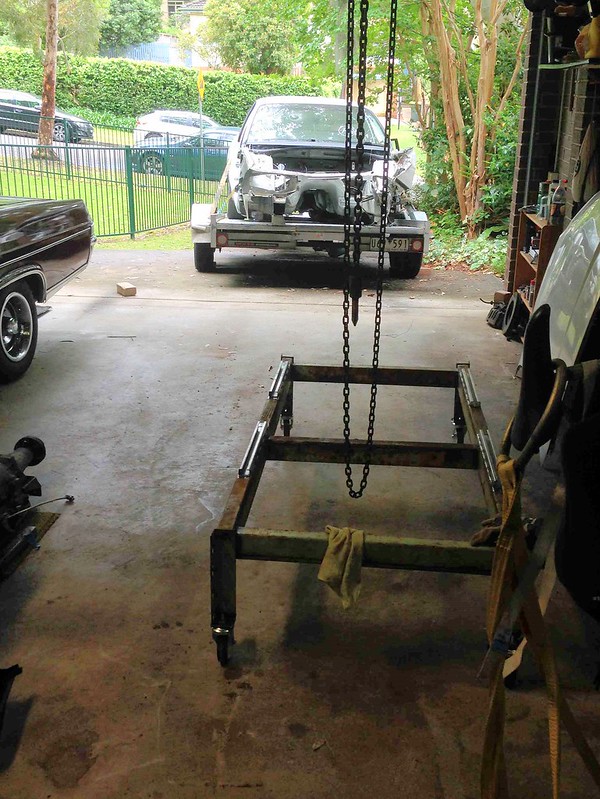
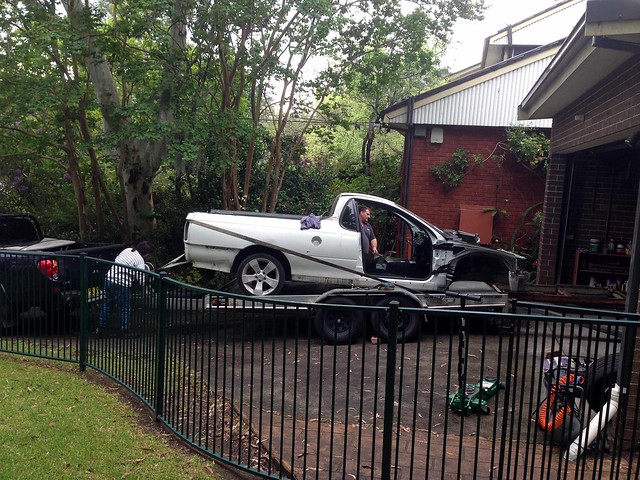
The half-assembled engine test frame (in the foreground below) was pushed (literally) into service to get the front end onto the car trailer...

ShellRemoval002

Worked a treat too!

ShellRemoval001


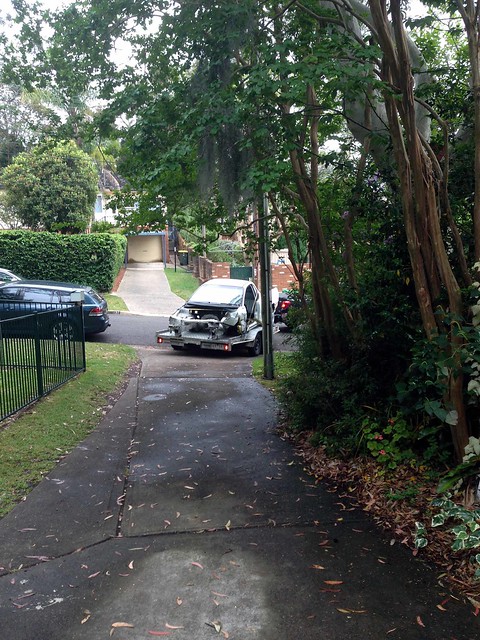
Bye!

ShellRemoval003

J

Saturday, 12 September 2015

Rear Brake Caliper Adjustment

Ever since converting to four wheel disc brakes, I have never been able to lock the rears and only just lock the fronts under hard braking. The Chev has always felt like it stopped well at low to medium demands, but hit the brakes hard and it would continue on further than I would have thought it would and certainly further than I like.

Time to try this: "Right Stuff" Rear Disc Installation Support

Up on stands, rear wheels off and pull the emergency brake actuation levers apart...
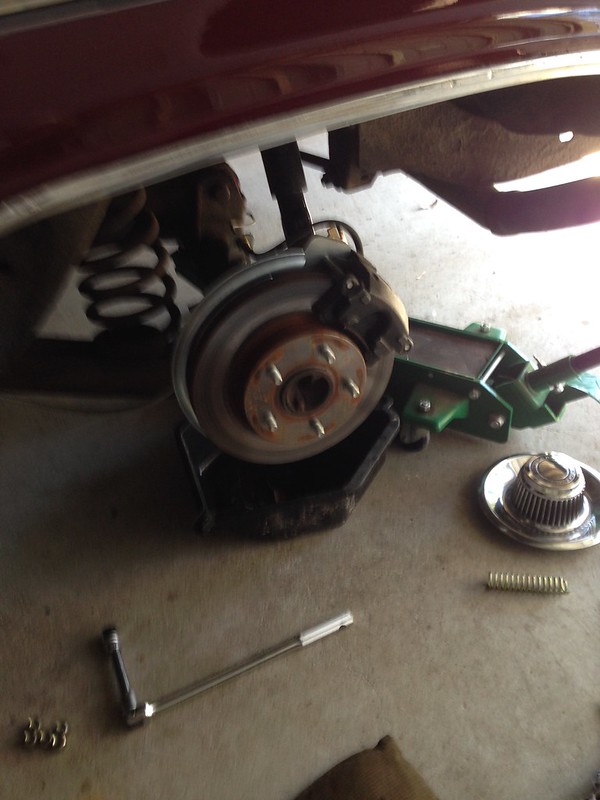
Wheel Off


The rear discs didn't look like they had seen much use. Cross-hatching still visible....
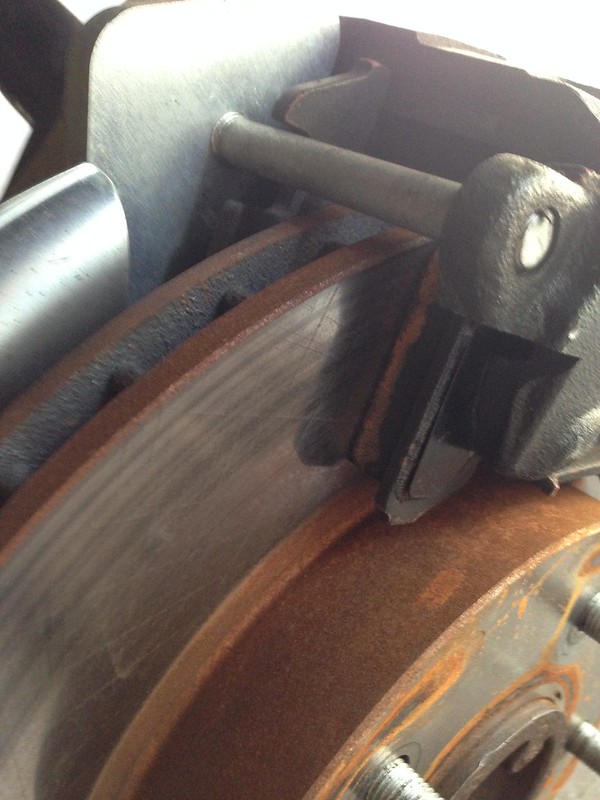
Caliper + Pad + Rotor Hatching


Adjusting the emergency brake actuation... the right rear was pretty good, though the left rear could be wound out a turn and still have the lever placed against the end stop...
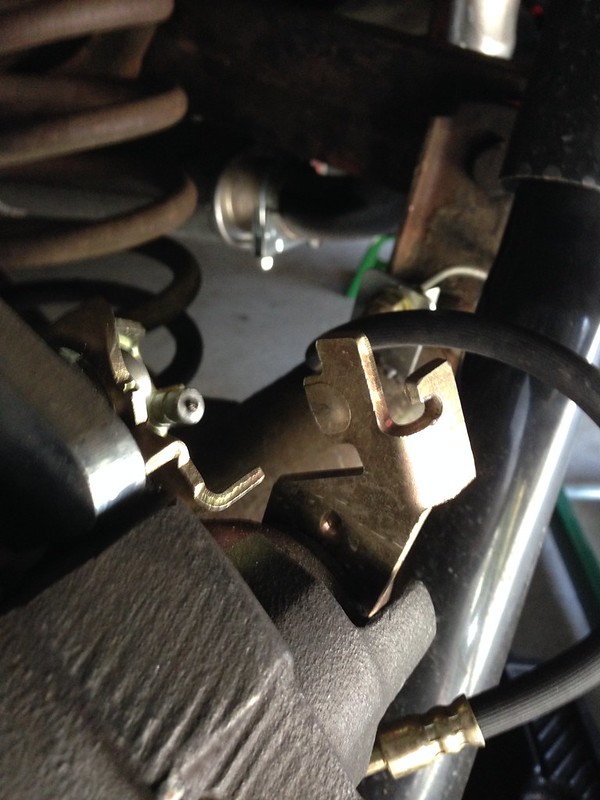
Handbrake Lever - Spring + Cable Removed


Back together and go for a test drive. Much better!

The pulls up quicker and the brake balance is good. I managed to lock the right rear under hard braking on the way to the servo with an empty petrol tank. Once filled, the extra weight at the back meant all four tyres would be on the verge of locking under heavy braking, with a front locking preferentially.

No brake fluid escaped during the adjustment, but the pedal does get harder after one pump so a bleed wouldn't go astray.

I'll also double-check that I have adjusted the emergency brake correctly, so there is no slack in the emergency brake system when released, but the caliper actuation lever is still on the end stop.

J
Saturday, 29 August 2015

Holley 302-1 Oil Pan + Suitable Dipstick

From: Holley
Date: Sat, Aug 29, 2015 at 3:52 AM
Subject: RE: HLY-000000000141427
To: J

J,
First page of the instructions had this little clip. Which means they are only designed to fit the LS3 tube unfortunately.

The Holley® LS Swap oil pans are designed to work with an LS3 dipstick and tube (if desired). Below are the part numbers:
· LS Dipstick – GM P/N 12634547
· LS tube – GM P/N 12625031

Thanks, Holley

From: J
Sent: Thursday, August 27, 2015 4:25 PM
To: Holley
Subject: Re: HLY-000000000141427

Thanks Holley,

I am using the pan on an L76. Can I use my standard dipstick, or do I need to go to an LS3 dipstick?

Best Regards, J

On Friday, August 28, 2015, Holley wrote:
Thank you for contacting Holley Performance Products.
The pan is designed to hold the 5.5 Qts.  The over all capacity with a filter is 6 Qts.  The filter hold oil as well creating the half qt extra.
Sincerely,
Holley

Your question was:
The product technical information makes the comment that the sump oil capacity = 5.5 Quarts Total Oil Capacity with stock oil filter. 6 Quarts Requires use of LS3 dipstick (GM P/N 12634547) and tube (GM P/N 12625031). My question is, what drives the decision to go to 6 quarts over 5.5 quarts?

If you have further questions, please reply directly to this email with history without altering the subject line.

Sunday, 16 August 2015

Out!

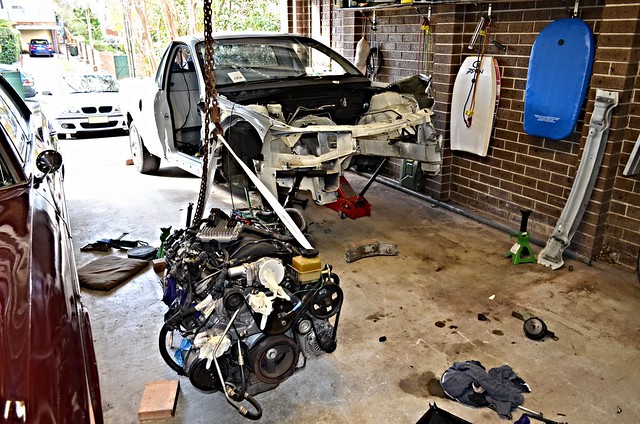
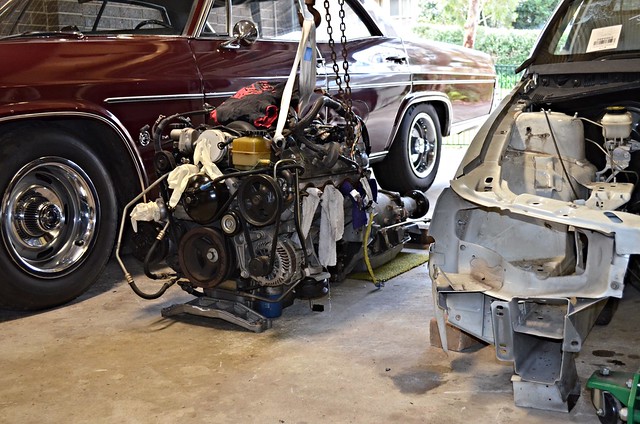
One week later, the engine and gearbox was out of the VZ...

Out!

Half-way (geographically)


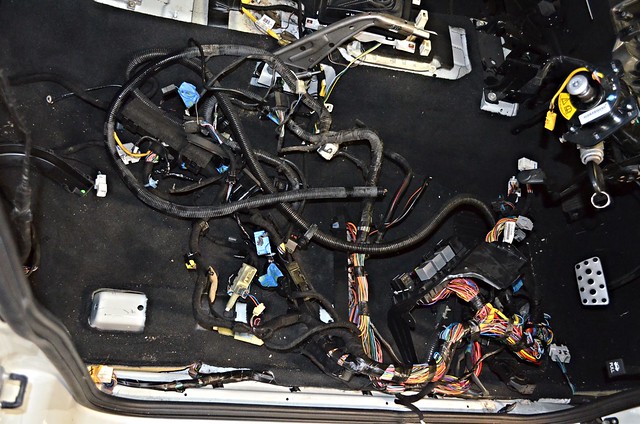
Now the fun begins...

Electrical Spaghetti

J

Saturday, 8 August 2015

A new chapter begins...

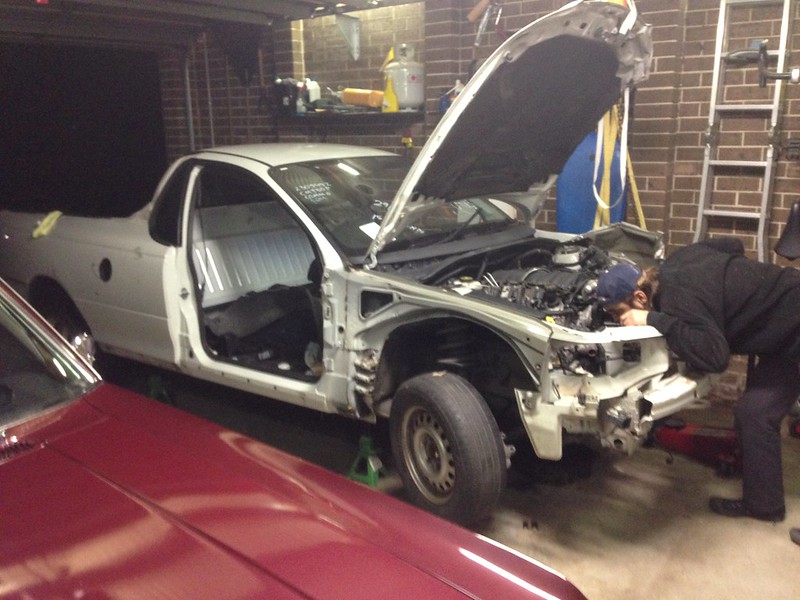
So, it has been a little while between posts. The Impala has been out and about, clocking up the miles, however that is set to change in the not too distant future; this turned up on the weekend...

Untitled


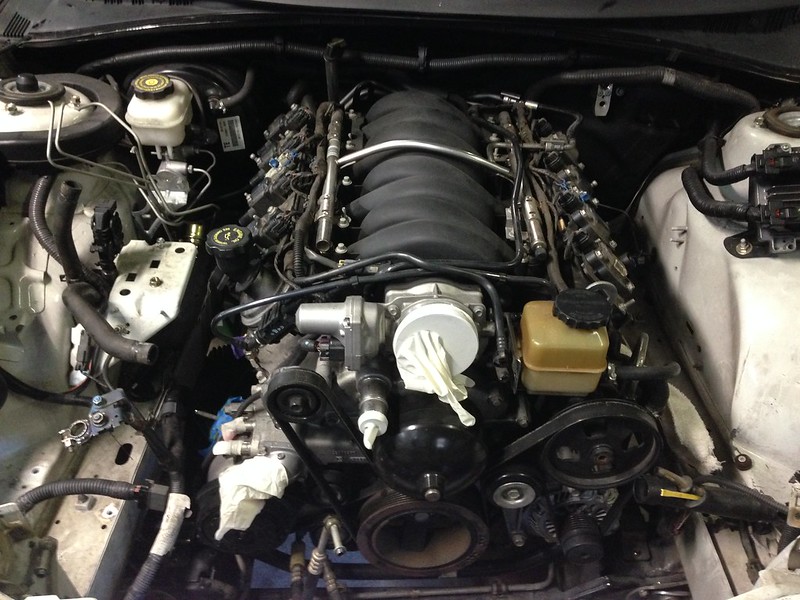
Complete with this under the bonnet...

Untitled


With low compression in a couple of cylinders and oil leaks everywhere, the factory original 327 has been on borrowed time since 2011.

After much umming and ahhing over rebuild/crate motor/2nd hand/conversion options, the decision was finally made to go with an LS swap from a later-model Commodore.

I was keen for a 6.0 litre for the low-down torque (over an LS1) and 4-speed auto (smaller than the VE Commodore's six speed, so a simpler fit into the Impala's transmission tunnel).

This left a very narrow Holden model range to look in, VZ Series II only... less than a year's production as VT Series 2 through to VZ Series 1 only had the LS1 and VE onwards had the 6L80E six speed.

Enter one statutory write-off VZ Series 2 SS-V Thunder ute, complete with L76 and 4L65E with less than 100k km on the clock. Perfect!

So let the fun begin!

Untitled


J

Sunday, 8 February 2015

Penrith Doughnuts and Cars - Feb 2015

Krispy Kreme Doughnuts, Penrith. Second Sunday of every month. 8:00 AM to 10:00 AM.

February brought a beautiful day for it and plenty of cars.

DSC_0004


DSC_0093

More photos here...
Penrith Krispy Kreme Doughnuts and Cars - Feb 2015

J