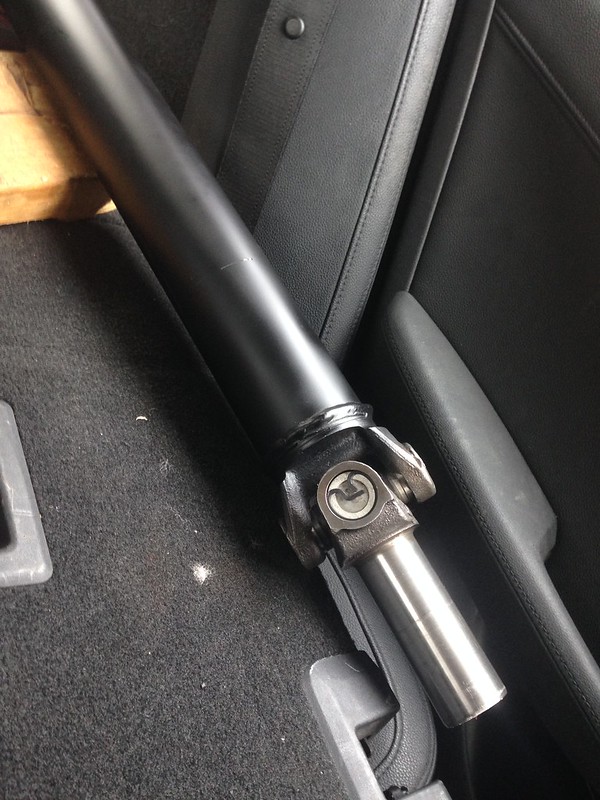
New thicker-wall tailshaft (80 mm shorter than original to accomodate the longer 4L65E) and new uni joints, packed with grease ready to be bolted-up...
Work done by A&L Driveshafts in Campsie.
UPDATE: exploded on the dyno on Tue 17.04.2018.
The A&L driveshaft was 2.750" OD with 0.083" wall... waaay too small!
J
Friday, 28 October 2016
New Tailshaft
Labels:
6.0L,
conversion,
driveshaft,
L76,
LS,
LS2,
swap,
tailshaft,
universal joint
Thursday, 27 October 2016
The small things in life
The steam pipe outlet on the LS needs a 6 mm ID hose.
The inlet port to the top tank of the radiator needs a 10 mm ID hose.
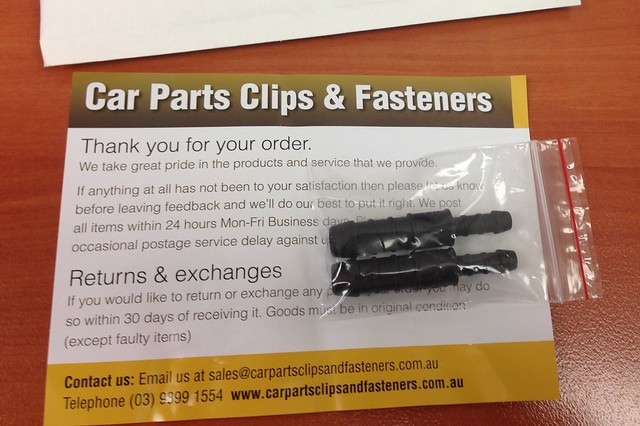
Get both size hoses and join in the centre with this...
One required but bought two in case one snapped ;-)
J
The inlet port to the top tank of the radiator needs a 10 mm ID hose.
Get both size hoses and join in the centre with this...
One required but bought two in case one snapped ;-)
J
Labels:
6.0L,
adapter,
adaptor,
conversion,
engine,
L76,
LS,
LS2,
radiator hose,
reducer,
steam pipe,
swap
Tuesday, 18 October 2016
CSI: Radiator Hose Unit
---------- Forwarded message ----------
From: John
Date: Tue, Oct 18, 2016 at 11:00 PM
Subject: CSI: Radiator Hose Unit
To: JtC
From: John
Date: Tue, Oct 18, 2016 at 11:00 PM
Subject: CSI: Radiator Hose Unit
To: JtC
1.
After a bit of measuring down in the garage, the attached "Top Radiator Hose Drawing" is going to be in the ball-park of what we are looking for. Printed out on A3 will give me a 1:1 template I can take with me to a parts store.
2.
Mackay Automotive have put out an AWESOME catalog which lists their hoses by ID, then length...
The top hose needs to be 33 mm ID. There looks to be a few which are promising, with CH1848 one of the best (with some trimming to length).
3.
Did a quick search for CH1848 on Supercheap Auto's website...
Now to go have a look!
It just happens to be the top radiator hose off a V6 VN-VR with ABS... did you salvage the top hose off the VR you bought?
J
Other promising ones...
---
Mackay
33 mm ID x 424 mm long as the basis...
---
CH3420
CH3539
CH3730
CH4822
CH1368
CH2552
CH3336
CH4274
CH3900
CH4009
CH1365
CH4954
CH1848 <-- 05-0922 <-- 92046089
Labels:
6.0L,
conversion,
engine,
LS,
LS2,
radiator,
radiator hose,
swap
Sunday, 16 October 2016
Thermo Fan + ATF Cooler Lines + Bottom Radiator Hose (phew!)
BIG weekend spent on the Chev... and another BIG effort from JtC!
Saturday started with choosing a thermo fan from the pool of fans (what is the collective noun for electric thermo radiator fans?) we had lying around the place.
We settled on a VS V6 Commodore fan; will it draw enough air? We'll see! At the very least we put 12V across it and it certainly works.
Time to fabricate a shroud and get it mounted. Scavenged plastic sheet from old radiator shrouds and self-tappers FTW!
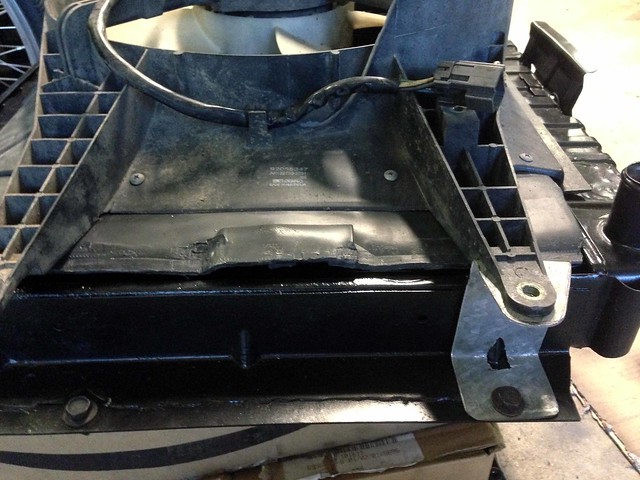
Folded gal steel sheet was used as bracket material, salvaged from a bash/splash plate from the underside of the VZ ute...
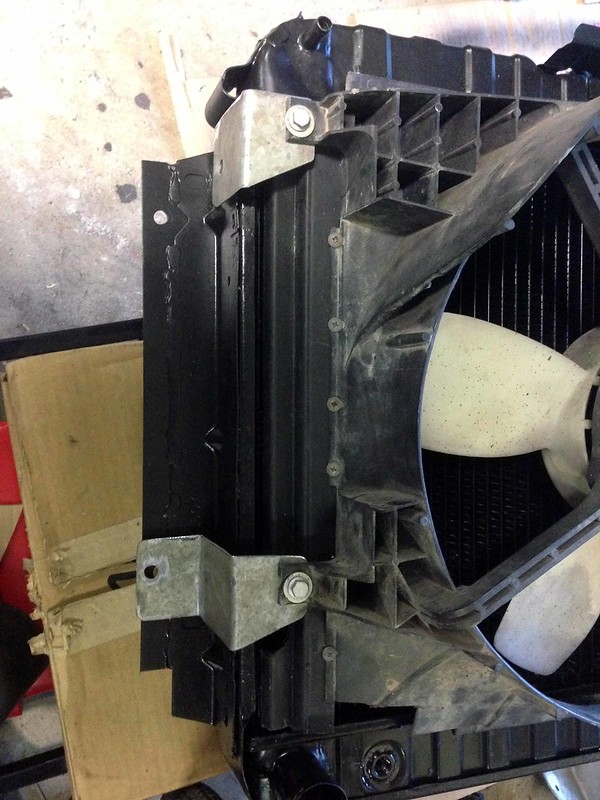
The shroud and brackets were hit with satin black in the evening, ready for Sunday.
A new day and new challenges.
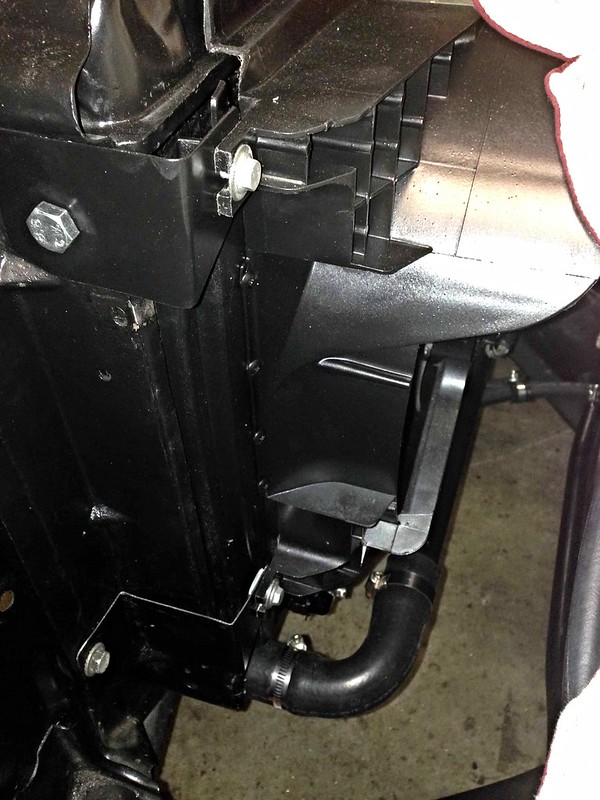
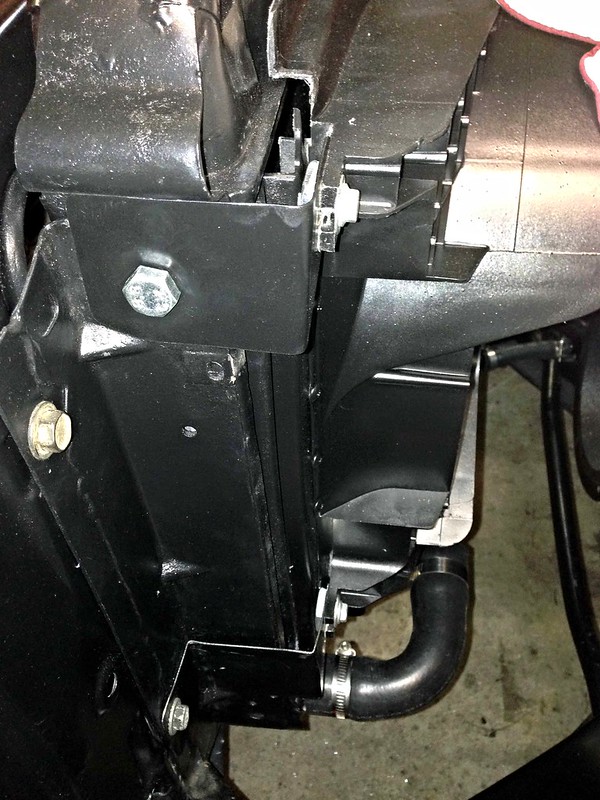
The bottom radiator hose arrangement was adapted from the VT II/VX/VY setup we used on the test frame. This meant:
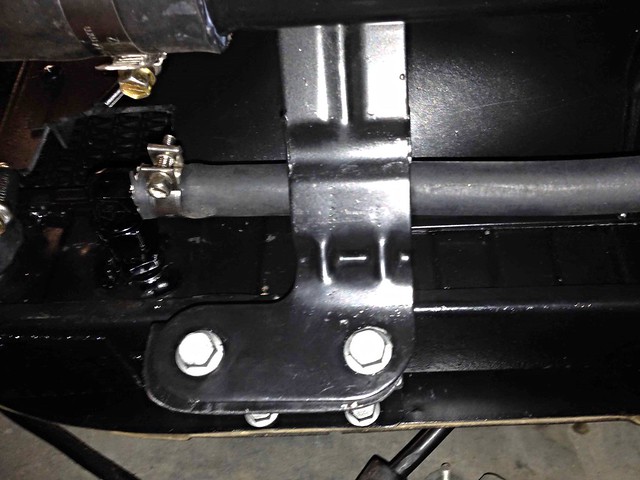
The transfer pipe has mounting tabs which we bolted to the radiator support panel using more brackets fabb'ed from the VZ splash plate material. Bit dark, but it's there I promise!..
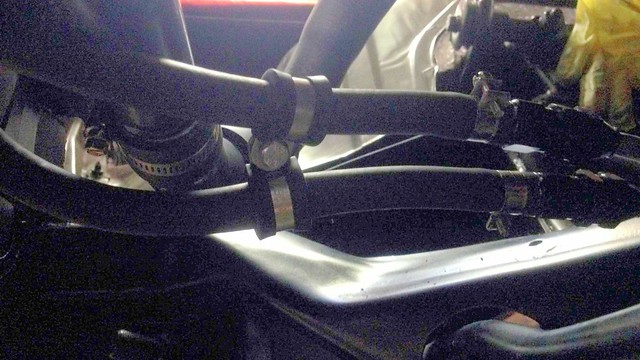
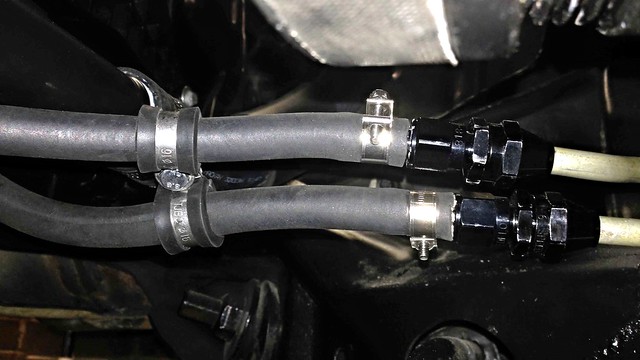
The last photo also shows the ATF cooler hose sitting on top of one of the transfer pipe brackets. The cooler hoses were connected to the radiator using Speedflow fittings/barbs and standard ATF cooler hose, retained with hose clamps. Might swap to hose with AN hose ends in the future when the wallet recovers.
More ATF cooler hose goodness...
Finally, the finished product...
Massive thanks once again to JtC who did the majority of the work; excellent workmanship yet again!
We are getting close now...
J
Saturday started with choosing a thermo fan from the pool of fans (what is the collective noun for electric thermo radiator fans?) we had lying around the place.
We settled on a VS V6 Commodore fan; will it draw enough air? We'll see! At the very least we put 12V across it and it certainly works.
Time to fabricate a shroud and get it mounted. Scavenged plastic sheet from old radiator shrouds and self-tappers FTW!
Folded gal steel sheet was used as bracket material, salvaged from a bash/splash plate from the underside of the VZ ute...
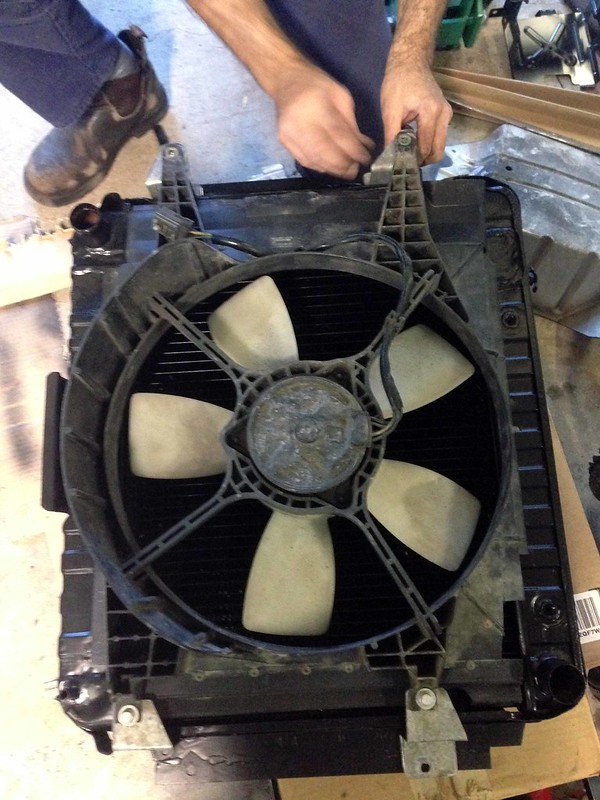
The shroud and brackets were hit with satin black in the evening, ready for Sunday.
A new day and new challenges.
The bottom radiator hose arrangement was adapted from the VT II/VX/VY setup we used on the test frame. This meant:
- U-shaped hose out of the water pump (Mackay Rubber part number CH2956),
- VT II/VX/VY transfer pipe (sourced second-hand from a wrecker) and
- 90 deg. hose into the radiator (Mackay Rubber part number CH3028... cut-down for the narrower Chev radiator).
The transfer pipe has mounting tabs which we bolted to the radiator support panel using more brackets fabb'ed from the VZ splash plate material. Bit dark, but it's there I promise!..
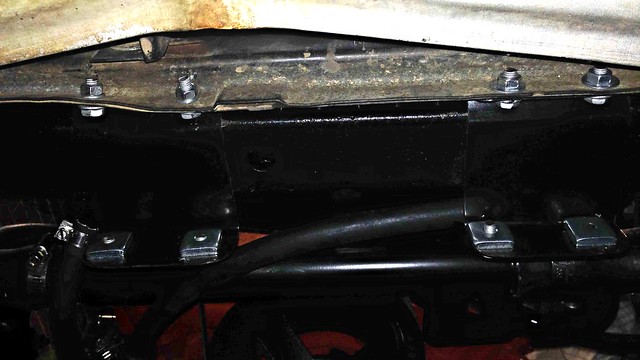
The last photo also shows the ATF cooler hose sitting on top of one of the transfer pipe brackets. The cooler hoses were connected to the radiator using Speedflow fittings/barbs and standard ATF cooler hose, retained with hose clamps. Might swap to hose with AN hose ends in the future when the wallet recovers.
More ATF cooler hose goodness...
Finally, the finished product...
Massive thanks once again to JtC who did the majority of the work; excellent workmanship yet again!
We are getting close now...
J
Saturday, 15 October 2016
ATF Cooler Hose AN Fitting Shopping List
Speedflow Fittings
MALE TUBE ADAPTER
618-06-06-BLK
2 off
411 SERIES HOSE ENDS - 45 DEG HOSE END
412-06-BLK
1 off
411 SERIES HOSE ENDS - 90 DEG HOSE END
413-06-BLK
1 off
411 SERIES HOSE ENDS - STRAIGHT HOSE END
411-06-BLK
2 off
POWER STEER, FUEL & OIL LINES (AN-6 to 1/2”-20 Inv)
703-06-BLK
2 off
MALE TUBE ADAPTER
618-06-06-BLK
2 off
411 SERIES HOSE ENDS - 45 DEG HOSE END
412-06-BLK
1 off
411 SERIES HOSE ENDS - 90 DEG HOSE END
413-06-BLK
1 off
411 SERIES HOSE ENDS - STRAIGHT HOSE END
411-06-BLK
2 off
POWER STEER, FUEL & OIL LINES (AN-6 to 1/2”-20 Inv)
703-06-BLK
2 off
Saturday, 8 October 2016
Radiator Support
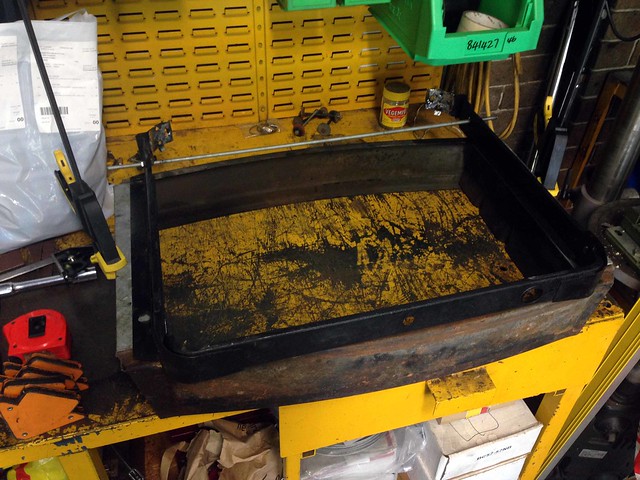
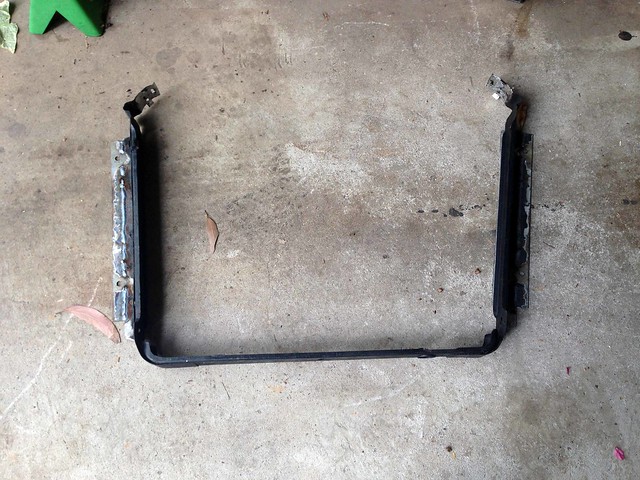
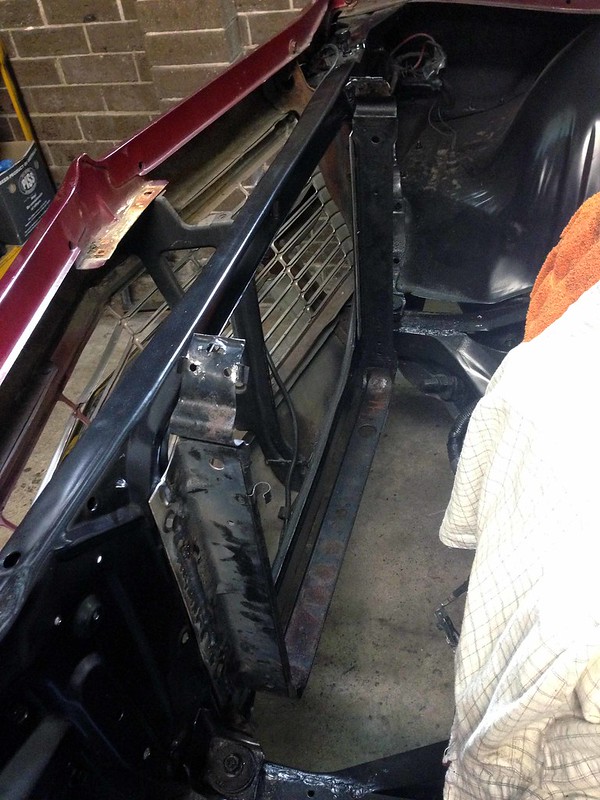
With the radiator left getting modified, I took the mounting strap/flanges home to be modified to mount the Chev's radiator support panel without using the spacer.
The spacer was a handy template, obviously having the bolt patterns for both the existing radiator mounts, as well as the radiator support panel.
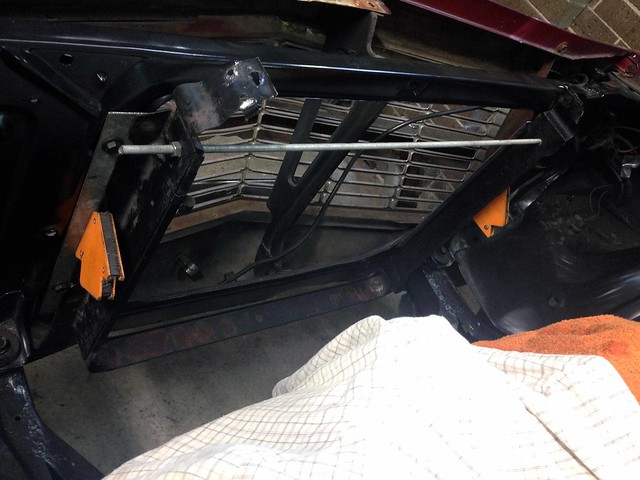
Without the radiator to hold the correct bolt spacing, I bolted the support strap to the inside of the spacer and use threaded rod to hold the two sides at the correct spacing.
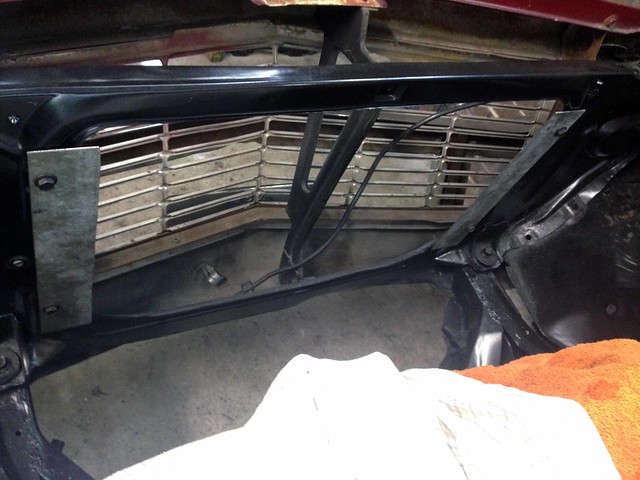
Then flip over the spacer and determine the width of flange required. Here it is with the flanges already cut out of galvanised steel scrap...
Holes were drilled in the flanges to match the radiator support bolt spacing, then bolted into the car...
...before lowering in the radiator mounting strap, locating it against the flanges in the final position and marking where the welds were to go...
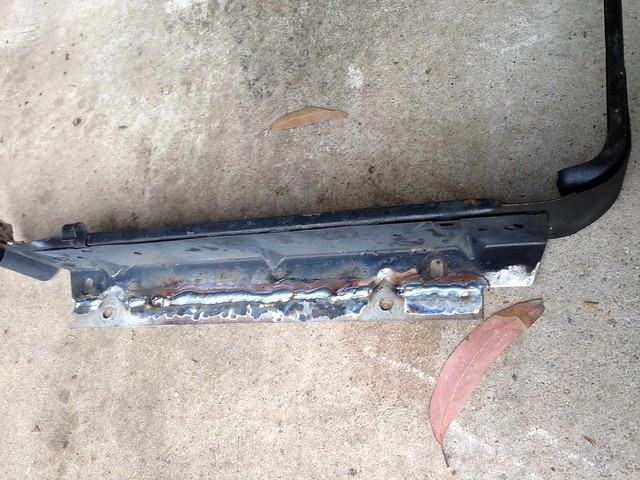
Then it was time to break-out the welder!
Trial-fit in the Chev... all good!
Then a quick dress of the welds, prime and paint with satin black (no photos).
Now to drop the modified mounting strap off to Merrylands Radiator so it can be reunited with the modified radiator.
J
Wednesday, 5 October 2016
What's missing?
Stopped in at Merrylands Radiators this morning and explained the plan.
Ray was all good and will put Commodore-sized ports as far in the corners as possible, plus add the little steam vent port... all for $100! And could be finished this 'arvo!
He was just a bit unsure about the wider mounting flange so came up with the idea in the photo. Within a couple of minutes he had melted the solder holding the mounting strap and whipped it off the radiator. Now I can take the mounting strap home and weld a wider flange to it. He will remount it, all included in the $100.
He'll give the radiator a clean as well.
J
Monday, 3 October 2016
Headers + Engine Pipes
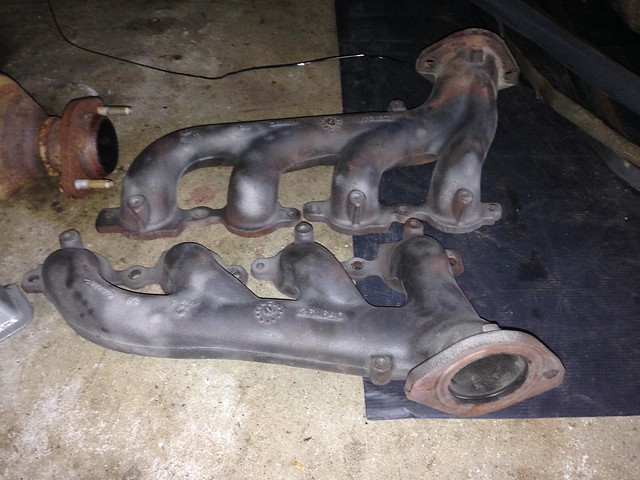
Grit blast the headers...
Quick wipe down with wax and grease remover.
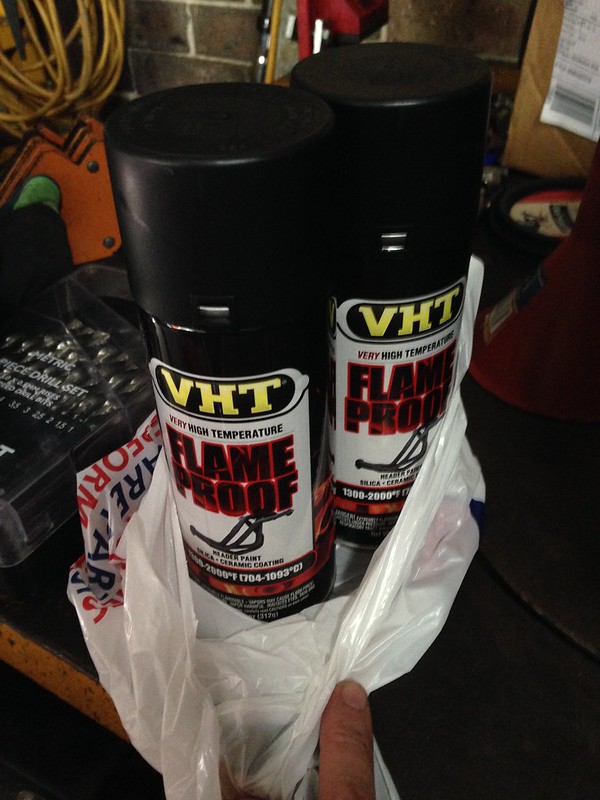
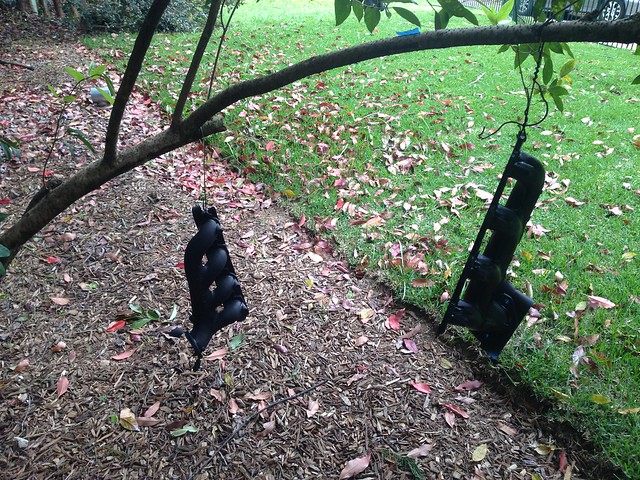
Hit with this...
..."in" the outdoor spray booth...
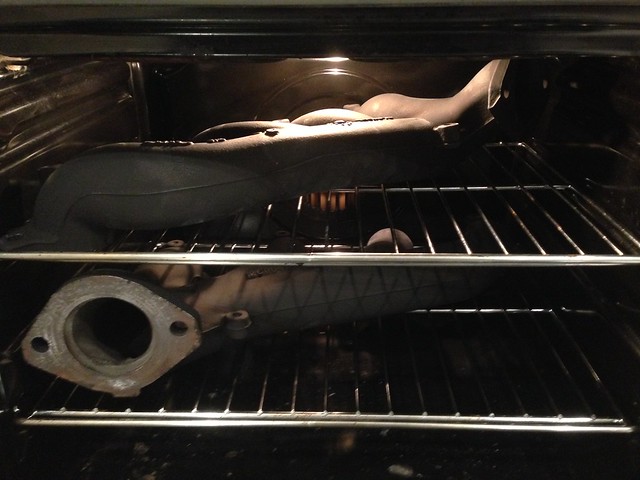
...and baked to perfection...
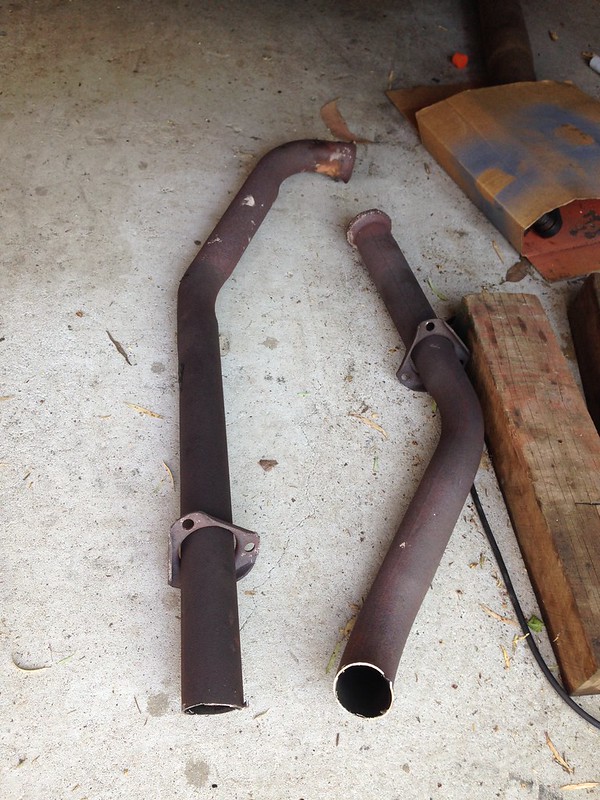
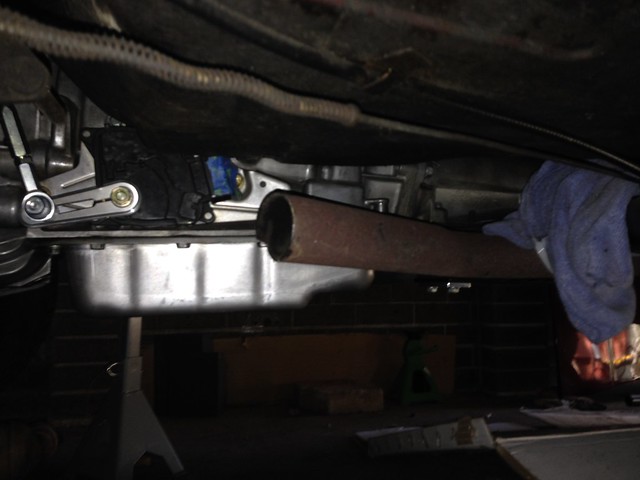
Back under the car, JtC axed through the engine pipes, just forward of the trans cross member...
He then tied the exhaust to the transmission cross member ready for the transport (drive!?) to the exhaust shop...
J
Labels:
6.0L,
conversion,
engine,
engine pipes,
exhaust,
headers,
L76,
LS2,
manifold,
swap
Subscribe to:
Posts (Atom)